How to insert Textbox in Excel

The following article details you how to insert Textbox in Excel 2013.

How to insert Textbox in Excel Picture 1

To insert Textbox in Excel 2013 follow these steps:

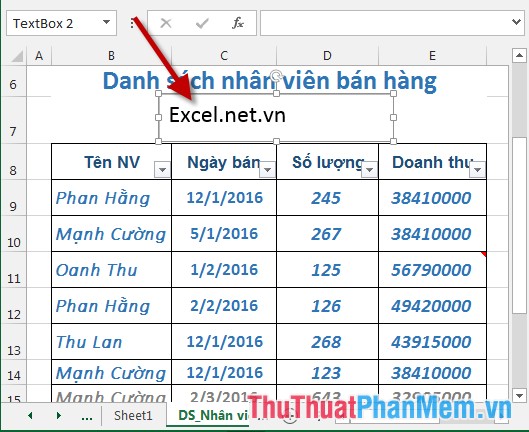
Step 1: Click Insert -> Text -> TextBox:

How to insert Textbox in Excel Picture 2

Step 2: Drag the selection for the Textbox area -> enter the content for the Textbox to create:

How to insert Textbox in Excel Picture 3

To create a textbox complete and good-looking that you edit the textbox after creating:

Step 3: Select all text in the Textbox quick dialog allowing you to edit the font, font size and color for text:

How to insert Textbox in Excel Picture 4

Step 4: Click on Textbox -> Format -> QuickStyle -> quickly select the art font for Textbox:

How to insert Textbox in Excel Picture 5

Step 5: Click on Textbox -> Format -> Effect -> select effects for Textbox:

How to insert Textbox in Excel Picture 6

Step 6: Click on Textbox -> Format -> select TextOutLine icon -> select the border color for the text in Textbox:

How to insert Textbox in Excel Picture 7

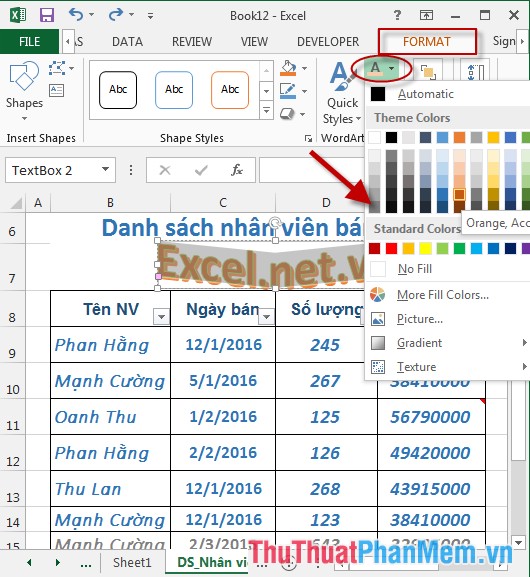
Step 7: Click on Textbox -> Format -> select the TextFill icon-> select the color of the text in Textbox:

How to insert Textbox in Excel Picture 8

- Alternatively you can right-click Textbox -> select Format Shape to change other formats for Textbox:

How to insert Textbox in Excel Picture 9

- Options in Format Shape:

How to insert Textbox in Excel Picture 10

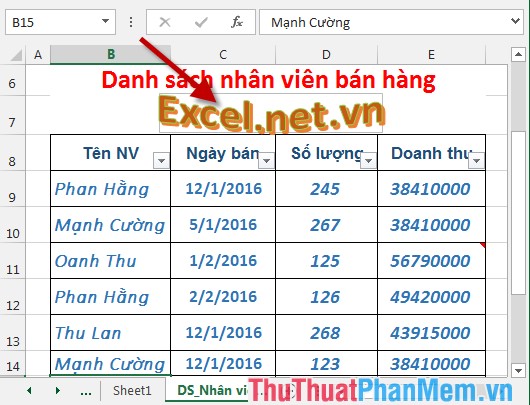
Finally, after creating and editing the result is:

How to insert Textbox in Excel Picture 11

Above is a detailed guide on how to create Textbox in Excel 2013.

Good luck!

5 ★ | 1 Vote

May be interested

  • Insert special characters in spreadsheets in ExcelPhoto of Insert special characters in spreadsheets in Excel
    show you how to insert special characters in spreadsheets in excel. to insert special characters in excel, perform the following steps: step 1: place the cursor at the position where you want to insert special characters - insert - symbols - symbol: step 2: the symbol dialog box appears
  • Insert and edit flowcharts (SmartArt) in ExcelPhoto of Insert and edit flowcharts (SmartArt) in Excel
    instructions on how to insert and edit flowcharts (smartart) in excel. to insert the flowchart you perform the following steps: step 1: go to the insert card - illustration - smartart: step 2: the choose a smartart graphic dialog box appears, select the type of flowchart to insert.
  • Set page margins in ExcelPhoto of Set page margins in Excel
    show you how to set print margins in excel. setting margins for pages in excel is an indispensable operation for print jobs after calculations. to set the margins for the printed page, follow these steps: step 1: go to the home tab - pagelayout - click on the hat
  • Repeat the worksheet title when turning the page in ExcelPhoto of Repeat the worksheet title when turning the page in Excel
    show you how to repeat the title of the spreadsheet when you turn the page in excel. to repeat the worksheet title when moving to the page, follow these steps: step 1: go to page layout - page setup tab - click on the bottom arrow icon: step 2: page setup dialog box
  • Create header and footer in ExcelPhoto of Create header and footer in Excel
    teach you how to create headers and footers in excel. to create the header, the footer follows these steps: step 1: go to page layout - page setup tab - click on the arrow below: step 2: a dialog box appears - click the header tab /
  • Perform printing in ExcelPhoto of Perform printing in Excel
    guide you to perform printing in excel. after setting up the page to print the final step, you can manipulate to print the worksheet in excel. step 1: after setting up the worksheet - click file - print: step 2: the print window appears in pa section