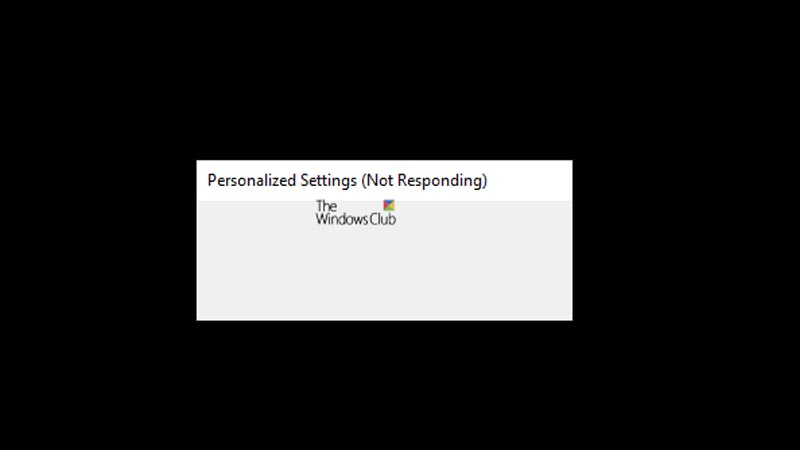
How to fix Personalized Settings (Not Responding) error on Windows 10
If after starting Windows 10 , on your computer screen shows a Personalized Settings (Not Responding) error that you don't know how to fix, please follow along with this article!
1. What is the Personalized Settings (Not Responding) error?
The Personalized Settings (Not Responding) error is an uncommon error and often appears when restarting the computer after updating Windows.
When this error is encountered, the device will display a white or black screen with the message Personalized Settings (Not Responding), which means "personalized settings are not responding".

2. Causes of Personalized Settings (Not Responding) error
There are 2 main reasons for this situation:
- File Explorer cannot start after you update the Windows operating system .
- Your Windows crashed after being updated due to device incompatibility.

3. Instructions on how to fix Personalized Settings (Not Responding) errors
Disconnect connected devices and restart the computer máy
Windows computers often get Personalized Settings (Not Responding) errors after being updated to a new version, and this version is not compatible with the device.
You can actually fix this error by disconnecting including all devices such as mouse , keyboard , headset , . then restarting the computer.
After starting the computer, if the Personalized Settings error is fixed, you can reconnect to the devices and use them normally.
Delete Registry Key for Windows Update
If the Personalized Settings error appears after you perform a Windows update, you can use the Registry Editor to delete or remove the Registry key for Windows updates.
Step 1 : Press the Windows + R key combination to open the Run dialog box.
Step 2 : Enter regedit in the Open box > Select OK .
Step 3 : Select Computer > Select HKEY_LOCAL_MACHINE .
Step 4 : Continue to open the folders in the order: Computer > HKEY_LOCAL_MACHINE > SOFTWARE > Microsoft > Active Setup > Installed Components.
Then you right click on { 89820200-ECBD-11cf-8B85-00AA005B4340 } > Select Delete .
Step 5 : Follow the instructions in the pop-up to complete.
Relaunch Windows Explorer
Step 1 : Press Ctrl + Alt + Delete or Ctrl + Shift + Esc to open Task Manager.
Step 2 : Select Task Manager ( Task Manager ).
Step 3 : Right-click Windows Explorer > Select End task .
Step 4 : Select File > Select Run New Task .
Step 5 : Type Explorer in the new window > Click OK to relaunch Windows Explorer.
Run SFC Scan with Command Prompt
Step 1 : Enter the keyword " command " and the search box > Select Run as administrator to open Command Prompt as administrator.
Step 2 : Select Yes to allow opening Command Prompt under Admin.
Step 3 : Enter the command sfc /scannow > Press Enter to run the command.
Step 4 : Wait for the computer to run the command and restart.
After performing the above methods, the Personalized Settings (Not Responding) error on Windows 10 will be fixed.
This article showed you how to fix the Personalized Settings (Not Responding) error on Windows 10. Wish you success in fixing the error!
You should read it
- Steps to reset WiFi modem
- How to block Google personalized ads
- How to sync settings on Windows 10
- How to search for settings options in the Settings menu on Android
- How to set up Bluehost Webmail account
- How to Set Up a Personalized Google Chrome Homepage
- Fix Not responding on Windows 10
- Synthesis of the hottest technology news from October 2
- Fix 'Something went wrong, Try to reopen Settings later' error on Windows 10
- How to change advanced settings hidden in the browser
- New features in the Settings application on Windows 11
- How to access website settings in Safari on iPhone, iPad
