How to Disable Automatic Reboot After Windows Update
After downloading and installing an update from Windows Update, a window constantly pops up nagging you to restart, and even counting down to an automatic restart. Tired of this? Disable it. Download Find and Run Robot (FARR).
Table of Contents
Method 1 of 3:
Using a Third-Party Program
-
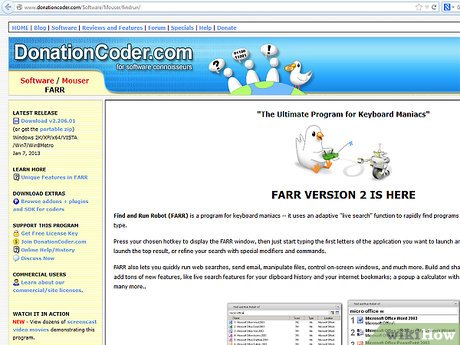 Download Find and Run Robot (FARR).
 -
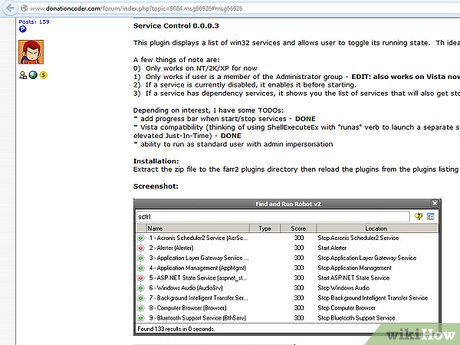 Download the Service Control plugin for it located here.
 -
 Type in "sctrl autom".[1] Windows Update will stop nagging you until the next reboot.
Method 2 of 3:
Editing the Registry
-
 Back up your registry.
 -
 Open regedit by typing "regedit" into the Start > Run dialog.
 -
 Navigate to HKEY_LOCAL_MACHINE Software Policies Microsoft Windows WindowsUpdateAU.
 -
 Create or change the DWord value NoAutoRebootWithLoggedOnUsers to 1.
 -
 Exit and reboot.
Method 3 of 3:
Using XP Pro
-
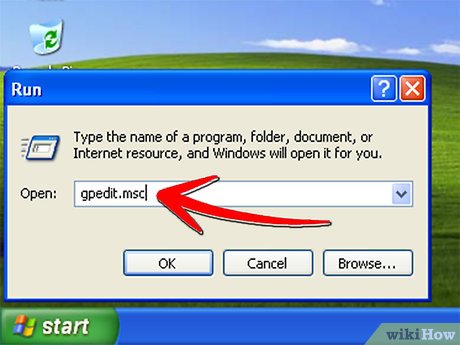 Enter gpedit.msc into the Start > Run dialog.
 -
 Navigate to Computer Configuration > Administrative Template > Windows Components > Windows Update.
 -
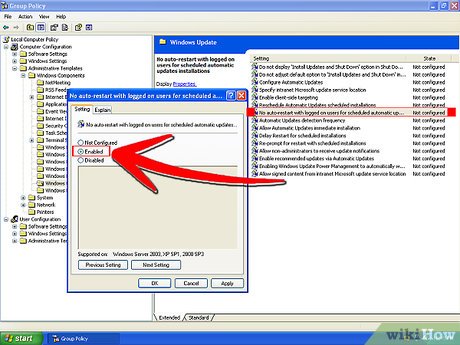 Right click on No auto-restart for scheduled Automatic Updates installations. Enable it.
 -
 Exit the Group Policy editor and reboot.
- Note that using the "No Auto-Restart" feature does not achieve the goal that you want. It will stop the auto-restart but you will continue to get pop-ups asking for a restart until you do. To prevent this, you need to enable "Re-prompt for restart with scheduled installations", found in the same section, and set the interval for reprompts to the max allowed which is 1440. That's 24 hours. You will probably turn off or restart your computer normally during that time. With this option set, you will be asked only once to restart now or later. After you click later, you will not be asked again until the next day if you have left your PC on for 24 hours.

- Note that using the "No Auto-Restart" feature does not achieve the goal that you want. It will stop the auto-restart but you will continue to get pop-ups asking for a restart until you do. To prevent this, you need to enable "Re-prompt for restart with scheduled installations", found in the same section, and set the interval for reprompts to the max allowed which is 1440. That's 24 hours. You will probably turn off or restart your computer normally during that time. With this option set, you will be asked only once to restart now or later. After you click later, you will not be asked again until the next day if you have left your PC on for 24 hours.
Was this article helpful?
Your feedback helps us improve.
Related Articles
 Trick to enable / disable Windows Updates on Windows 10 quickly and easily3 minutes read
 Turn off the Win 10 update, stop Windows 10 from updating automatically8 minutes read
 How to stop Windows updates on your PC9 minutes read
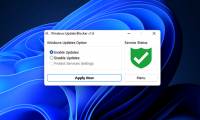 Windows Update Blocker 1.6 - Download Windows Update Blocker here5 minutes read
 How to enable / disable automatic restart when BSOD error is encountered in Windows 103 minutes read
 How to disable driver updates via Windows Update3 minutes read
Reader Comments 0
Sign in with email or Google to join the discussion.