How to Turn Off User Account Control (UAC) Notifications
User Account Control (UAC) is a Microsoft Windows feature that helps prevent users from making unauthorized changes that would otherwise require permission from administrators. You can manage your computer's UAC notification settings at...
Table of Contents
Method 1 of 3:
Windows 8
-
 Swipe in from the right side of your screen, then tap on 'Search.' If using a mouse, point to the lower-right corner of your screen, move the mouse pointer up, then click on 'Search.'
 -
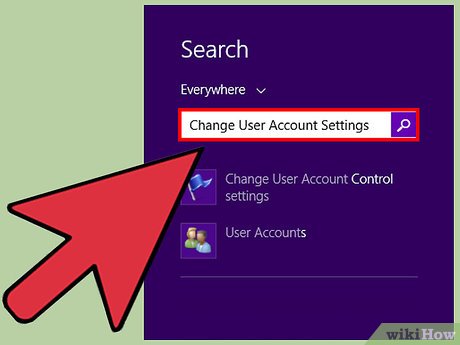 Type 'Change User Account Settings' into the search field displayed at the top-right corner. The UAC Settings menu will display on-screen.
 -
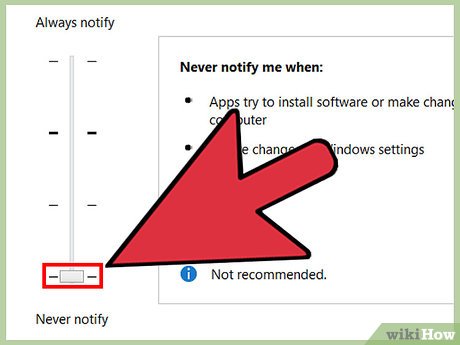 Move the slider button to the 'Never notify' position at the bottom, then tap or click on 'OK.'[1]
 -
 Swipe in from the right side of your screen, then tap on 'Settings.' If using a mouse, point to the lower-right corner of your screen, move the mouse pointer up, then click on 'Settings.'
 -
 Tap or click on 'Power,' then tap or click on 'Restart.' UAC will be disabled after your computer reboots.
Method 2 of 3:
Windows 7
-
 Click on the 'Start' menu and select 'Control Panel.' The Control Panel window will open and display on-screen.
 -
 Type 'uac' into the search box of Control Panel, then select 'Change User Account Control settings.'
 -
 Move the slider button to the 'Never notify' position, then click on 'OK.'
 -
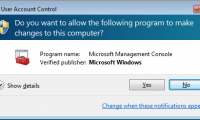
 Enter the administrator password at the prompt to confirm you want UAC disabled.
 -
 Click on the 'Start' menu, then click on the arrow next to 'Shut Down.'
 -
 Select 'Restart.' UAC will be officially disabled after your computer restarts.[2]
Method 3 of 3:
Windows Vista
-
 Click on the 'Start' menu and select 'Control Panel.' The Control Panel window will open and display on-screen.
 -
 Click on 'User Accounts and Family Safety,' then click on 'User Accounts.'
- If using a computer connected to a network domain, click only on 'User Accounts.'
-
 Click on 'Turn User Account Control on or off,' then enter the administrator password at the prompt.
 -
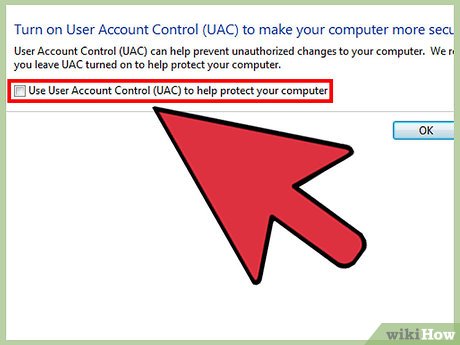 Remove the checkmark next to 'Use User Account Control (UAC) to help protect your computer,' then click on 'OK.' UAC will now be disabled on your computer.[3]
Was this article helpful?
Your feedback helps us improve.
Related Articles
 How to turn off notifications of User Account Control in Windows?2 minutes read
 4 ways to turn off User Account Control (UAC) on Windows 117 minutes read
 Instructions to turn off notifications on Zalo effectively4 minutes read
 Tips to help you control notifications from Zalo, Facebook, Messenger ...4 minutes read
 How to turn off Instagram notifications on iPhone, Samsung, Oppo, LG, HTC phones.4 minutes read
 How to Disable User Account Control (UAC) on Windows2 minutes read
Reader Comments 0
Sign in with email or Google to join the discussion.