How to Create a Gradient in Photoshop
In image editing software, a gradient is a gradual change in color or tone that stretches across an image or part of an image. Gradient is used to add subtle color changes to an image (e.g. change due to shadows), and you can layer and combine gradients for dramatic effects. If we want to create gradients in Photoshop, we need to use the gradient tool to add a linear, radial, angular, reflective, or diamond transform color to the selected area or layer. Basic gradients are easy to do, but you can also do more advanced customization with the Gradient Editor. Note: we cannot add gradients to indexed or bitmap images.[1] X Research Source
Table of Contents
Add basic gradient to layer
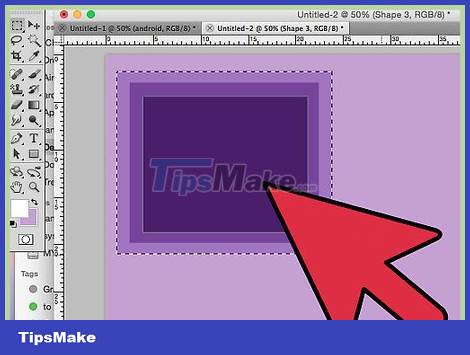
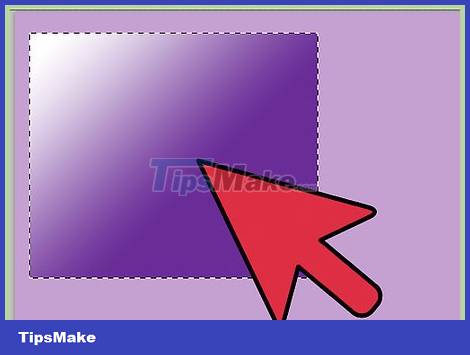
Create a gradient shape with the selection tool. These are dotted line icons, such as the square or noose selection tool, that let you select a small area in the image. If you don't select it, the gradient will overlay the entire current layer.
The gradient can be any shape, as long as you can make a selection.
If you are just getting started, create a small square and work on it.
The gradient will cover the selected area. So, if you just created a gradient without using the selection tool, the entire layer will be covered by the gradient.
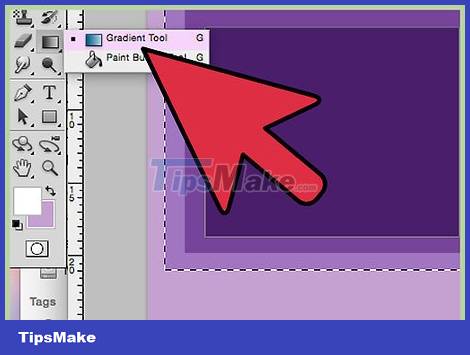
Select the gradient tool with a small rectangular icon that fades from black to white. If you don't find this option, click and hold on the paint bucket icon as the two tools often stack on top of each other. After you click that, a "gradient bar" will appear near the top of the screen. This is where you can edit the gradient look.

Choose a color for the gradient using the two squares in the bottom right. This is also the icon at the end of the toolbar that we often use to select the color for the brush or pencil. Double click on each square to change the color.
The front square represents the starting color of the gradient. Example: red.
The square behind is the color where the gradient will fade. Example: white.
The gradient in the upper left corner shows an example of a preview of the combination.
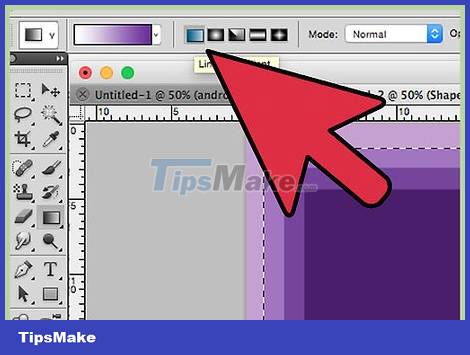
Select the type of gradient you want to use. Heading up to the top bar, you'll see many small icons representing different gradient styles. Note: not all versions of Photoshop have all of these gradient types, but only the most recent versions as of 2015. The best way to find out is to try each style one at a time to see the change.
Linear: The basic linear gradient is almost like the night sky. This gradient is simply a gradual transition between two colors in a straight line.
Radial: A radial gradient of one color that starts at the center and spreads out in a sphere, gradually transitioning to the next color. Just like when we look at the Sun, the first color is "Sun" and the second color is "sky".
Angular: Angular gradient. More specifically, this gradient sweeps the color in a counterclockwise arc around the starting point. This gradient produces two single colors with gradual gradations around the edges.
Reflected: The reflective gradient creates an inverted image of a regular linear color range. Basically, if you draw a "line" to the right, the gradient will repeat to the left. You will have a reflective gradient. In this case we have three "bars": white, red and white repeat.
Diamond: Similar to the radial form, this gradient will create a diamond or center square instead of a circle.
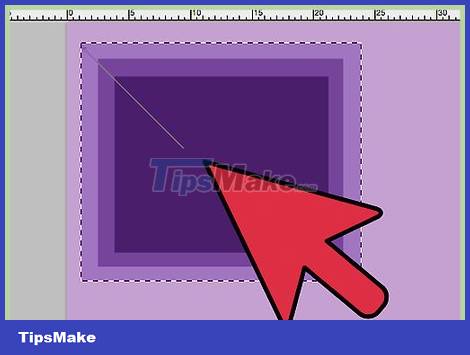
Click and hold to set the starting point of the gradient. You can think of this as the spot where the first color is the darkest. In this example we will have nothing but red. Note: the gradient will automatically fill the selected shape, you don't have to start at the border to fill it properly.
You don't even need to click on the selected area or layer. If you want the color to fade out of the screen, click outside the selection. Thus the gradient effect will become more subtle.
Don't release the mouse until you're ready to adjust the gradient.
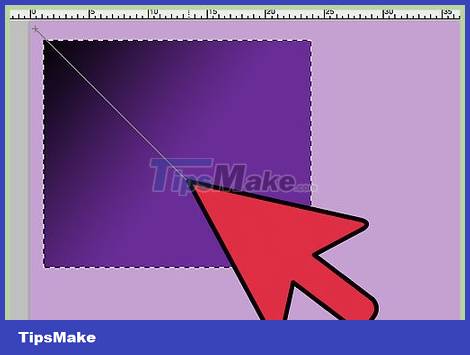
Move the mouse pointer to the direction where you want to fill the color and then release the mouse. The line representing the direction of the fill will extend from the starting point to where you release the mouse. Release the mouse to create the gradient.
The longer the line, the more stretchy the transition will be.
The shorter straight line will cause a sudden change between the two colors.
Use gradients to create gradients anywhere. Gradient is a very powerful tool in Photoshop. Not only making colors fade, gradients are also capable of creating any transition or blending effect. We can use gradients with transparent layers to gradually merge the two layers together. Color gradients can be layered above text. You can use low opacity gradients to artistically colorize images even during transitions between black and white. In short, every object that you can select has gradients applied.
Customize gradients

In the Tools panel, click the Gradient tool. We can preset, create precise color layouts and even edit to perfect pre-existing gradients. To open the Gradient Editor, select the gradient tool as usual. Then you click the gradient swatch that appears in the bar at the top of the screen. We will now have:
Various color ranges are available.
An example of a gradient with adjustable sliders.
Information about layers and transparency.
Options to create a new gradient, load the old gradient or save the gradient you create.

Click the color range that you want to edit. You can also manage presets or edit existing gradients. This allows you to perfect the color range before use. If there is more than one layer then you need to make sure that you have selected the layer containing the gradient.
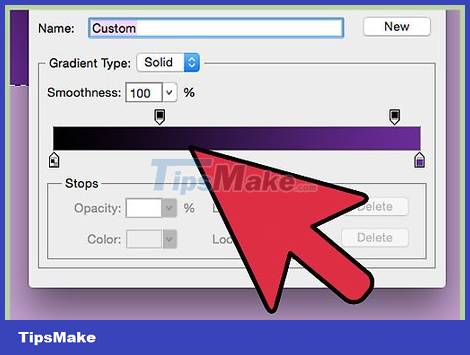
Change the color by clicking the little stoppers below the sample gradient. You can click along the color strip to add more colors. About halfway down the Gradient Editor is an example bar that contains the gradient inside. Below are two gray stoppers that you can click to change the color.
Double click on the line to add another stop. You can add as many blocks as you like.
Click and drag the stopper towards the bottom of the screen to remove it. Or you can click the block button and press the Delete key.
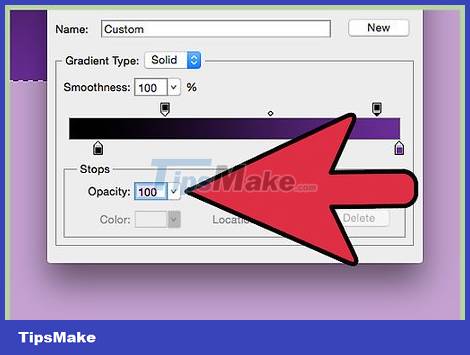
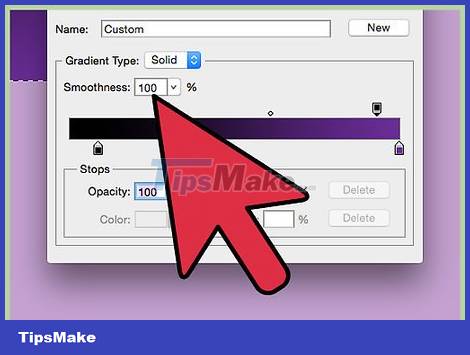
Change the opacity by clicking the little stopper above the swatch color strip. These buttons change the color uniformity and you can increase or decrease it as you like. The default opacity is 100%.
Similar to color stops, we can add more complex gradients by right clicking.
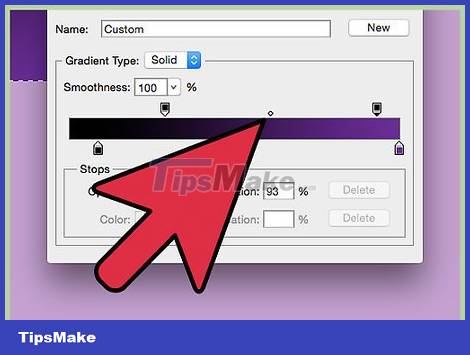
Align the diamond icon in the center to center it. This is where the two colors meet, each with a density of 50%. You can drag this diamond button between any two stops to center it.
Adjust the "smoothness" of the gradient for rainbow-like blobs. A "raw" gradient picks a random color for each point with the same value as the last two colors. The result will be a bit like a bookshelf with lots of color slots instead of smooth and uninterrupted transitions.
You can make more advanced fine-tuning by clicking "Noise" from within the Gradient Type pop-up menu.
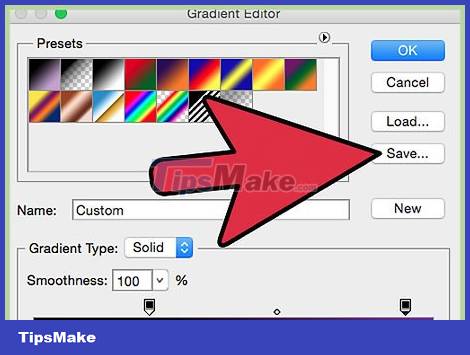
Save any color gamut you like or download more from the net. The preset color gamut is extremely useful, so you don't have to do the same thing twice. As soon as you have a gradient you like, click Save now. You can also go online and search for "Gradient Preset Packs" keyword. There are thousands of options out there and you only need to download a very small file to your computer. Then proceed to load the gradient into Photoshop using the "Load" button in the gradient editor.
Was this article helpful?
Your feedback helps us improve.
Related Articles
 Instructions for using the gradient tool in Photoshop4 minutes read
 Download the new Gradient palette for Photoshop3 minutes read
 Coloring gradients in Photoshop - Guidelines for using gradients in Photoshop6 minutes read
 Instructions for creating Gradient effects in Word3 minutes read
 Gradient - color linear transformation in CSS7 minutes read
 Synthesize the most beautiful CSS Background Gradient template6 minutes read
Reader Comments 0
Sign in with email or Google to join the discussion.