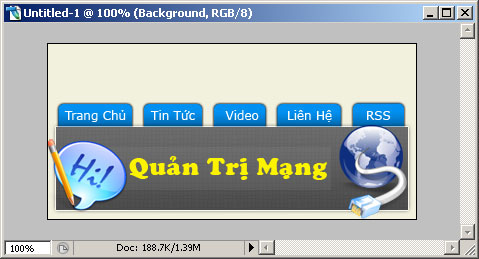
PhotoShop - Create a title for the menu
You will learn how to use Rectangle marquee tool, Drop shadow, Gradient overlay and Outer glow on the menu and many other operations.
In this tutorial, we will show you how to create an impressive menu title. You will learn how to use Rectangle marquee tool, Drop shadow, Gradient overlay and Outer glow on the menu and many other operations.
Step 1
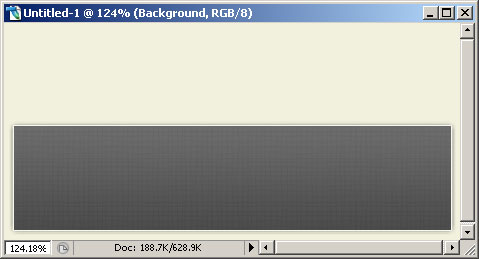
Select the color above # 474747 and using the Rectangle Tool , create a rectangular selection like the following image
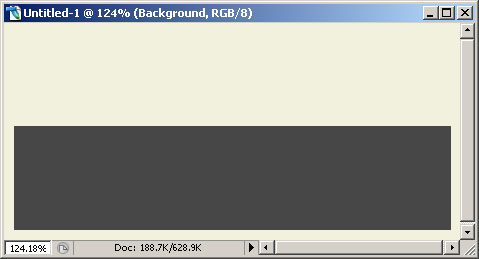
In that selection, we add the following formats:
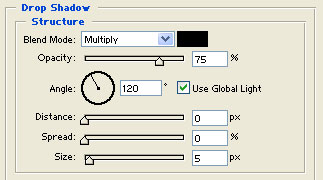
Drop shadow
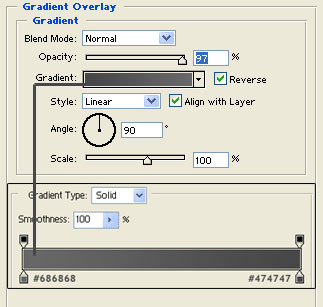
Gradient overlay
Pattern
For the pattern choose any type of background you want to apply to the menu background.
Stroke
Select Stroke color as white (#FFFFFF), thickness is 1px and Opacity is 55%
Once done, you will have the following image:
Step 2
Now we will create a menu at the top of the newly created rectangle.
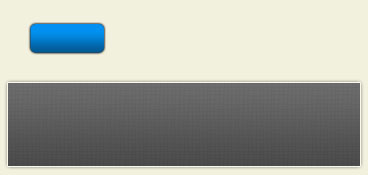
Set the color to # 0290F1 and use Rounded Rectangle Tool to create a shape like this (change the rounded corner of the rectangle in the Radius box on the horizontal toolbar)
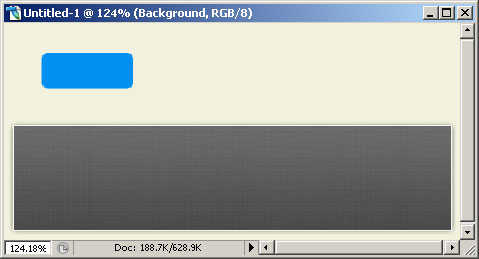
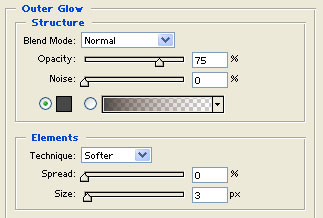
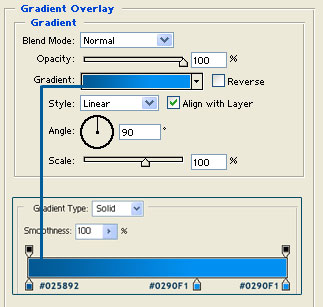
This will be a button in the menu. Select the shape you just drawn and add the following formats:
Outer glow
Gradient overlay
After editing, we will have the menu button as follows
Step 3
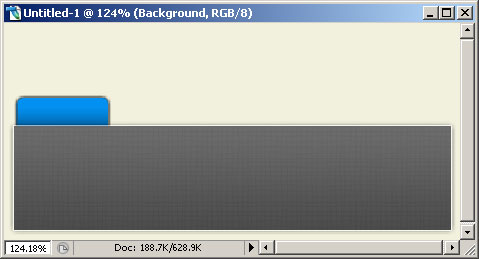
Now place the menu button layer below the original created rectangle layer. Put in the corresponding position like the following figure
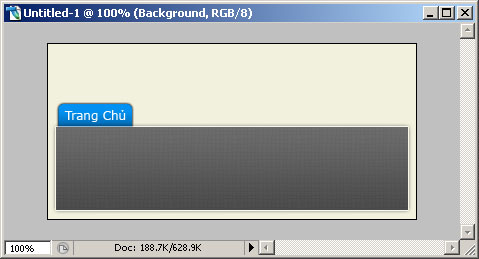
After you have prepared the menu button, create text for that menu. You can choose any font, in this example I choose the font Verdana , size 12pt , the font color is white.
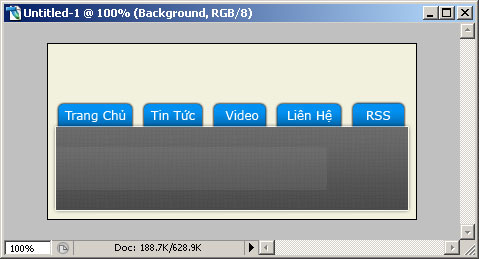
Repeat the steps to create the button and create the text for each necessary menu

Step 4
Add a new layer, select the Rectangle marquee tool and create an area like the following image. Fill the background with the white shape and reduce the opacity of the image to 5%.
Find a suitable image (searchable on the Internet) to decorate the menu title.
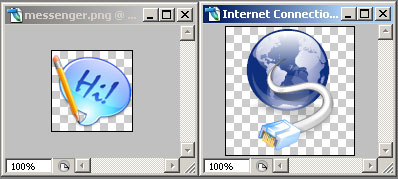
Place the image in the appropriate position
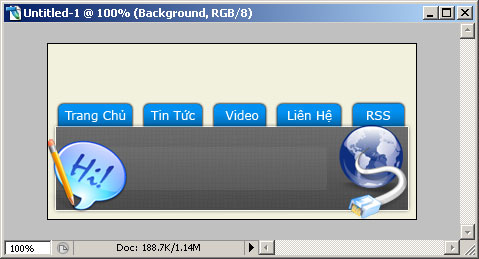
Add a title or page name to the fuzzy area you created, which font can be used as you wish, but it must be appropriate and stylish.

Was this article helpful?
Your feedback helps us improve.
Related Articles
 How to use Photoshop CS5 - Part 8: Menu Filters7 minutes read
 How to use Photoshop CS5 - Part 4: Basic menus14 minutes read
 How to create GIF animations in Photoshop5 minutes read
 How to create a snowman in Photoshop2 minutes read
 How to create SVG from PNG or JPG in Photoshop3 minutes read
 How to create texture in Photoshop CC9 minutes read
Reader Comments 0
Sign in with email or Google to join the discussion.