How to use layers in PaintTool WRONG
The layers in PaintTool SAI can help you achieve results much faster and make your work easier.
PaintTool SAI may seem like a scary program at first, but don't let that discourage you. TipsMake will show you how to get started with layers in the following article.
What is layer in PaintTool SAI?
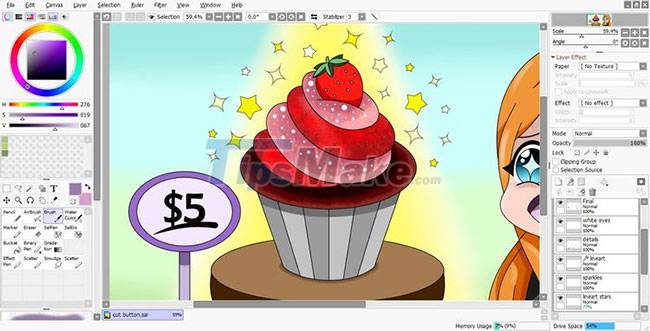
In digital image editing, we use layers to separate different elements of an image. In simpler words, layers in PaintTool SAI allow you to apply effects and then place them above or below an image.
The layers in PaintTool SAI work a lot like the layers in many other editing programs, such as Adobe Photoshop. If you already know how to use layers in Photoshop, getting used to layers in PaintTool SAI will not be difficult at all.
How to use layers in PaintTool WRONG
PaintTool SAI offers a lot of freedom to the user, so everyone can use the layer options in their own way. However, there are some basic suggestions that you should follow as a beginner.
Layers are mainly used to separate elements of an image. This means that you should place the outline, color, shadow, lighting, and other elements of the same image on separate layers. This way, you can correct or change everything later without affecting the rest of the image, whether it's the colors, the added detail, or anything else.
By default, you can find the layers in PaintTool SAI on the left side of the screen, right next to the tools panel.
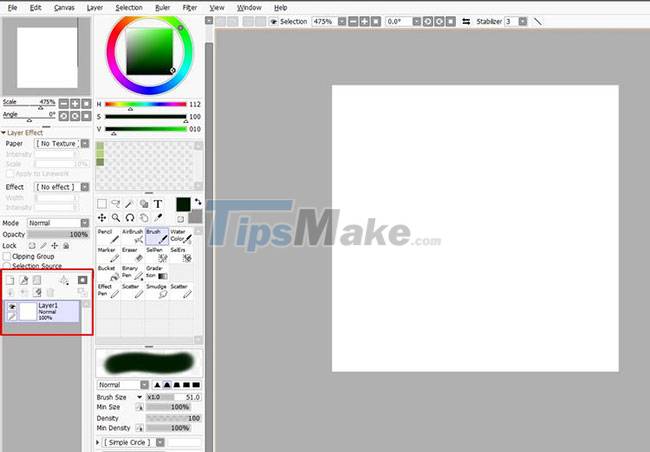
You can change the position of the Layer Panels by clicking Window > Show Navigator and Layer Panels on Right Side. Everything depends on personal preference.

How to create and delete layers
To create a new layer, you can simply use one of the following two icons in the Layer Panel:
- Normal layer: This is the most commonly used basic layer and it allows you to paint with any of the tools presented.
- Linework layer: In this layer you will get another set of tools. Instead of being able to draw freely, you will have specific tools for drawing. This layer is most commonly used to create perfect lines and curves.

Another way you can add layers is to click on Layers (in the top menu) and select the type of layer you want to create.

To delete a layer, select the layer you want to delete and click the little trash can icon in the Layer Panel. If you want to delete multiple layers at once, just select the layers you want to delete while pressing Ctrl and clicking the trash can icon. You can also go to Layer > Delete Layer.
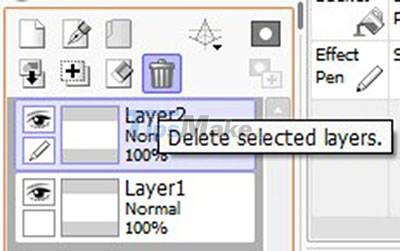
How to delete a layer
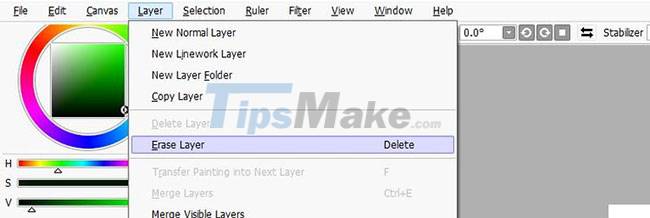
Sometimes when the canvas is too big, manually deleting everything can take some time. Therefore, if you want to delete everything from a certain layer, you can do so by selecting that layer and clicking Erase selected layers in the Layer Panel.
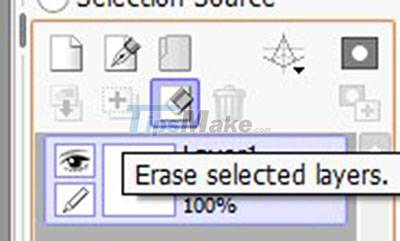
You can also just click Layer > Erase Layer.
How to hide a layer
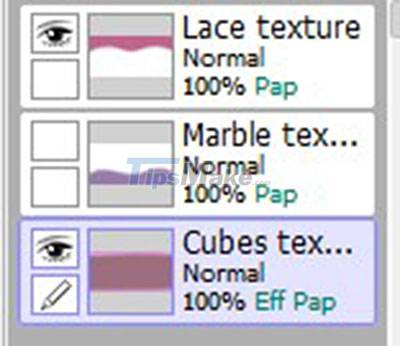
To see the result without any element of a particular layer getting in the way, PaintTool SAI allows you to hide a layer. Next to each layer in the panel, there will be an eye icon that you can click to toggle the show/hide.
How to arrange layers
If you're working on a large project, you'll probably have a lot of layers. This means that it is easy to get confused while searching for a particular layer.
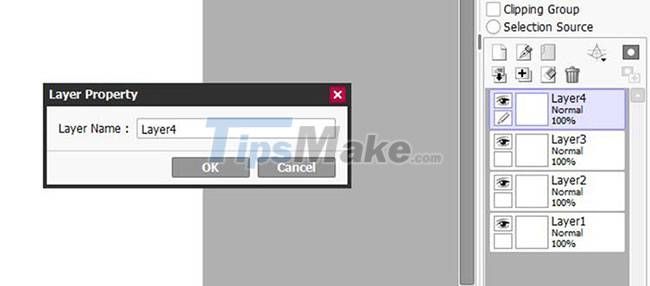
To make things easier, you should give your layers a name. When you create a new layer, it will automatically be named Layer1, Layer2, Layer3, etc. (up to 256 layers). To change the name of a specific layer, simply locate and double-click the name, change it, and then click OK.
In case you have too many layers, naming them all may not be enough. Instead, you should try to create folders. These layer folders work like folders on a PC.
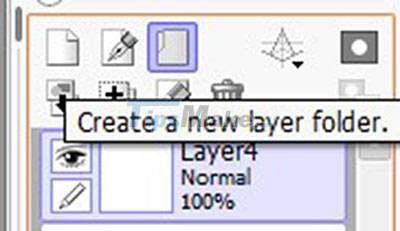
You can create a new layer folder by clicking Layer > New Layer Folder.

Once you create a layer folder, just click and drag the layers you want to place into that folder. You can also rename the layers folder by double clicking on the name.
If you want to merge two or more layers into one, select the layers and press Ctrl, then click the + icon in the Layers Panel.
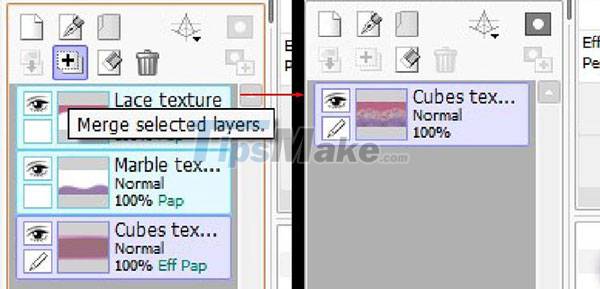
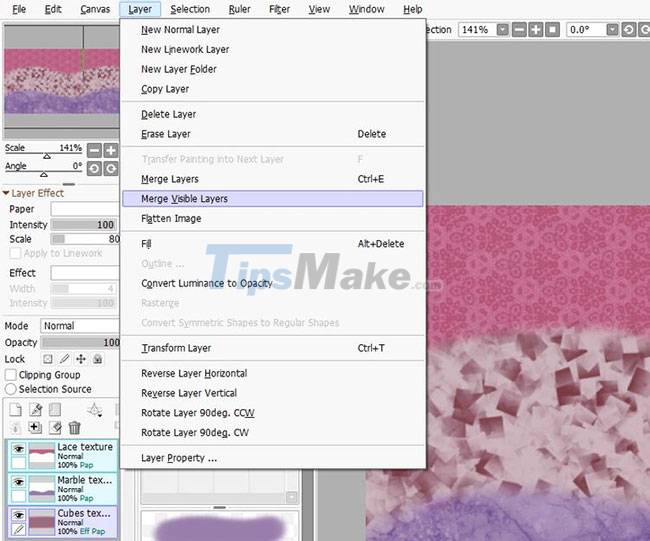
You can also merge layers by going to Layers > Merge Layers.
Remember that if you don't select two or more layers when you click Layers > Merge Visible Layers, you will merge all visible layers in PaintTool SAI.
Get creative with layer effects and textures
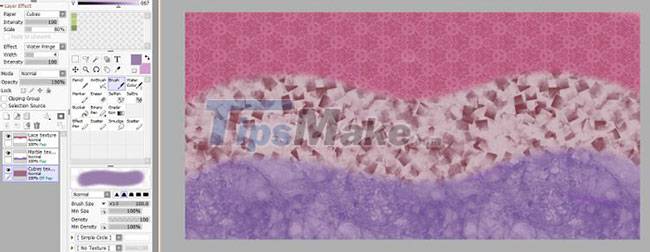
Above the Layer Panel is the Layer Effects, where you can find many textures and some effects that can be applied individually to each layer. You can also change the extent and scale of the textures as well as the width and extent of the effects.
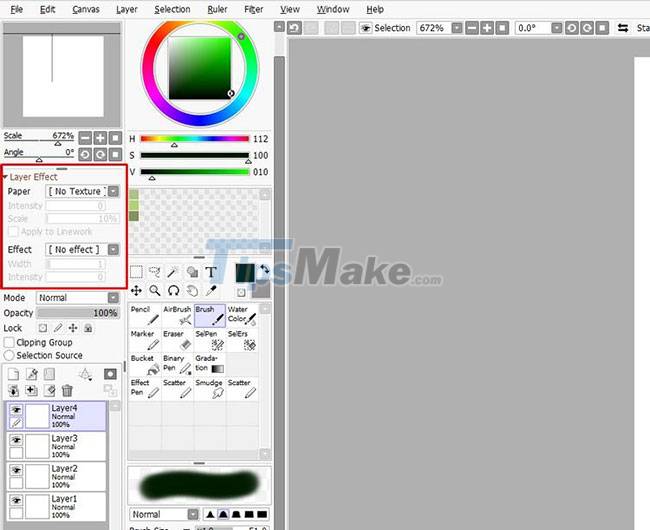
PaintTool SAI comes with a number of textures and effects, but you can download many for free or create your own. Just like Photoshop, PaintTool SAI allows you to choose different opacity settings for each layer separately. You can find the opacity setting right on the Layer Panel.
PaintTool SAI is a simple graphic design program, powerful but at the same time very compact. It may seem complicated at first glance, but getting familiar with PaintTool SAI and its features is not that difficult.
With that said, one of the first things you should learn when starting out with PaintTool SAI is how to properly use layers. It will help you to produce the desired results much faster and easier.