Create ghosts in Photoshop or GIMP
Just a few minutes with Photoshop or GIMP, you can easily create photos with impressive ghosts. Then you can bring your work to use in the upcoming Halloween or create an interesting joke with your friends..
TipsMake.com - Do you often see online or share scary ghost photos but also fun? So do you want to do this?
Just a few minutes with Photoshop or GIMP, you can easily create photos with impressive ghosts. Then you can bring your work to use in the upcoming Halloween or create an interesting joke with your friends.
The following article will detail the cutting process - collage someone's picture and ' magically ' make it a real ghost.
1. Create ghosts in Photoshop
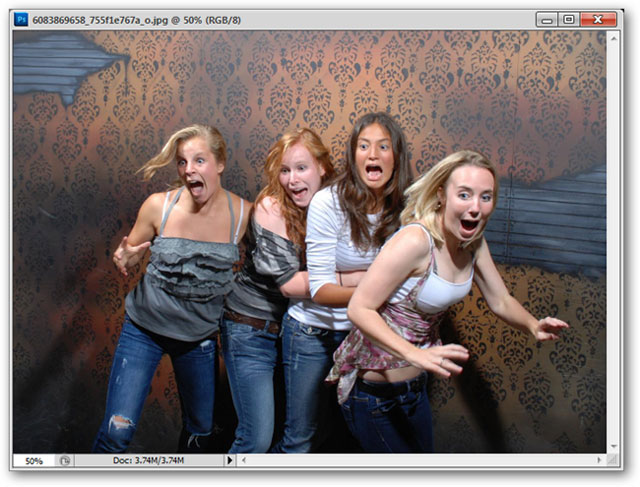
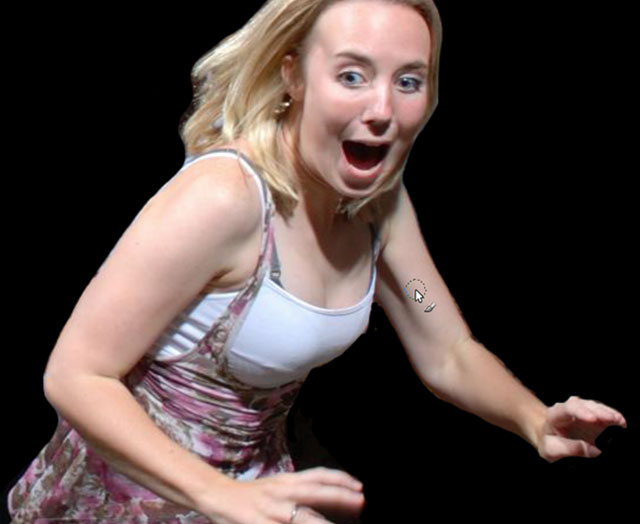
First we need to prepare a good image source as a ' material '. You can download it here.
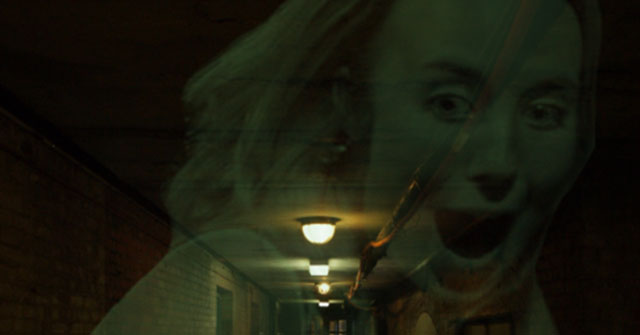
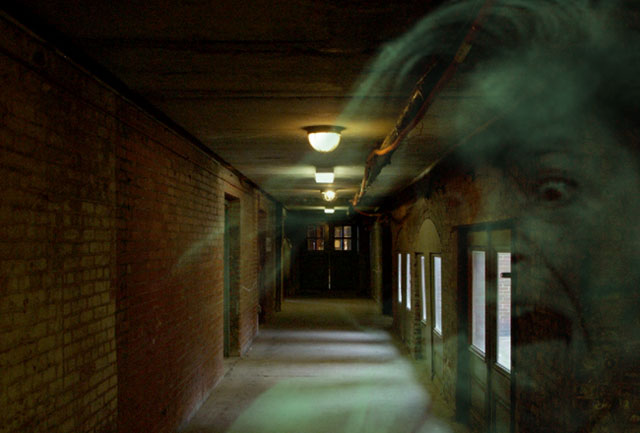
Next choose the background image accordingly. Here we choose the evening corridor:

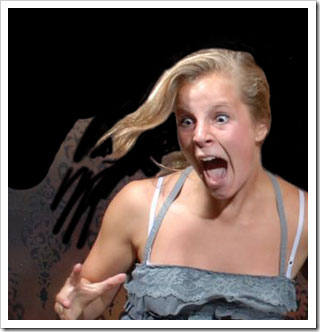
Click the Crop menu (shortcut C ) to crop the part you want to do, here we cut the scary image of this girl:

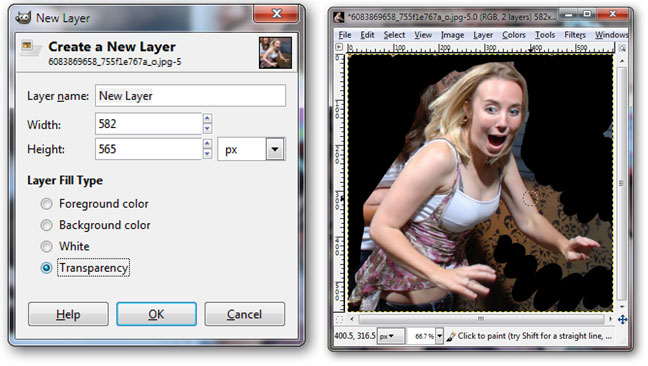
Create a new layer from the background layer by clicking the Create a new layer button:

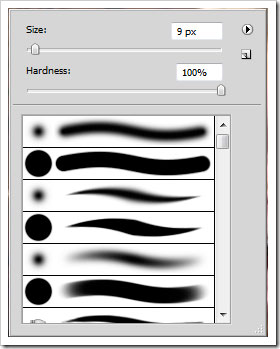
We use the brush tool (press shortcut B ) and right-click to set the hardness. Editing Hardness to 100% will be suitable for hard edges, although a softer brush is good for areas such as hair, which is difficult to define.
Press D to return to Photoshop's default color mode, use the brush and paint black for the unused part. The bright area is the most important part, but it doesn't need to be accurate. You can choose quickly:
After coloring, go to Channels mode (Window> Channels).
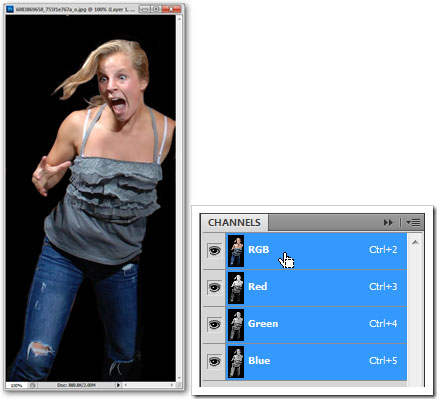
Hold Ctrl and click RGB to load all 3 channels at once.
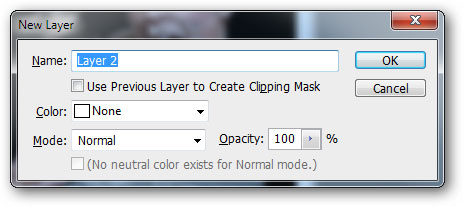
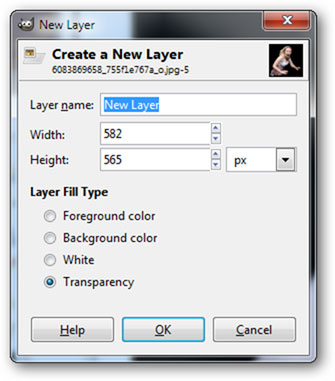
Simultaneously press Ctrl + Shift + N to create a new layer:
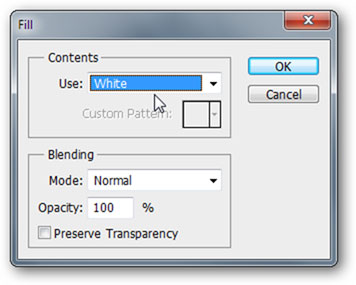
Navigate to Edit > Fill menu. Use : select White , uncheck the box in Preserve Transparency . Then select Select > Deselect (Ctrl + D) to cancel the selection. Now your image will be covered with a white layer. Next open the image as the background and continue the second step.
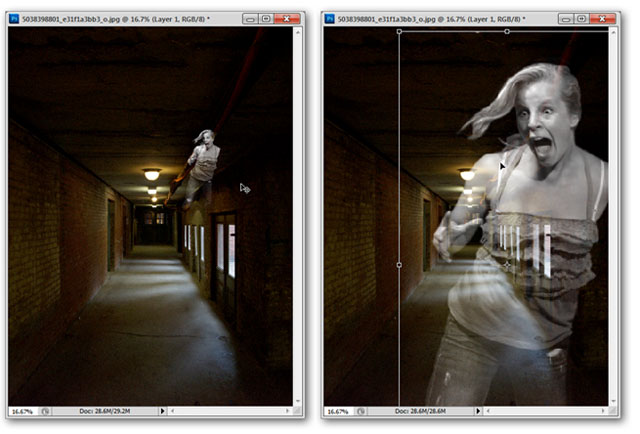
Press V to select the scrolling tool, drag - drop the image layer that has just been white in the background. Press Crtl + T and resize it accordingly.
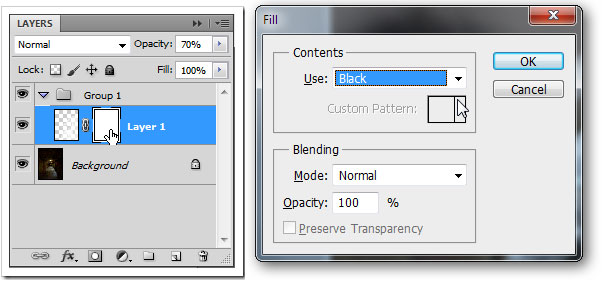
Press Ctrl + G to create a layer group, click the Add layer mask button to create a layer mask. Click on this layer mask, navigate to the Edit > Fill menu, select Black in the Use field .
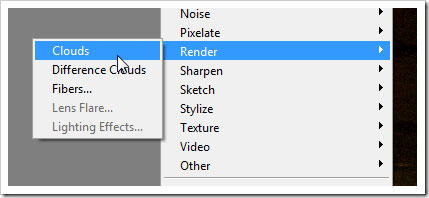
Don't be surprised if your ' ghost ' suddenly disappears from the selected layer mask. Navigate to Filter > Render > Clouds :
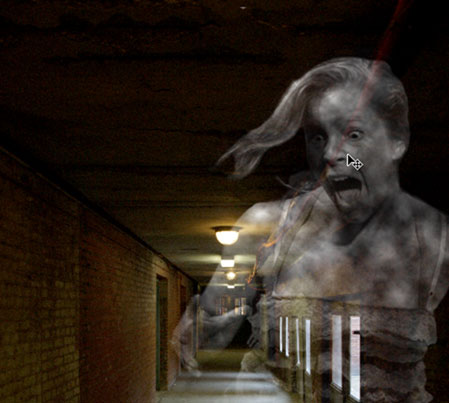
This will create a fuzzy smoke for the layer:
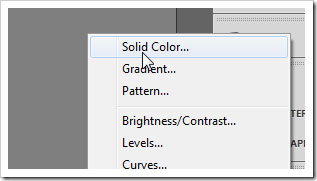
Click on the button
 and select ' Solid Color ' to adjust the layer.
Choose any color to paint your ghost image.
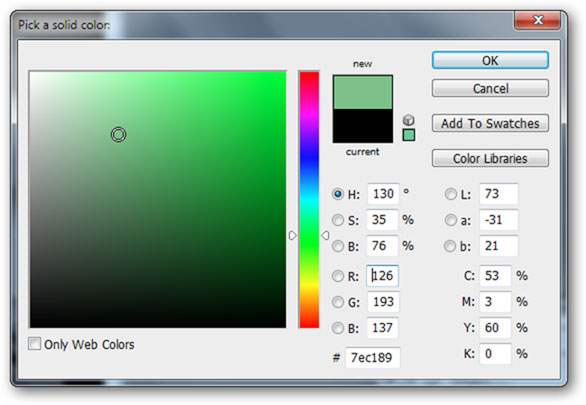
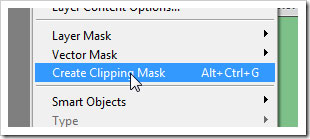
This layer should be placed at the top of the background and the ghost layer. Navigate to Layers > Create Clipping Mask . This clipping mask will allow you to use any color you want for your ghost and change it automatically.
Here your ghost is relatively complete. You can change a bit of settings and further customize your work to be more unique.
2. Make ghosts in GIMP
In general, the above instructions work well, only that taking photos makes ' ghosts ' from a certain image different when working in GIMP. Here's how to do it:
Create a new layer, and like in Photoshop, paint black for the unwanted part.
And you don't need to paint too accurately, a little mistake will not affect your work.
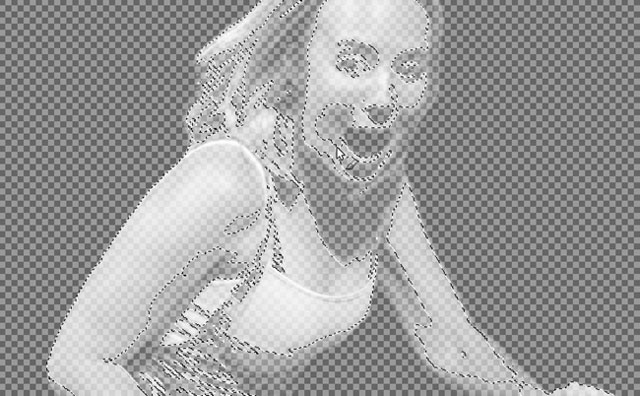
Switch to channels, right-click on the channel Red select ' Channel to Selection .'
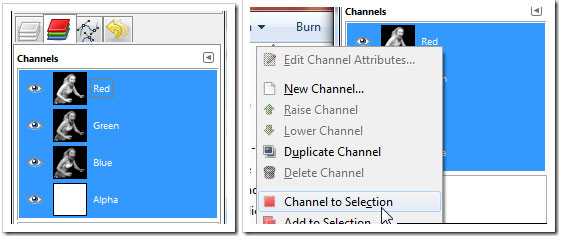
Then right-click the Blue channel and select ' Intersect with Selection .' Finally right-click on the Green channel and select ' Intersect with Selection '.
Create a new layer:
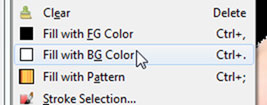
GIMP will allow you to color foreground or background. In this case, the BG is white so we will color the BG.
At this point, it's best to save the image of 'ghost' as a GIMP xcf and place it on the background layer.
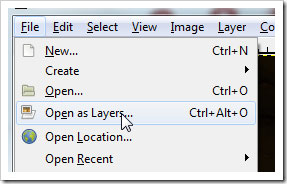
To do this, make sure that your ' ghost ' image is saved as an XCF file and open the background file by going to File > Open as Layers .
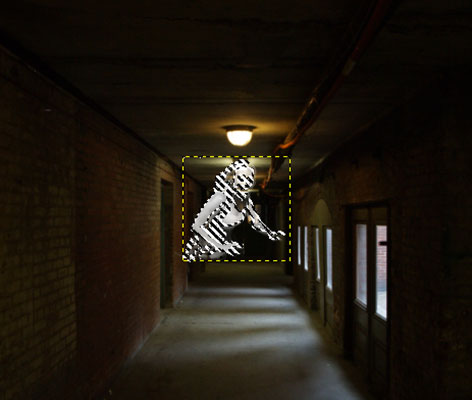
Scale tools can help resize the ' ghost ', and you can mark your layer with transparency as in Photoshop.
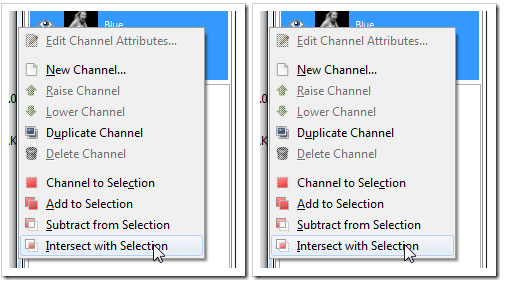
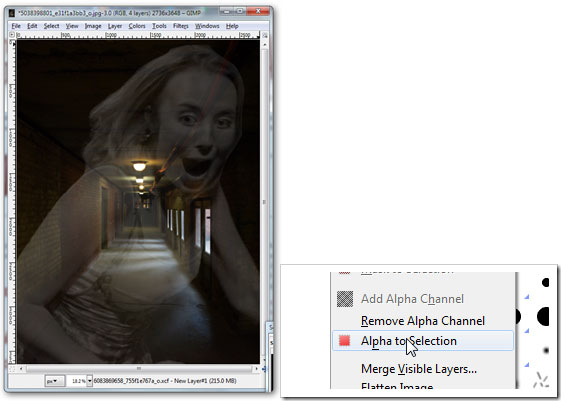
GIMP does not support precise cutting of masks like Photoshop, so at the ' ghost ' layer you right-click and select ' Alpha to Selection .'
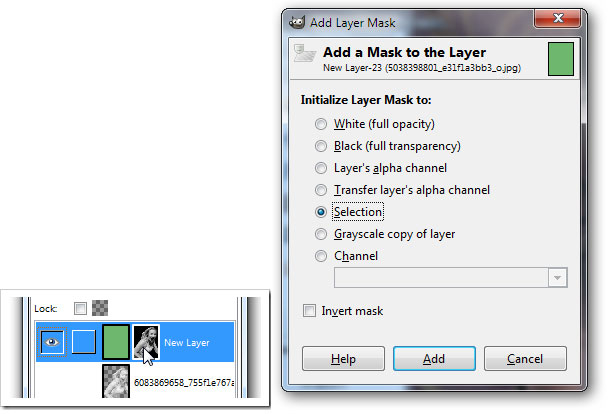
Create a new layer to color the ' ghost ', right-click on it to create a layer mask. When the dialog box on the right appears, select ' Selection ' and then click ' Add .'
And this is your result: