How to Batik
Batik is a Javanese method of producing designs on fabric by using a wax resist. Once the fabric is painted with wax designs, it is placed in a dye bath where only the areas with no wax are dyed. Batik masters can produce complex designs...
Table of Contents
Method 1 of 3:
Batiking Basics
-
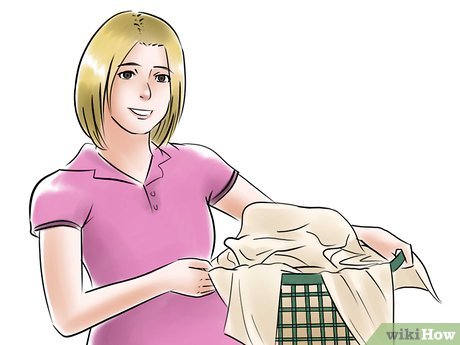 Prewash your fabrics. Use hot water to wash the fabrics in a detergent (such as Synthrapol)[1] to remove chemicals and impurities that can affect dyes.
 -
 Dye your fabrics in base colors. These base colors are the colors that will show under the wax resist.[2]
 -
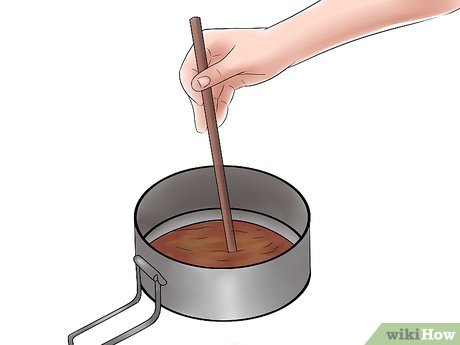
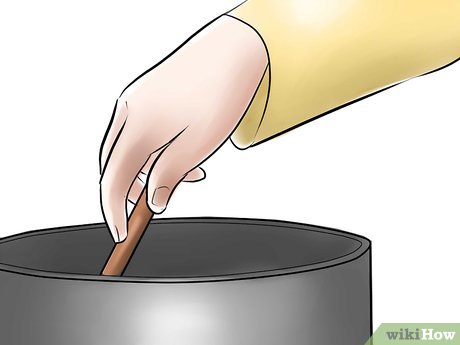 Melt your batik wax. Batik wax comes in a brick that needs to be melted in either an electric wax pot or double boiler.[3]
- Use caution with hot wax. Do not heat it above 240° as it could begin to emit fumes or even catch fire.
- It is not recommended that you heat wax on the stove top. Wax pots and double boilers heat the wax slowly and at a lower heat.
-
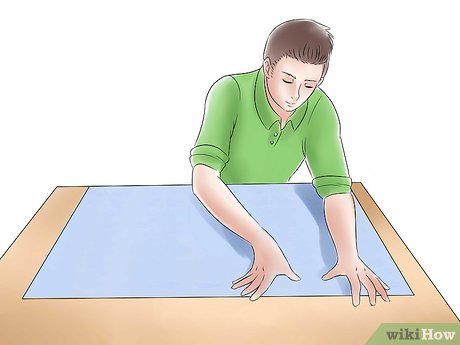
 Stretch your fabric on an embroidery hoop.[4] The hoop will keep the fabric taught and stable, allowing you to apply wax with greater precision.
- If you are applying designs to large swaths of fabric, you can lay newsprint or cardboard on your work surface without stretching it on a hoop. The wax will penetrate through the fabric, so a protective surface underneath is highly recommended.
-
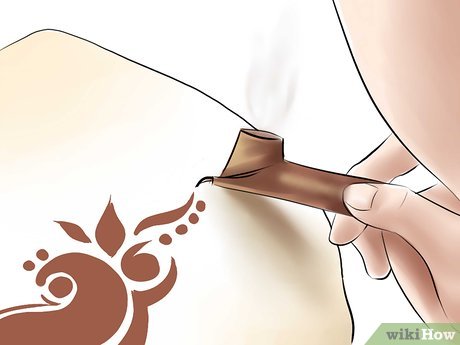
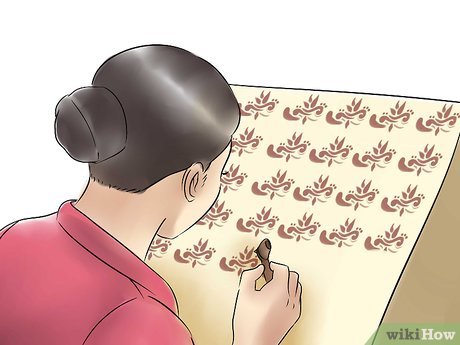
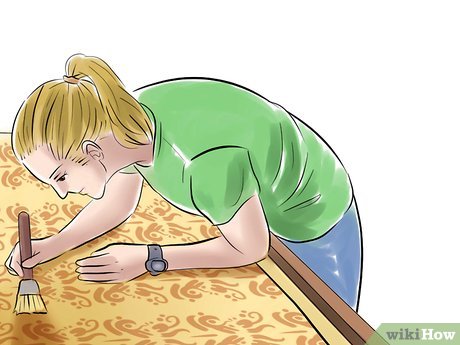
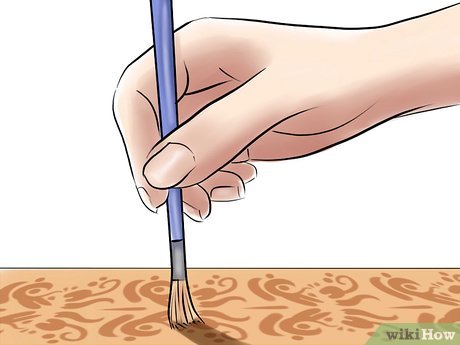
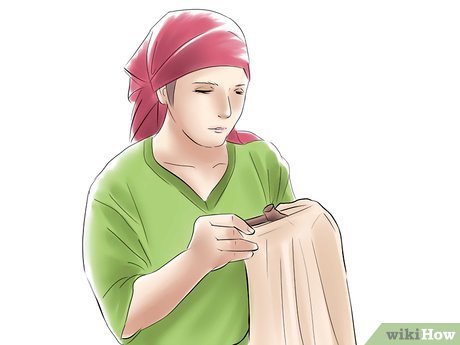 Begin to apply the wax with your tools.[5] Various tools will yield different line qualities, so some experimentation beforehand is recommended.[6]
- Use a single-spouted tjanting tool to draw thin lines and designs. It is a standard tool that is very versatile and comes in a variety of spout sizes.
- A double-spouted tjanting tool creates parallel lines and can also be used in filling larger areas.
- Brushes can also be used to cover large areas. They can be used traditionally, in broad strokes, or as a stippling tool for a dot pattern.
- Use stamps for the application of uniform shapes. Stamps can be made of anything that can take the heat of the wax. Try carving a potato into a shape, or using the end of a celery stalk to stamp out half circles.
-
 Regulate your wax temperature. The wax should be hot enough to penetrate through the fabric, but not be so hot and thin that it spreads when applied. The wax will be clear if it has penetrated to the other side of the fabric.
 -
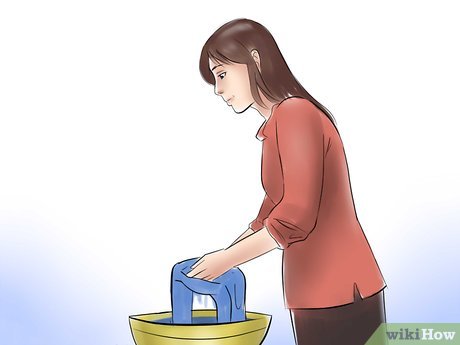
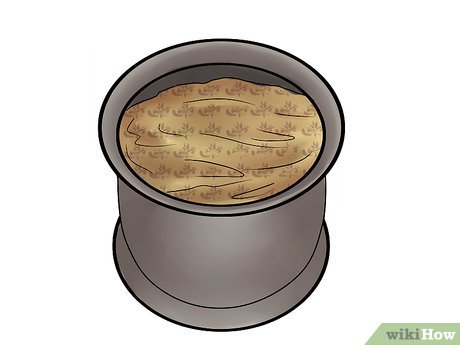
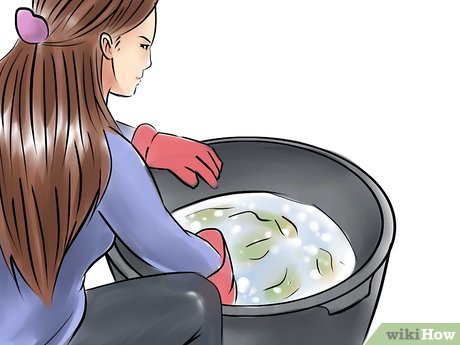
 Get ready to tub-dye your fabric. When considering which dye colors to use, it is recommended that you begin with the lightest colors first (like yellow) and then move towards darker colors.[7]
- Wash your fabric in Synthrapol.
- Dissolve your dye by following instructions on the package. Some dyes (like reds) are harder to dissolve than other.
- Add in the appropriate amount of non-iodized salt. For a 1/2 pound of dry fabric, add in 1 1/2 cups of salt. For a pound of fabric, use 3 cups of salt.
- Add in your damp fabric. Stir gently, but frequently for 20 minutes.
- Mix up your soda ash. Soda ash, or sodium carbonate, is used to bond the dye to the cellulose in fiber. Dissolve the ash in warm water and add it into the tub slowly (over the course of 15 minutes), being careful not to dump it directly onto the fabric (which could cause discoloration). For each 1/2 pound of dry fabric, add in 1/6 cups of salt. For a pound of fabric, use 1/3 cups of salt. Stir gently, but frequently for another 30 minutes.
- Rinse you fabric and wash out excess dye. Run cool water over your fabric until it runs clear. Then wash it in hot water using Synthrapol. With some darker colors, like red or brown, a second washing may be necessary to remove all excess dye. Allow the fabric to dry.
-
 Repeat another application of wax to add more layers of color and design. With every additional layer you wish to add, follow the steps for tub dyeing. Remember to tub dye your darkest colors last.
 -
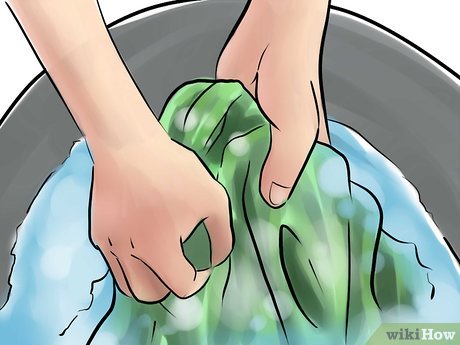
 Remove the wax. When you are done with all the color dyeing, you may remove the wax in one of two ways:[8]
- Boil the wax out. Fill a pot large enough to hold your fabric with water and a few drops of Synthrapol. Once the water begins to boil, add in your fabric and weigh it down with a rock to keep the wax (which will be floating at the top) from re-bonding with the fabric. After a few minutes, the wax will pull out of the fabric. After all the wax appears to be out of the fabric, allow the pot to cool completely, and peel the wax layer from the top of the pot.
- Iron the wax out. Place the fabric between two sheets of absorbent paper and run the iron over the sandwiched fabric. The wax can leave behind a residue, so use care to ensure the wax is removed. Periodically changing out the papers can aid in wax removal.
-
 Wash and dry your fabric. Throw your fabric into the washing machine with Synthrapol one last time to ensure all of the dyes have been released. Dry your fabric either on a line, or in the dryer. All batiked![9]
Method 2 of 3:
Batiking Without Wax
-
 Spread the plastic on your work surface. Lay your pre-washed and pre-dyed fabric over the overlapped sheets of plastic wrap.
 -
 Create designs using the washable resist medium. As with traditional batiking, you may use the single or double-spouted tjanting tool to create thin lines for designs. Use paint brushes to cover larger areas with the medium. Allow the medium to dry for approximately 30 minutes, though exact dry time depends on how thickly the medium was applied.
- Consider using stamps dipped in the medium to create a repeat pattern. You can use a stencil by placing it down on the fabric and dabbing the medium around it with a foam brush.
-
 Mix up your liquid dye. Follow the instructions on the package to mix up the dye. If you are using a liquid dye, adjusting the water-to-dye ratio can create softer (add more water) or more vivid colors (add more dye).
 -
 Apply the dye. Dyes can be dribbled, painted, sprayed, or dabbed on. Consider mixing two or more colors together to create color variations.[10]
 -
 Cover the fabric with plastic wrap. Once you have finished with your dye application, cover the fabric with plastic wrap and seal the edges.
 -
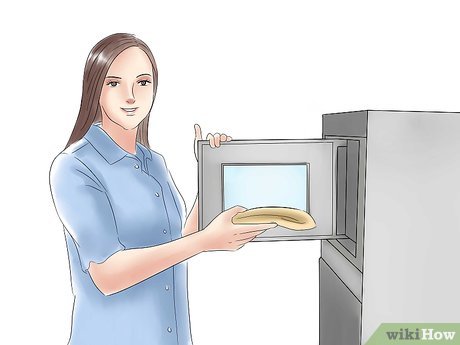 Nuke your fabric. Place paper towels on the bottom of the microwave oven to protect against spills. Place your plastic-covered fabric in the microwave oven (you may need to fold the fabric) and cook on high for 2 minutes.[11]
 -
 Remove the fabric from the microwave. Using thick rubber gloves, carefully remove the fabric from the microwave oven. The fabric will be hot, so use caution! Allow the fabric to cool for a few minutes before removing the plastic.
 -
 Wash and dry your fabric. Rinse your fabric under cool water until it runs clear. After you've removed the initial dye, wash the fabric in warm water with a mild detergent, and rinse. Dry your fabric.[12]
Method 3 of 3:
Batiking Silk (Alternate Method)
-
 Prewash your silk. Add a drop or two of liquid dish soap to a tub or bucket of water. Rinse and dry your fabric.[13] While still slightly damp, press your fabric with an iron set to the "silk" setting.
- If you wish to sketch out a design instead of painting it freehand, this would be done after ironing.
-
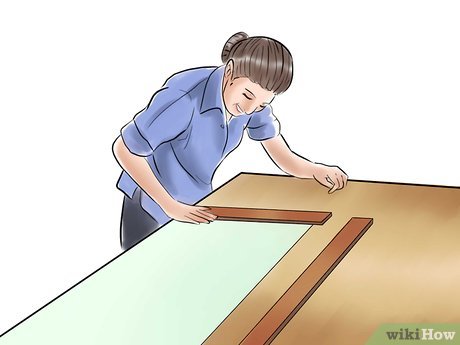 Stretch your silk. Apply safety pins connected to rubber bands around the edges of your silk--every 4–6 inches (10.2–15.2 cm). Lay your silk over the frame and begin to apply push pins to the frame. The rubber bands will hook around push pins set into the frame to create a taut trampoline.
- The rubber bands should be small enough to maintain good tension, but long enough to as to avoid tearing the fabric.
- You can link two rubber bands together to create longer ones if your frame is much larger than the piece of silk.
- The goal is to create a taut surface on which to paint. The surface should be taut, but should not be too tight that it begins to tear.
-
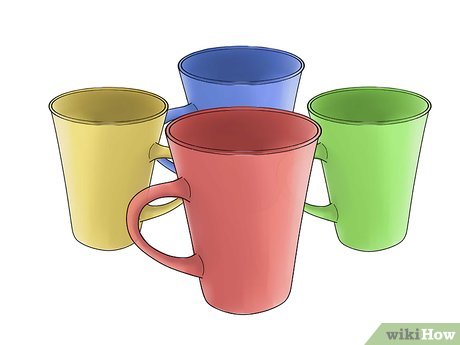 Elevate your frame. Place 4 plastic cups or containers under the frame to raise it off the work surface.
 -
 Apply your resist.[14] The resist can be applied with a paint brush, or through the narrow spout of an applicator bottle. Allow the resist to dry completely before moving on to color. Depending on preference, there are two type of resists that work well for silk painting:
- Rubber based resists, or guttae, are similar in consistency to rubber cement and can be diluted to a thin consistency useful for drawing finer lines. After the color has been set, they are removed by dry-cleaning the finished fabric. The downside of this resist is the fumes it produces. It is recommended that you use a respirator in a well-ventilated area when applying rubber based gutta.
- Water soluble resists are non-toxic, odorless, and wash away in warm water. These resists work well in conjunction with silk paints (as opposed to dyes), which are heat set with heat. The downside to this resist is that it's not as free-flowing as other guttae, and fine details are harder to achieve.
-
 Apply your color. Carefully apply your dye or paint with a brush. Allow the color to flow towards an area of resist. Painting directly on the resist may cause it to dissolve and fill in. There are two options when it comes to color:
- Silk paints are pigment-based products that color the surface of the fabric, but do not penetrate into the fabric's fiber. These colors can be used on a wide variety of fabrics (including synthetics) and are set with a dry iron
- Silk dyes color fabric by forming a bond with the fibers in the fabric. These are a wonderful choice if you do not want to diminish the natural luster of silk. Colors are light-fast and washable.
-
 Allow your painted silk to set for 24 hours. If you have opted for silk paints, heat-set the color by applying the iron for 2-3 minutes on the back side of the fabric. After ironing, rinse the silk in warm water, hang to dry, and iron again while still slightly damp.[15]
- If you used silk dyes, after allowing the color to dry for 24 hours, rinse the fabric until the water runs clear. Add a couple of drops of light detergent or dish soap to a bucket or tub and wash the silk. Rinse again with cool water, and hang to dry. When the silk is almost dry, apply a dry iron heated to the "silk" setting.
Was this article helpful?
Your feedback helps us improve.
Related Articles
 Can Pokemon Go be played on a computer? The answer is yes!5 minutes read
 Summary - How to play Pokemon GO, virtual reality game catch Pokemon on smartphone5 minutes read
 Things you didn't know about 26 types of Pokeball - Part 24 minutes read
 Stardust's effective way in Pokemon GO4 minutes read
 AZ word about eggs in Pokemon Go3 minutes read
 Things you didn't know about 26 types of Pokéball - Part 17 minutes read
Reader Comments 0
Sign in with email or Google to join the discussion.