Table of Contents
This practical guide explains how to Adjust Line Spacing in Word Tables Very Easily through clear, ordered steps. It also covers useful settings, common mistakes, and checks that can improve the final result.
Microsoft Word has many functions to make the text look more eye-catching and easier to read. For example, how to delete cells in a table helps to delete unnecessary cells. And how to adjust line spacing in the table below will help you know how to efficiently space rows.
How to Adjust Line Spacing in Word Tables
Method 1. Using the mouse pointer
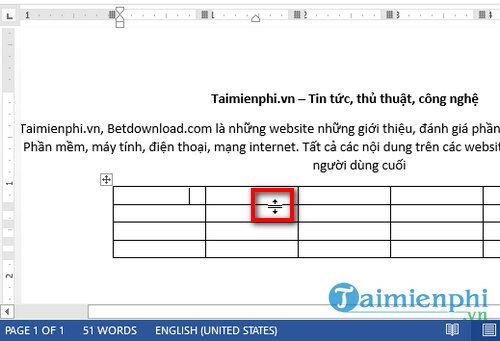
After drawing a table in Word, Simply drag the mouse to the line separating the rows in the table and you will see the mouse pointer change to an icon with 2 up and down arrows. At this stage, hold down the left mouse button and move up and down to adjust the row size.
Method 2. Use the pre-defined row size feature
Step 1: Highlight 1 or more lines or rows in the Word table that you want to resize.

Step 2: After highlighting, go to the Layout Tab in the Tables Tools section.

Step 3: Here, you will see the Up and down arrow Icon that looks similar to the mouse pointer icon for row alignment. In the box next to it, you can set a custom value (unit: inches) to set the line spacing for the selected table.

Thus, the size of the row has been changed.
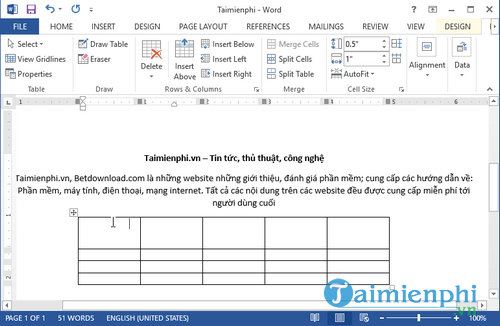
Above is a guide on how to adjust line spacing in a Word table for you so that you can arrange the content in the table, rows and columns more reasonably and beautifully. Wish you success!
FAQ
How do I Adjust Line Spacing in Word Tables Very Easily?
Follow the steps in this guide in order, verify each setting before continuing, and check the result after every major change.
What should I prepare before I Adjust Line Spacing in Word Tables Very Easily?
Confirm compatibility, install current updates, save important work, and back up data before changing system or application settings.
What can I do if adjust Line Spacing in Word Tables Very Easily does not work?
Review permissions and requirements, restart the relevant device or app, repeat the steps carefully, and use official support resources when the issue continues.
Related Articles
 How to Adjust Line Spacing in Word 2016, 2019, 2010, 2007, and 20139 minutes read
 Adjust Line Spacing in Word - Instructions on How to Adjust Line Spacing in4 minutes read
 How to Adjust Line Spacing and Line Spacing in Excel2 minutes read
 Full Word Tutorial 2016 (Part 7): Use LINE and Paragraph Spacing4 minutes read
 How to Double Line Spacing on Word: Clear Instructions6 minutes read
 How to Adjust Character Spacing in Word (Latest Standard)4 minutes read
Reader Comments 0
Sign in with email or Google to join the discussion.