Disable Search History on Windows File Explorer
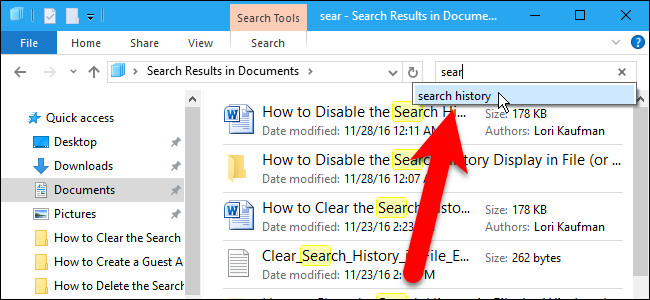
The search feature on Windows File Explorer will save recent searches by default so that users can easily search for similar terms again. However, if you do not want or dislike this feature, you can disable the Search History feature on Windows File Explorer.
Table of Contents
The search feature on Windows File Explorer will save recent searches by default so that users can easily search for similar terms again. However, if you do not want or dislike this feature, you can disable the Search History feature on Windows File Explorer. If you are a Windows Home user, you will have to edit the Windows Registry to disable File Explorer. If you are a Windows Pro or Enterprise version, use G roup Policy Editor.
1. For users of Windows Home version: use the Registry to disable Search History
If you use the Windows Home version, you will have to edit the Windows Registry to disable File Explorer. If you use Windows Pro or Enterprise version, use G roup Policy Editor .
Note:
Registry Editor is a powerful tool that affects your system. Therefore, you should back up the Registry Editor to prevent a bad situation when editing the Registry Editor.
First open the Registry Editor by entering regedit in the Search box on the Start Menu and then press Enter . If the UAC window appears, click Yes to allow changing your computer.

On the Registry Editor window, navigate to the key:
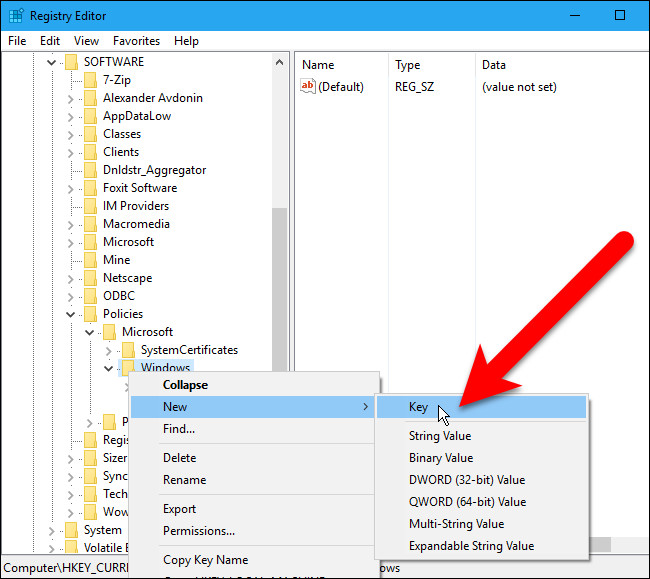
HKCUSOFTWAREPoliciesMicrosoftWindowsExplorer

If you can't find the Explorer key, you can create a new key under the Windows key. To do this, right-click the Windows key, then select New => Key .
Name the new key Explorer.

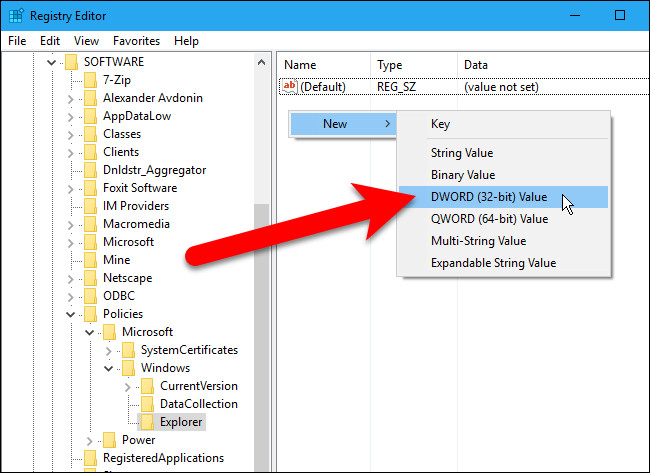
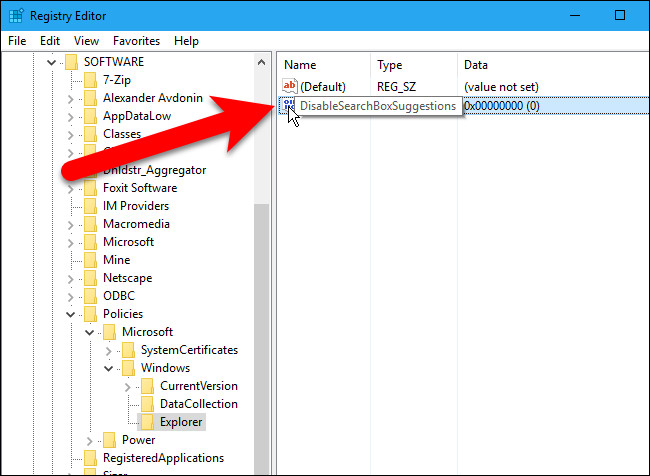
Next right-click any space in the right pane, then select New => DWORD (32-bit) Value.
Name this new value DisableSearchBoxSuggestions .
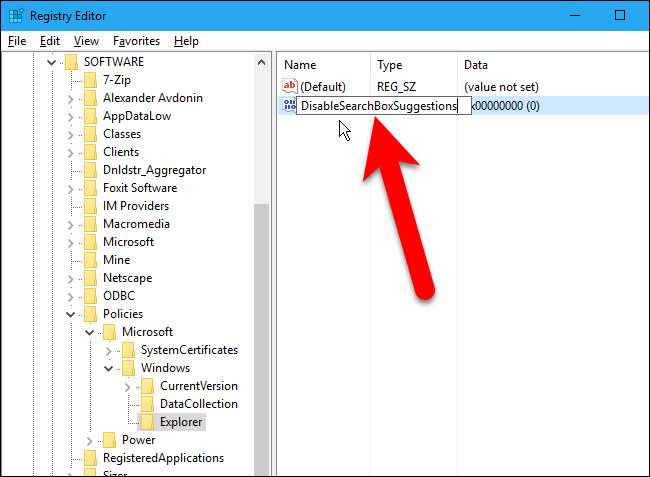
Double-click the value DisableSearchBoxSuggestions that you just created.
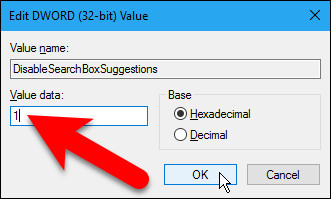
Enter 1 in the Value data box and then click OK .
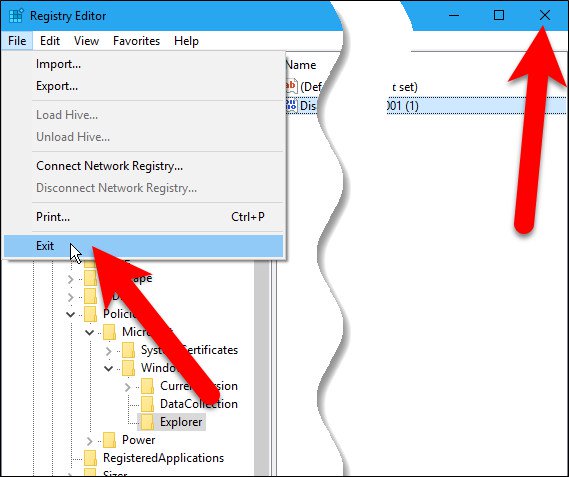
Finally close the Registry Editor window by choosing File => Exit or the fastest way is to click the x icon in the top right corner of the screen.
Restart your computer to apply changes.
After the computer has finished booting, you will not see the Search History displayed when you enter your search into the Search box on File Explorer.

2. For users of Windows Pro and Enterprise versions: use Local Group Policy Editor to disable Search History Display
If using Windows 10 Pro or Enterprise version, the fastest way to disable Search History Display is to use Local Group Policy Editor.
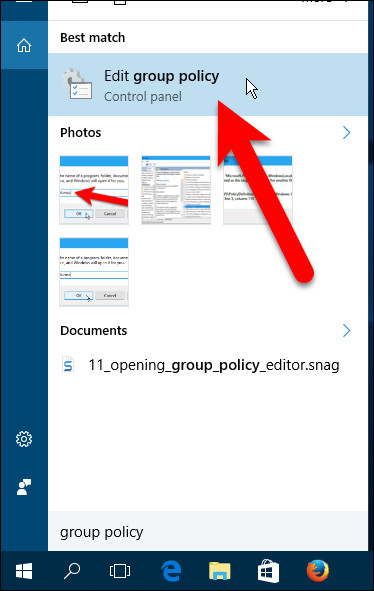
First on Windows 10 Pro or Enterprise, enter gpedit.msc into Search box on Start Menu and then press Enter to open the Local Group Policy Editor window.
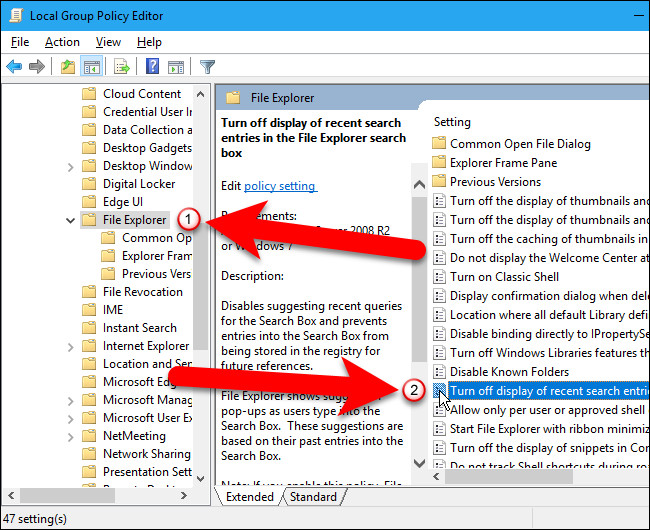
On the Local Group Policy Editor window you navigate to the key:
Configuration => Administrative Templates => Windows Components => File Explorer (Windows Explorer on Windows 7)
Find and double-click Turn off display of recent search entries in the Windows Explorer search box in the right pane.
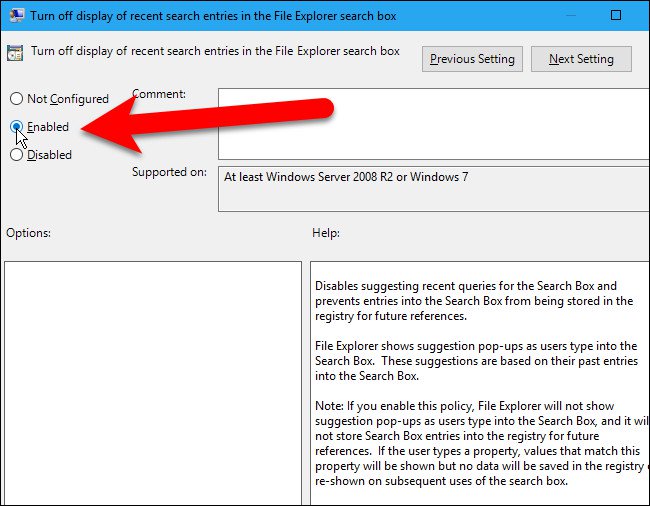
On the window Turn off display of recent search entries in the Windows Explorer search box, click Enabled in the top left corner.
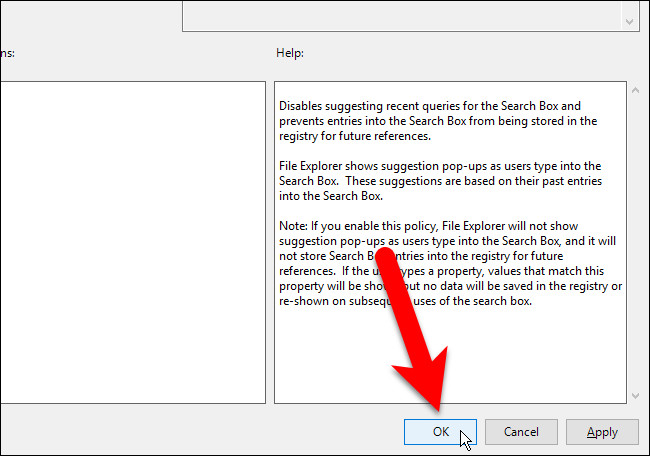
Click OK to accept the change and close the Turn off display of recent search entries in the File Explorer dialog box again.
Close the Group Policy Editor window by clicking File => Exit or clicking the X icon in the top right corner.
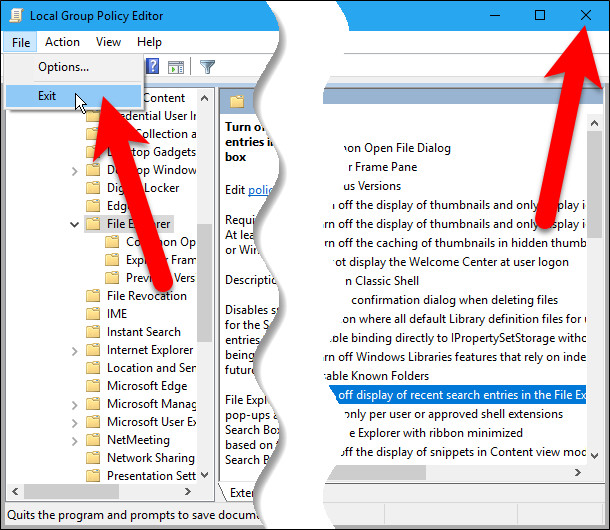
Now on File Explorer, you will no longer see Search History.
Refer to some of the following articles:
- Your computer requires entering a password after starting from Sleep mode, this is a fix
- Guide to quickly fix "Inaccessible Boot Device" error on Windows 10/8/7 and Windows Vista
- How to enable / disable the Security tab of files and folders on Windows?
Good luck!
Was this article helpful?
Your feedback helps us improve.
Related Articles
 How to delete folder and file search history on File Explorer5 minutes read
 Wipe Recent Files search history on File Explorer Windows 102 minutes read
 How to delete folder and file search history in Windows Explorer?4 minutes read
 5 File Explorer search tips you need to know7 minutes read
 How to fix the File Explorer Not Working search error on Windows 104 minutes read
 How to Delete Your Usage History Tracks in Windows9 minutes read
Reader Comments 0
Sign in with email or Google to join the discussion.