Create your own bowling playground in your yard
There are quite a few bowling spots now that their fare is not cheap at all. Instead of losing time and money to find amusement parks, you can create a bowling alley in your own garden. Prepare the necessary things to be able to immediately start creating a Bowling playground for your baby and family right away.
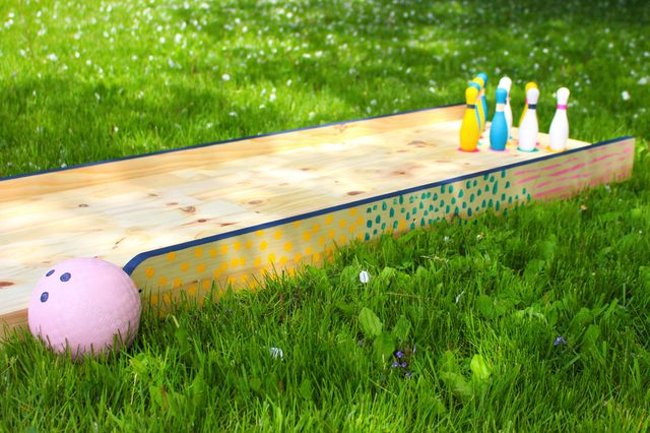 (Photo by Kelly Smith)
You need to prepare:
- 1 piece of pressed wood 2 cm thick, size 40cm x 180 cm (1)
- 1 x 2 boards, 180 cm long (2)
- 1x 4 boards, 120 cm long (2)
- Electric drill
- 1/8 "twist drill
- 2 "floor screw (16)
- Clamp bar
- Jigsaw
- Electric grinding machine and armor paper
- Paper, pencil and scissors
- Multicolored Acrylic Paint
- Paint brush
- Round ball with a diameter of 12 cm
- 12 cm high Pin Bowling (10)
- Spray paint in all colors
 (Photo by Kelly Smith)
Step 1: Create a background
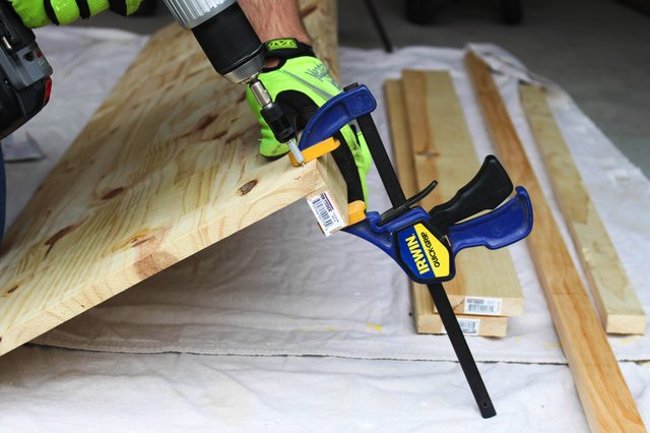
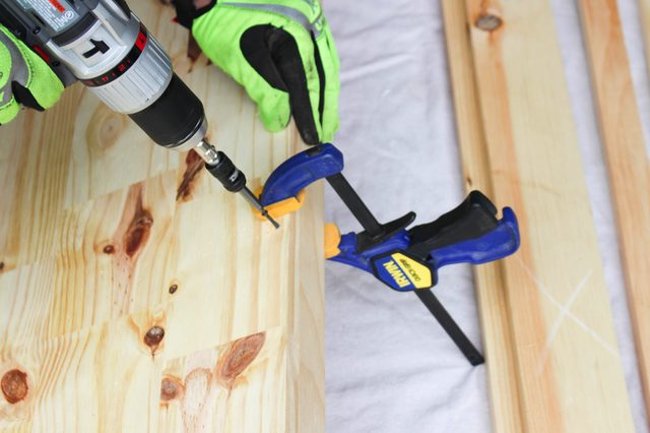
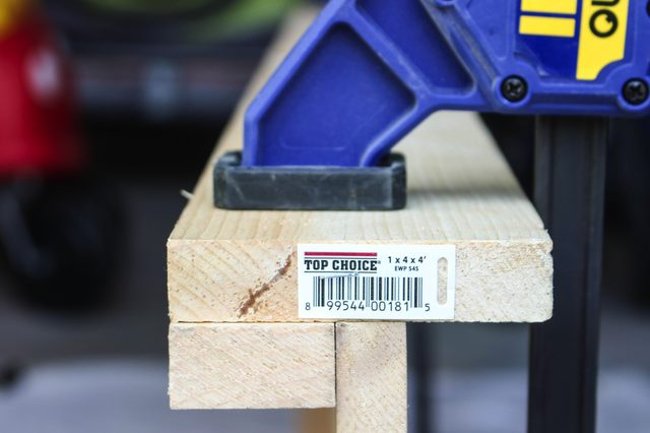
First, you need to create a bottom layer so that the bowling ball does not touch the ground directly, moreover this layer can protect the grass in the yard. Next, clamp a 1x2 board to the side of the pressed wooden panel, aligning it directly with the edge of the board. Drill a hole up on the pressed wooden board, about 3 cm from the edge and drill 3 more holes about 40 cm from the vertical length of the 1x2 table. Then, tighten the panels together with screws in each hole. Continue to do the same steps with the other side of the board.
 (Photo by Kelly Smith)
 (Photo by Kelly Smith)
Step 2: Use a vibrating mold compactor
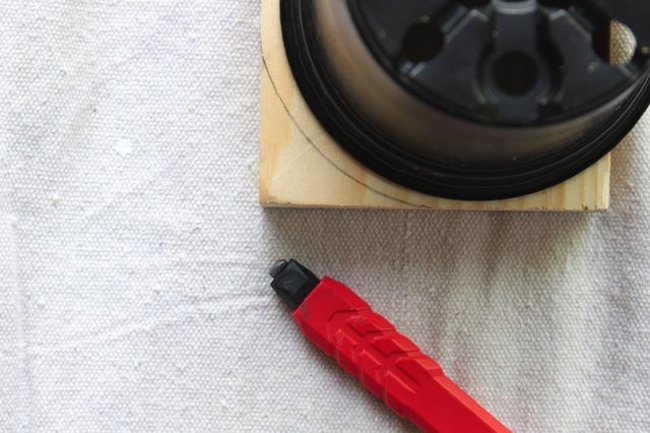
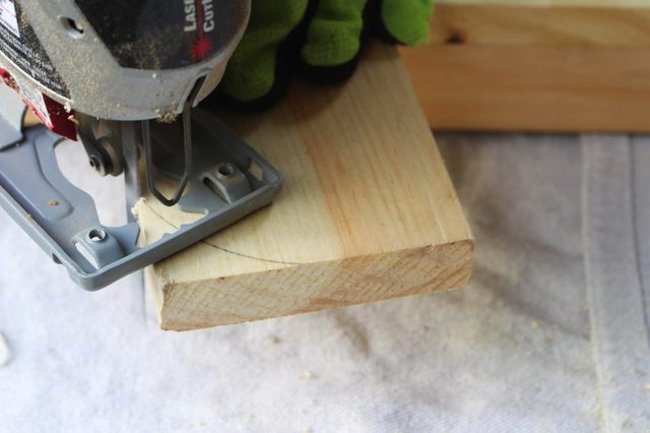
Ideally, you should use a vibrating mold compactor to perform this step. Draw a curve at the end of each 1x4 table. You can use a bowl, cup or drum (the same one used in the picture below) to make a curve drawing. Next, use the chainsaw to cut the leftover pieces and polish the sides with sand until smooth.
 (Photo by Kelly Smith)
 (Photo by Kelly Smith)
Advice:
If you are in danger when cutting rounded edges with vibrating mold vibrators, circular saws or electric grinders, you can skip this step. Although this step helps your Bowling playground look much better after completion, if you don't want it, it won't affect the runway function while playing.
Put each board up and clamp the tables firmly. Then drill the pilot holes and fasten the 3 holes into evenly spaced points to ensure that the vibrating mold compactor can work. Be careful, avoid hitting the screws at the beginning!
 (Photo by Kelly Smith)
Step 3: Stencils and paint the tables
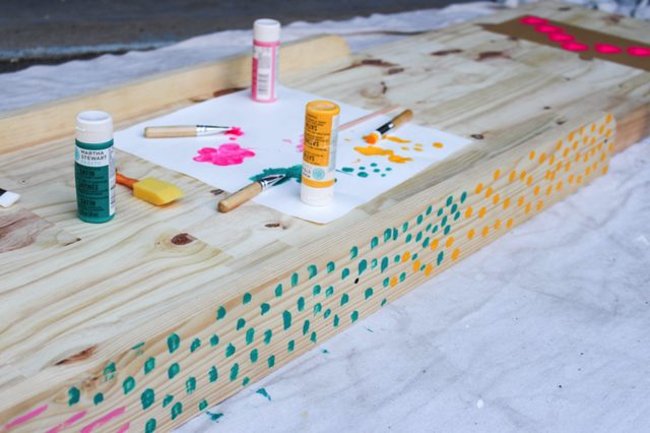
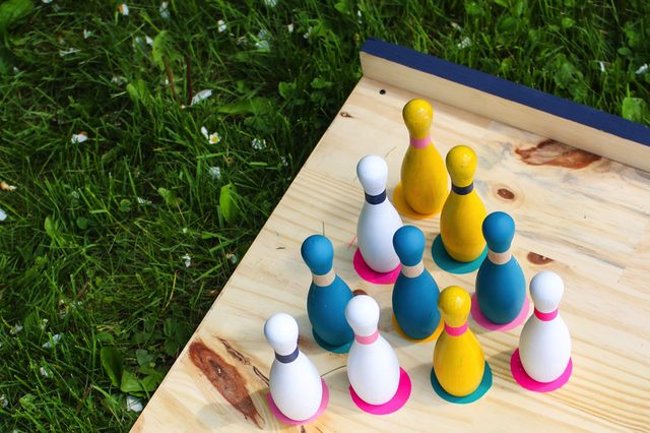
Make a circle and triangular mold to make it easier to decorate the tables. Place 10 3cm triangle icons at the bottom of the board to determine the location of the batteries. Then, place 7 triangles of 3cm size on the top of the board, forming a "V" shape towards the batteries to resemble the real bowling lane. Continue, paint them with the corresponding colors to match the battery color. Feel free to decorate the sides of the bowling alley by creating simple lines such as polka dots or dashes. This will be the place for you to be creative.
 (Photo by Kelly Smith)
Step 4: Paint batteries and Bowling balls
Put pin pins into the paint spray before adding stripes around the neck to them.
 (Photo by Kelly Smith)
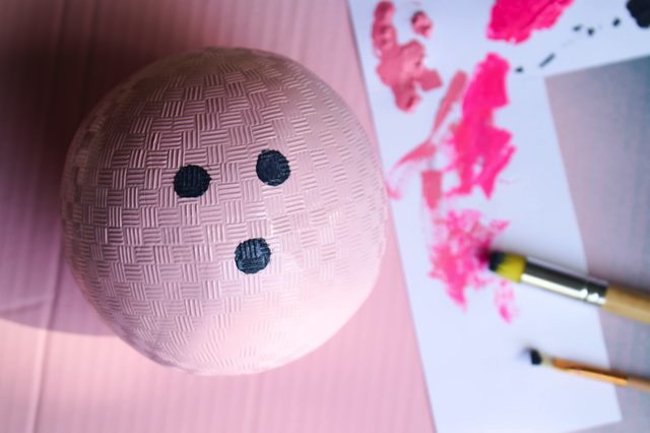
If your bowling ball with a 12cm diameter is a fixed color, add three black circles to the side to create a bowling ball. If your ball has a distracting design, spray it on it.
 (Photo by Kelly Smith)
Step 5: Bowling Playground
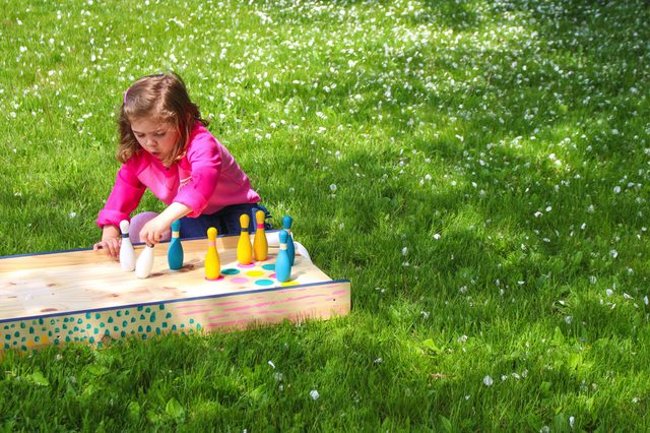
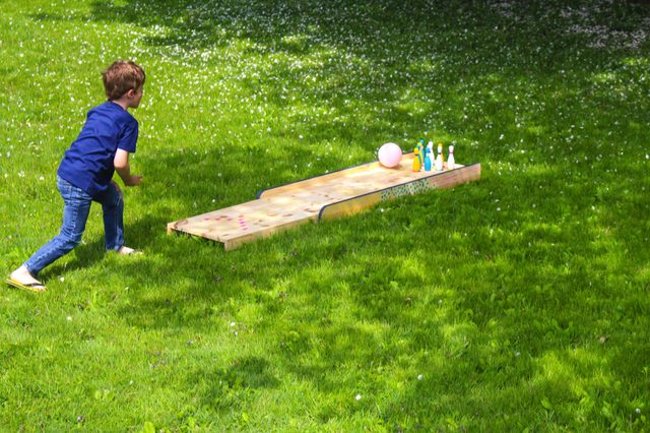
Before you start playing, explain this bowling game to your little players. For example: how to put the batteries in the corresponding colored circle and turn the ball down the ice lane to destroy the batteries. Count how many pin pins were dropped after 10 throws and celebrate the victory.
 (Photo by Kelly Smith)
 (Photo by Kelly Smith)
 (Photo by Kelly Smith)