Table of Contents
This updated guide examines How to Make a Bowling Pin in Inkscape and organizes the essential facts, background, and practical takeaways in clear American English.
Method 1of 4:
Making the Outline
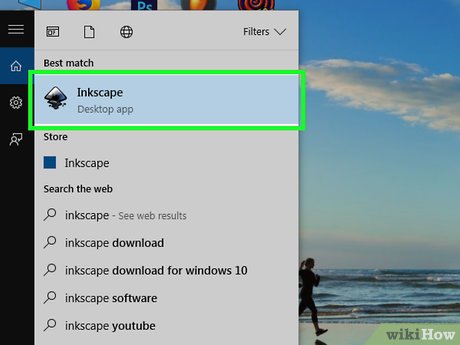 Open Inkscape and select the ellipse icon. Create a circle. You don't have to be exact, you will be changing its measurements. Make sure that the stroke is turned off.
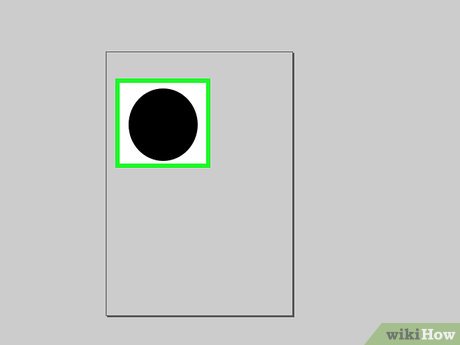 Change the width and height (W and H) to 70.
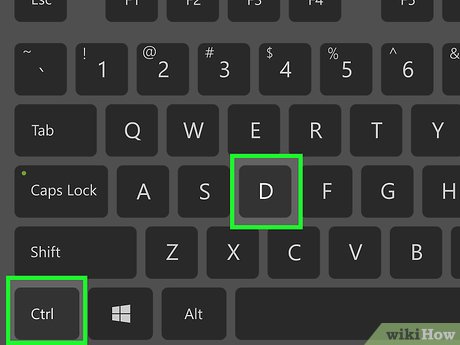 While it is still selected, press CTRL D 4 times. This will make 4 copies.
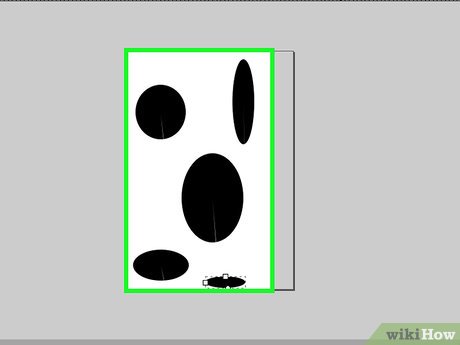 Make the other circles to fit these dimension:
- 52 * 130
- 136 * 184
- 80 * 40
- 58 * 14
 Line them up vertically so that they are touching, but not overlapping. Don't worry if it doesn't look quite right. That will be fixed.
 Go to Object >> Align and Distribute (CTRL + Shift + A). This will open up that particular dialog box.
 Holding down the Shift key, select all of the ellipses.
 Select the 'Center on vertical axis' option in the Align and Distribute box.
 Be sure that yoursnapping toolis set.
 On the Snap Controls Bar, enable snapping. If you don't see it, go to View >> Show/Hide >> Snap Controls Bar and check it.
 Select 'Snap nodes or handles' and 'Snap to cusp nodes'.
 Select the Bezier tool, and make sure that the tool for creating regular bezier path is selected. Also, be sure that the shape is set to None.
 Start at the top and click where you see the X that appears. Do this will all of the circles, all the way around.
 When complete, click on the first selection.
- This is what it should look like at this point.
 Once complete, press F2 (edit mode option).
 Select all of the nodes. Go to the upper left portion of your project, click and hold on the left mouse button. Go to the lower right so that all of the nodes are selected.
 Click on the 'Make selected nodes smooth' icon. This will round out your bowling pin.
 Click on the Enable Snapping icon so that it is no longer enabled.
 Click off of the bowling pin to deselect everything, then click on the top center node and bring it down, just a small amount.
 Press F1 and then select the outline you have just created. Move it over away from the circles used to shape it.
Method 2of 4:
Shading the Bowling Pin
 Select a dark brown for its color. Be sure that the stroke is removed, so you just have the fill.
 Go to Object >> Fill and Stroke (Shift + CTRL + F) to activate the dialog box.
 Set the Blur to 1.
 Make a copy (CTRL + D) of the pin.
 Set the Blur of the duplicate back to 0 (zero). Change the color of the copy to white. What this does is create a slight outline for your bowling pin.
 Shrink the white copy by going to Path >> Inset. Now, you should see a little more of the outline.
 Add a gradient to your bowling pin. The gradients will give it added depth.
- Click on the gradient icon.
- Be sure the radial option is selected.
- Make the gradient in the upper right side of the bowling pin, as seen in the screenshot. Manipulate it until it has the desired look.
 Press CTRL + D to duplicate the layer.
 Move the gradient (copy) and bring it down to the bottom of the bowling pin. Manipulate it until it looks right.
 Press F1 which will select the entire bowling pin.
 Press CTRL + D to duplicate the layer. Adding this will lighten up your pin a little bit more.
Method 3of 4:
Adding Red Stripes
 Select the square icon and draw a rectangle in approximately the right place for the stripe.
 Fill it with red.
 Set the height of the red stripe to 20 pixels.
 Duplicate the stripe and move it to the correct place. Play with their positioning until it looks right to you.
 Click on the bowling pin and then make a copy of it (CTRL D).
 Click on the fill and make it the same red as the stripe.
 Holding down the shift key (with the bowling pin still selected), click on the bottom red stripe.
 Go to Path >> Intersection. This will give you one red stripe.
 Select the bowling pin again and then press CTRL D to copy it. Repeat the steps above for the other stripe. Here is how it should look at this point.
 While the second stripe is selected, hold down the Shift key and select the first stripe.
 Select the gradient icon and make sure you have the linear (not radial) option selected.
 Start the gradient on one of the stripes. With the blue handle where you see it in the screenshot, select black. This will help create a shadow.
- If you can't do them together for some reason, it's ok to shade them separately.
Method 4of 4:
Adding Shine to the Bowling Pin
 Click on the ellipse icon and draw a circle on the top part of your pin.
 Set the dimensions of the circle to 55 (width) by 60 (height).
 Center it on your bowling pin and fill it with white.
 Click on the gradient tool. Manipulate the linear gradient until it looks the way you want it.
 Click on the Bezier tool. You will be adding shine to the curve of the bowling pin. Click on the top of where you will add it, release, then click on the bottom of it. Finish by going back to where you started with the third click.
 Select F2 (to edit nodes) and then take your first line close to the edge of the bowling pin.
 Repeat with the other line, but make sure it is 'shadowing' the first line.
 Change the fill to white. Be sure to remove the stroke.
 Click on the gradient tool and add it to the center of the bezier line you have. Adjust it until you like the way it looks.
 Enjoy your bowling pin vector graphic!
FAQ
What is How to Make a Bowling Pin in Inkscape about?
It provides a structured overview of pin, explains the main context, and highlights practical takeaways for readers.
Why does this topic matter?
Understanding the main concepts helps readers evaluate the issue, avoid common mistakes, and make better-informed decisions.
How should readers use this information?
Use the guidance as a practical starting point, confirm details that may have changed, and follow current product, safety, or security recommendations.
Related Articles
 Create Your Own Bowling Playground in Your Yard6 minutes read
 Inkscape - Download the Latest Inkscape Here8 minutes read
 Inkscape - Free, Cross-platform Design Software8 minutes read
 How to Create a Simple Logo with Inkscape8 minutes read
 The Amazingly Accurate Bowling Bowling Video Is Actually Cgi3 minutes read
 How to Draw Gears in Inkscape7 minutes read
Reader Comments 0
Sign in with email or Google to join the discussion.