Steps to save Photoshop files as PDF
Exporting photos in Photoshop has a lot of different options, in addition to you saving as a regular image format such as saving the image as a PDF..
When you save a Photoshop image as a PDF, you can use it to make a document without having to add the step of saving as an image on Photoshop as usual, then performing the conversion from image to PDF is quite time consuming. . The following article will guide you how to convert image files in Photoshop into PDF files right on this image editing software.
How to export Photoshop images to PDF files
Step 1 :
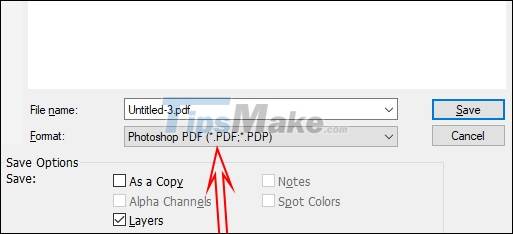
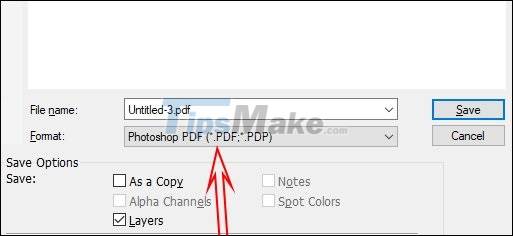
You open the image you want to save as a PDF and then click the File> Save As button to save this image file. Then, display the file saving interface, name this new file and choose the save format as Photoshop PDF , click Save to save the file.
Step 2:
Now display the interface as below, click OK to switch to the image editing interface before saving as a PDF.
Step 3:
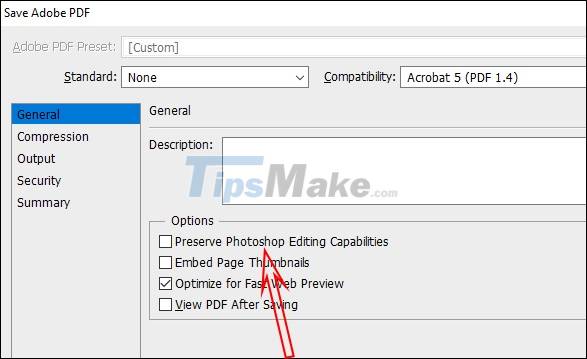
First of all, we will proceed to reduce the size of the saved Photoshop file . At this interface, click on the General tab and then look at the content next to it, uncheck the Preserve Photoshop Editing Capabilities option .
Step 4:
We continue to perform the operation to reduce the size of the PDF file later, click on the Compression item and then in the Image Quality section, click High if you are in Maximum mode. Finally, click Save PDF to save and reduce the file size. Then the image will be converted to a PDF file. We just need to use software that opens PDF files to view the content.
