Photoshop CS: Decorate photos
You want to put your photos or photos of your loved ones in an existing photo background but still afraid because you don't know how to edit photos? It will be simpler if you follow the steps of this exercise.
You want to put your photos or photos of your loved ones in an existing photo background but still afraid because you don't know how to edit photos?It will be simpler if you follow the steps of this exercise.
First, you should specify what color your graphic will be, to make it easier to adjust the background color and uniform look.
Step 1 . Open an image as a background
You can open an existing .jpg image such as a leaf, grass or a picture you like. Or you can use a brush to paint a background to your liking. Here, I open an available wallpaper. (you can download this image and practice)
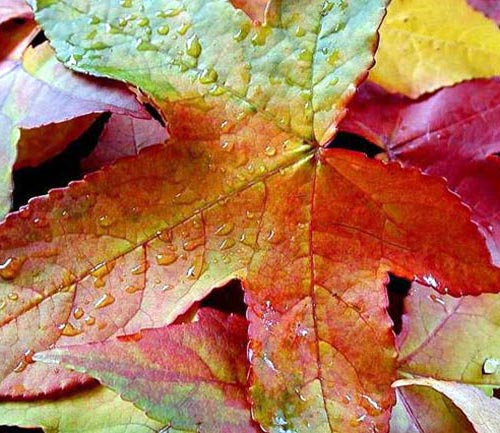
Figure 1
Step 2 . Adjust the background color
Usually there are some beautiful background colors: orange, blue. This is a color of my example.
- Press Ctrl + U
- Adjust the color parameters according to the following picture
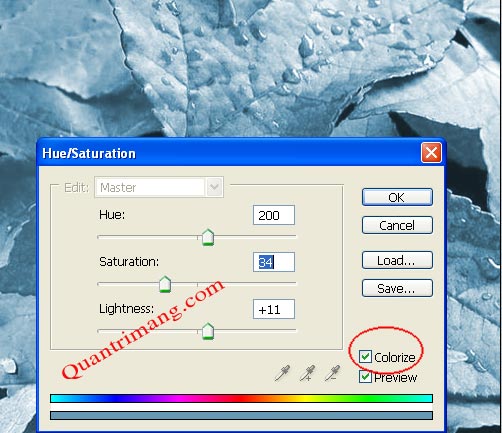
Figure 2
Step 3 . Next picture needs to be decorated (take a picture of your family, friend or your friend). then Ctrl + U to adjust the color to be consistent with the background color
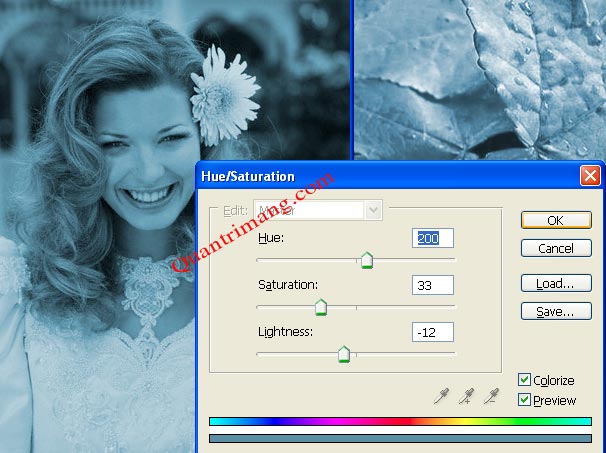
Figure 3
I temporarily call this layer " girl layer "
Step 4 . Place the cogai layer in an appropriate position on the background layer
- Edit > Free transform or ( Ctrl + T ) then resize the image to fit the background, don't be too big and don't be too small.
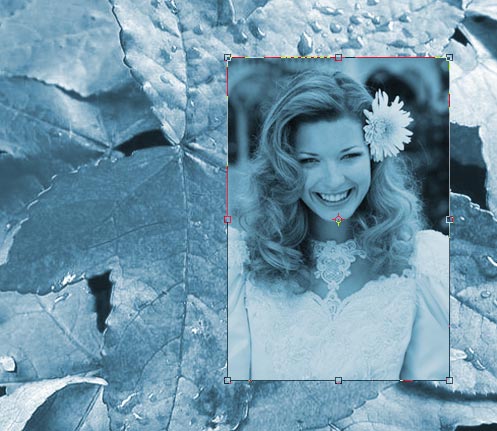
Figure 4
Step 5 . Adjust the shoft light mode of the cogai layer to further define some essential points on the girl's photo
- Duplicate cogai layer: Right click cogai layer> Duplicate layer (or Ctrl + J )
- Right click the layer cogai copy > Blending option
In the Layer style: shoft light dialog box.
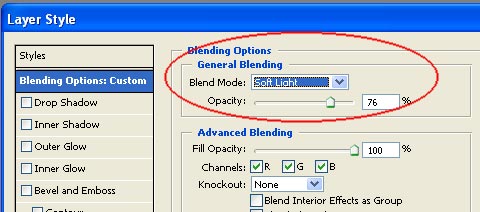
Figure 5
Step 6 : Ctrl + E to blend the cogai layer and layer cogai copy as one.
Step 7 . Create boder for cogai layer.
- Right click the layer cogai > Blending option
- Layer style dialog box: click select stroke > set size from 4-7 (depending on image size big or small)
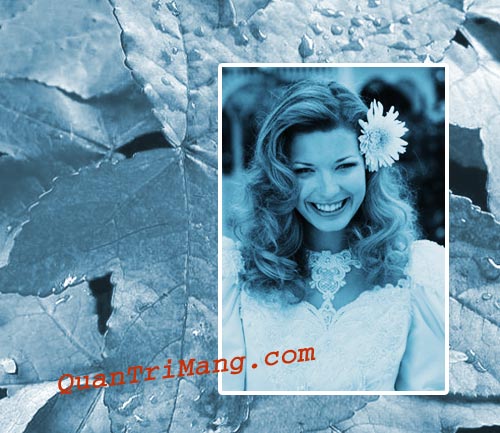
Figure 6
Step 8 . Mask
- Press Ctrl + click to select the cogai layer - You will see a dashed border around the cogai layer.
- Click on the " Create a new layer " icon on the Layers palette to create a new layer
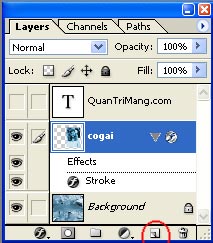
Figure 7
- Use the Brush Tool to apply a mask to the new layer, here I use a small chrysanthemum brush (Size: 35, Opacity: 50%, color before and after: # 62ACCB, #ffffff to make the color of the daisy close to the background color)

Figure 8
- Start painting some flowers on the new layer (make sure the brush will only show on the selected part)
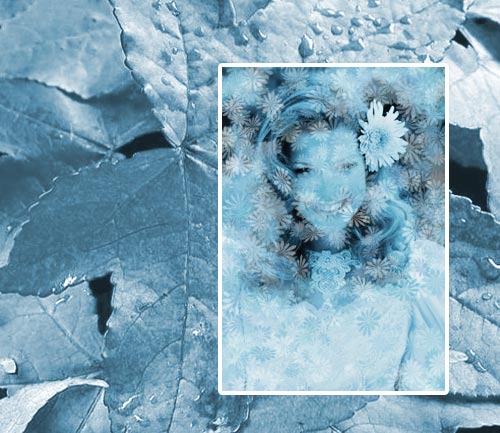
Figure 9
Step 9 .
- Using Eliptical Marquee tool , choosing father from 30 - 50 depending on the size of the image.
- Select an area on the layer just brush> then delete the points in the selection to make the pixel float of the cogai layer
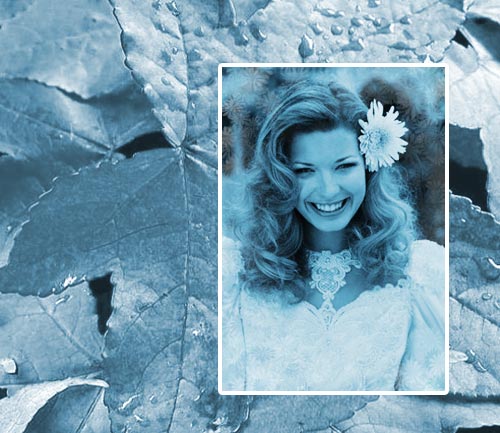
Figure 10
Step 10 .
- Ctrl + E mix layer hoacuc and cogai as one
- Ctrl + T rotate the image
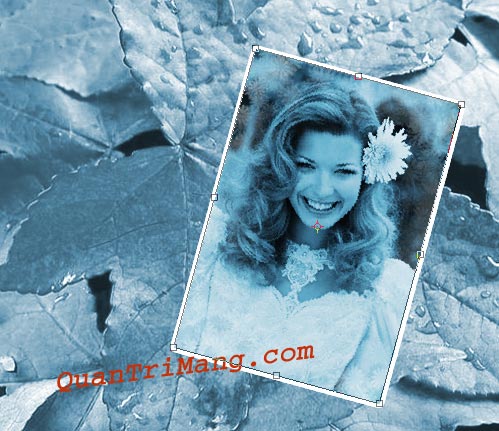
Figure 11
Step 11 . Decorate around the girl's figure.
- Layer> layer . Create a new layer
- Use some brush to paint on the created layer (eg Butterfly Brush )
- After finishing painting, Right-click on the new layer you just painted Brush> right-click> Blending option> Drop shadow
+ Blend mode: nomal
+ Color: color is similar to the background color

Figure 12
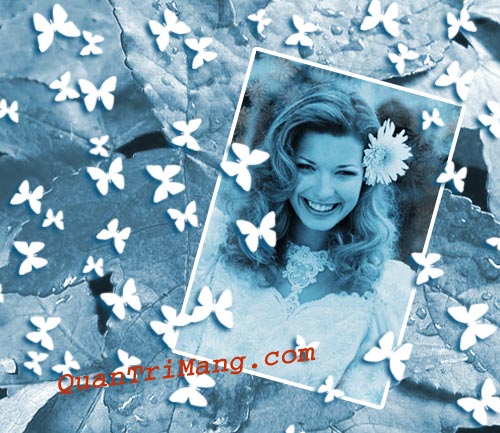
Figure 13
With your aesthetic eye, try using some shape tools and write some favorite text to decorate the wall press.
This is my result
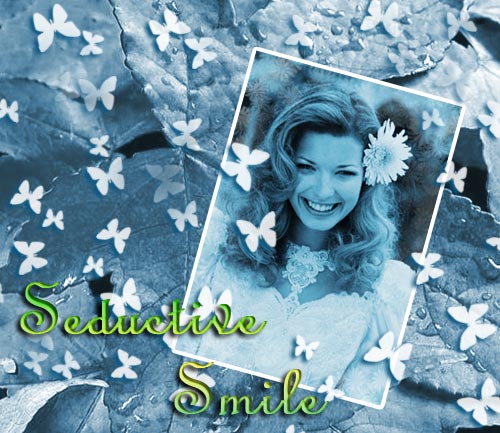
Figure 14
* This is another graphic, this graphic has a background with a blue rose brush that I showed you in the previous brush.

Figure 15
Ngoc Lan
- How to resize photos in Photoshop
- 'Laughing does not shut up' with 23 photos falling into the hands of photoshop workers without mind
- 3 tips to improve low-resolution image quality
- How to crop photos in Photoshop
- How to use Photoshop CS6 (Part 2): Create fashion collage images
- How to use Photoshop CS6 (Part 1): Create digital photos


 How to create clipping mask in GIMP
  How to create spherical images in GIMP
  How to sign a document with GIMP
  How to create movie posters in GIMP
  How to Color Inside the Lines in FireAlpaca
  How to swap and combine faces in GIMP