How to resize images properly in Photoshop
Knowing how to resize images in Photoshop is an essential and useful skill. This article will explain how to resize images in Photoshop in less than five minutes..
Knowing how to resize images in Photoshop is an essential and useful skill, whether you are a photographer or not. This article will explain how to resize images in Photoshop in less than five minutes.
You will need Adobe Photoshop CC to follow the steps. But this tutorial will still work in older versions of Photoshop, although some menus may look different depending on the version you are using.
In addition to changing the size of each image, Photoshop can also resize images in bulk for you without installing any additional tools. If you're using Photoshop CS5, don't skip the tutorial series using Quantcastang's Photoshop CS5.
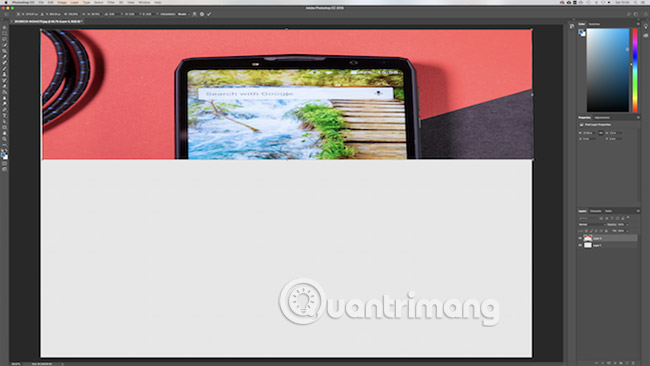
1. Resize images using Image Size tool
The easiest way to resize images in Photoshop is through the Image Size panel. You can access it via the Image> Image Size buttons found in the top menu bar.
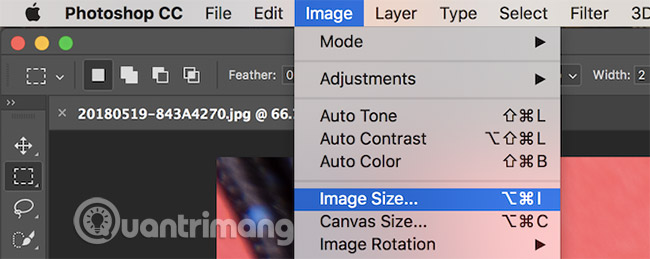
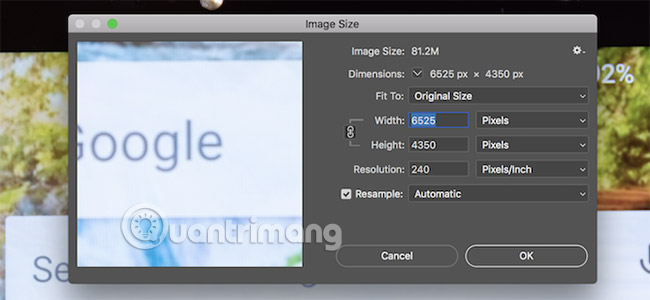
When in the Image Size panel, you will see that there are a number of options available.
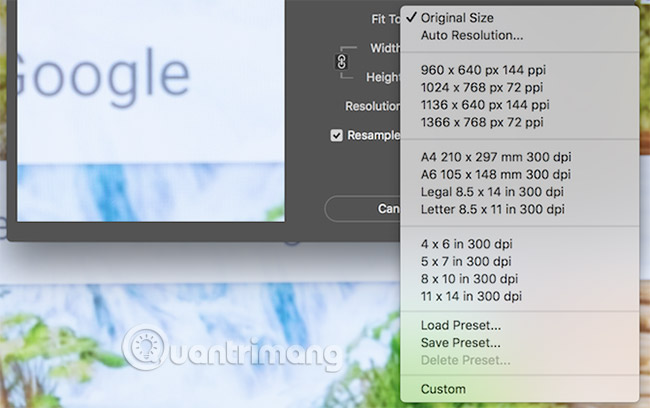
Below the Fit To option , you can choose from a variety of predefined image sizes. Choose an appropriate size and then click OK. Photoshop will adjust your image to match this preset size.
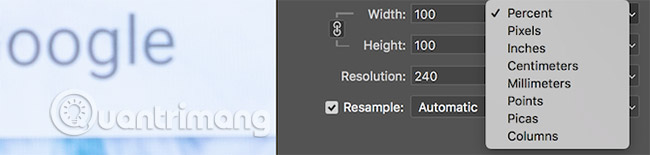
By using the Width , Height and Resolution options , you can change your image according to the predefined sizes. The menu on the right adjusts the unit of measurement. This is where you can specify whether you want to measure your image in pixels or inches.
You may notice that when changing the height, the width will change corresponding to the new height. Photoshop does this to maintain the correct frame rate for your images. If you do not want this to happen, click the Do not constrain aspect ratio button , located on the left of the Width / Height option.
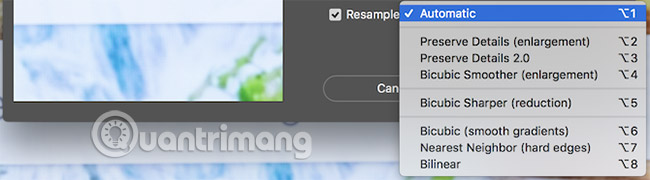
Finally, the Resample option determines how Photoshop will resize your image. By default, the Automatic option is suitable for most tasks, but other options are also available, better suited for other needs, such as enlarging images. In any case, each type of sample is taken to describe what matches the part in parentheses after its name.
When you are ready to resize, select OK and Photoshop will resize the image for you.
2. Resize the image by using the Canvas Size click tool
You can access the Canvas Size panel via the Image> Canvas Size buttons found in the top menu bar. Unlike the Image Size tool, this will not change the size of the current image. By resizing the canvas, you can add or delete pixels to increase or decrease the total canvas size. Any photos or images that are present are cut or displayed with a colored border.
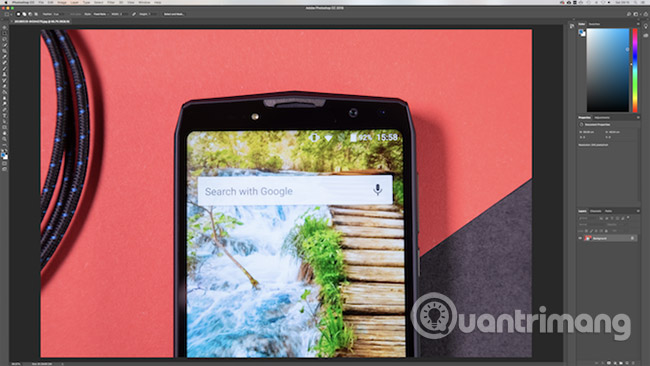
Let's see an example. This is an image in Photoshop:
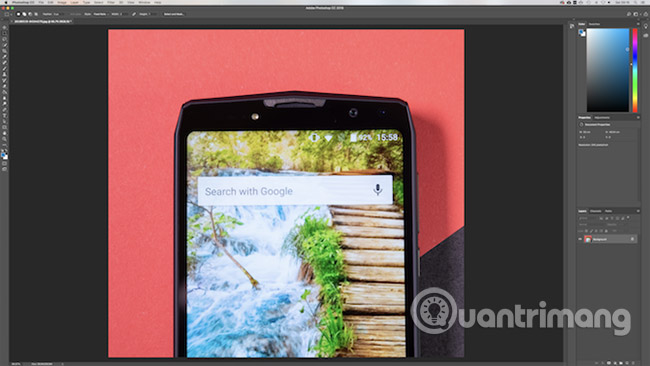
By reducing the canvas width, the image will be cut:
By increasing the canvas width, two white borders are added to the left and right of the image:
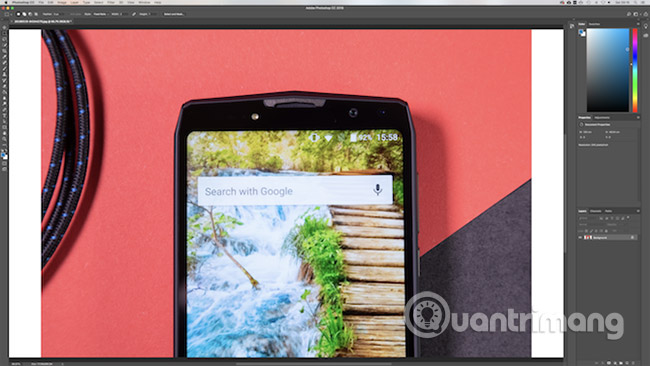
The image remains the same size but now has more pixels to operate. You can use this method to add borders to images or create more space to add text, graphics, or other things to your images.
There are two main areas within the Canvas Size tool.
The Current Size area at the top provides basic information about the canvas size before making any changes. The New Size area is where you can change the canvas size.
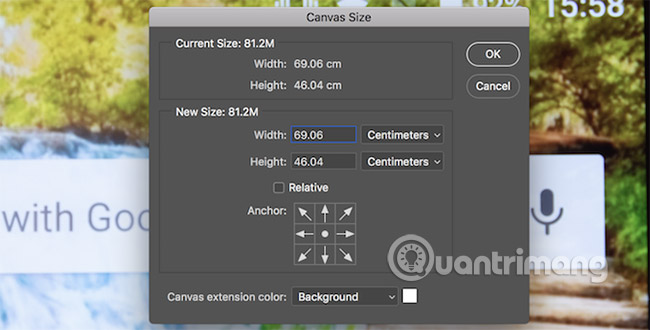
Change the numbers inside the Width and Height options to change your canvas size. As before, you can change your measurement unit using the menu to the right of the dimensions entry.
The Anchor option allows you to specify where to add or delete data. This option includes a 3 x size grid 3. Selecting one of these nine squares will change where the canvas is enlarged or reduced.
For example, select the top, middle and then height boxes with the previous options, which will add data to the top of the image. Selecting the middle anchor will separate any zoom in or out of the surrounding cells.

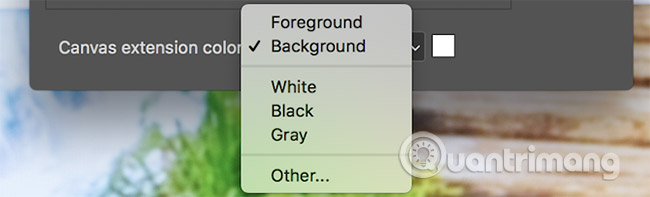
At the bottom is the Canvas extension color option . This is only relevant if you enlarge the canvas. Select a color here, and Photoshop will fill any extension area with the selected color.
3. Resize the image using the Crop tool
As its name suggests, the Crop tool is a way of directly impacting the image to change its size. The Crop tool will change the size of the image, but will affect a part of the image. Any part of the cropped image (cut) will no longer be displayed.
The Crop tool is best used to delete parts of the image that you don't want to see anymore. This will reduce the width or height of the image.
Start by selecting the Crop Tool, found in the Toolbar toolbar.

Once selected, a series of "handles" will appear in the middle corners and edges of the frame. Click and drag them from the edge or corner to start cutting your image.
When you have started cropping, you will see that the new image maintains its original brightness, but any removed parts after crop will turn dark. When you're ready, press Enter to finish cropping.
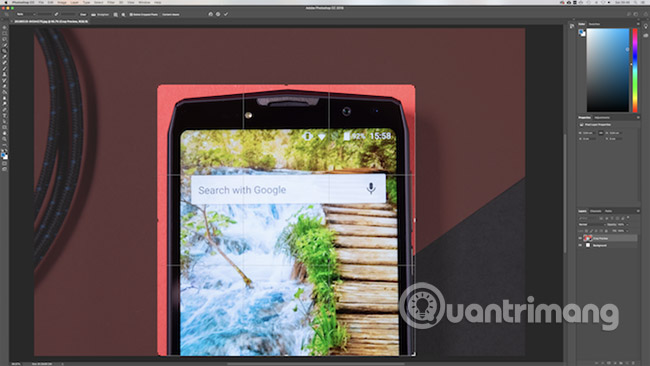
4. Resize the image using the Transform tool
The final image resizing method is via the Transform tool. This allows you to resize part instead of the whole image. Suppose you are producing a poster or combining two different images into one. By using the Transform tool, you can resize the individual parts of the image, instead of the entire image.
The Transform tool works best with objects in their own layers.
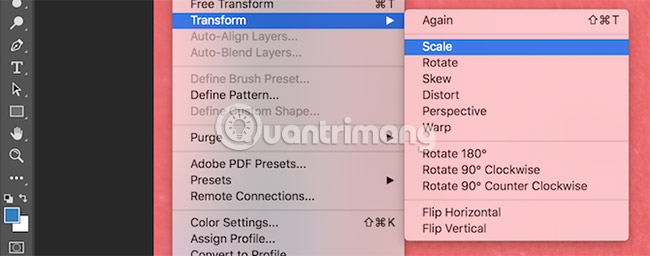
Select the layer containing the image or graphic you want to resize. Select the Transform tool found in the Edit> Transform> Scale menu.
Like the Crop tool, the Transform tool provides a number of "handles" around the edges of the image. Click and drag a handle to start changing the image size. Note what your image originally looked like. Hold Shift to keep the frame rate intact. Photoshop will adjust the opposite edge to maintain your image ratio.
When you are ready, press the Enter key to complete the resizing.
In summary, these four techniques show how easy it is to resize images in Photoshop:
- Image Size : Use numbers and accurate measurements to resize your images.
- Canvas Size : Increase or decrease the background size, without enlarging your image.
- Crop Tool : Reduce the image size by deleting part of your image.
- Transform tool : Resize each part of an image without changing the size of the entire image.
Now that you know everything about image resizing, why don't you get your hands on it?
Good luck!
See more:
- 16 videos for believers to discover new features on Photoshop CC
- 20 free and useful Photoshop plugins for design professionals
- In this way, resizing images in bulk will not take much effort as before
- Very nice brushes for Photoshop - Download now for free