Steps to resize PowerPoint images with Macro
It can be difficult if you want to include multiple images in PowerPoint. However, resizing these images makes them easier to manage, and this can be done using macros.
Table of Contents
When you're going to upload your images to a presentation, you need to make them look balanced and organized. Moreover, it also makes a difference when it comes to PowerPoint presentation file size. Uploading nearly 15 images without resizing will result in a much larger PowerPoint presentation than if you had resized the images.
Activate the Developer tab
Here are the steps to follow to add the Developer tab on the ribbon menu of a PowerPoint presentation:
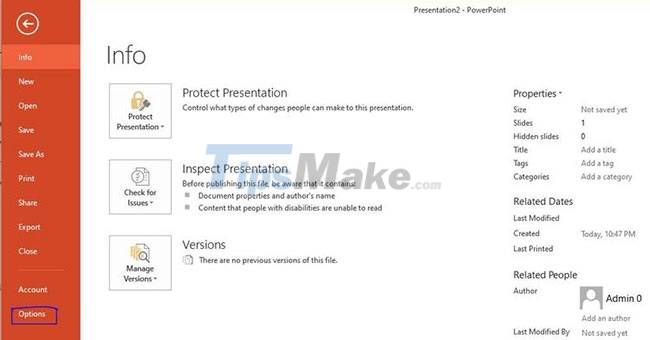
Step 1. Open PowerPoint and in the upper right corner of the PowerPoint toolbar, click File > Options.
Step 2. When you click Options, a pop-up window will appear with a list of commands. Find Customize Ribbon and click on it to open another menu on the right side.
Step 3. Select Main Tabs.
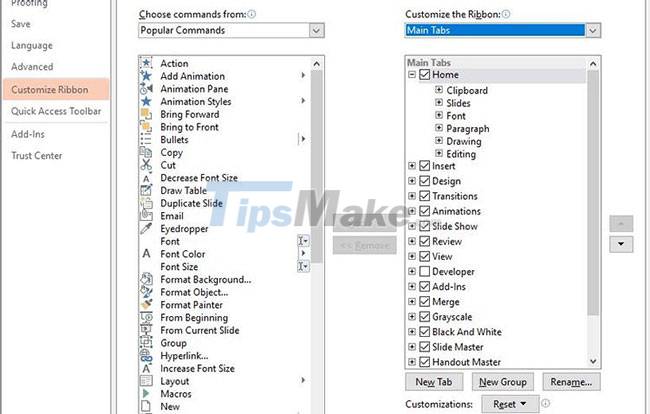
Step 4. From the drop-down menu, find and click the checkbox next to Developer.

Step 5. Select OK. The PowerPoint Ribbon will add the Developer option to the list.
Step 6. Now you can use the Developer box to create the macro in the next step.
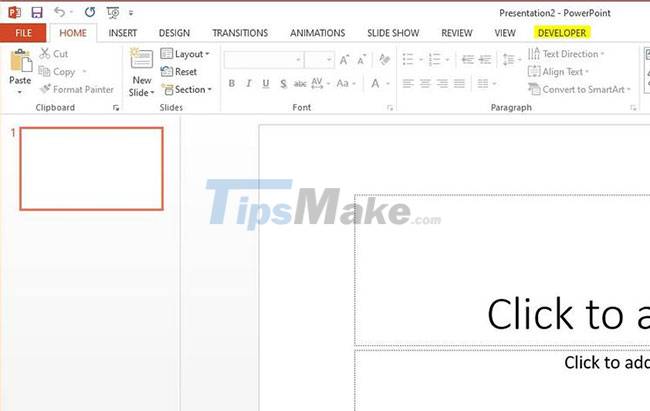
The PowerPoint Ribbon will add the Developer option to the list
Create Macros for PowerPoint Presentations
Once you have the Developer tab, you can proceed to create macros. To do this, follow the steps below:
Step 1. Click the Developer menu currently displayed on the PowerPoint ribbon, and then select Macro to display the dialog entry for the macro.
Step 2. Select a name to enter in the box that describes the action you want for the macro. For example, if you want to resize the slides, you can use ResizeSlidePowerPoint.
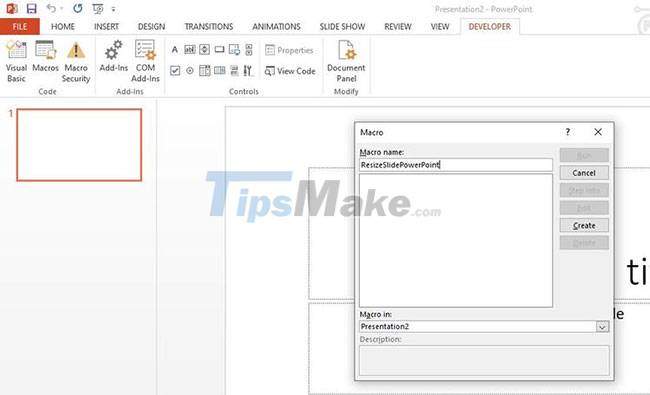
Step 3. When entering a name for the macro in the dialog box, make sure that there are no spaces in it. You can use underscores when spaces are needed. The title will be displayed on the macro you are working with.
Step 4. Click Create and open the Visual Basic Editor.
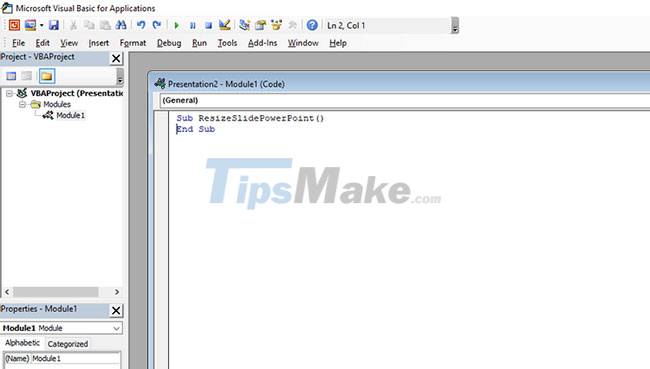
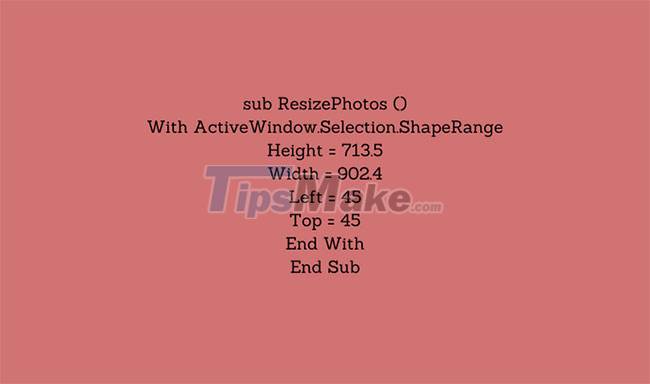
Step 5. Now you can enter your VBA code to perform the action you selected.
Step 6. Replace the following input with the size you want for your image. The information displayed will look like this:
Save Macros to use
The next query will save your information.
Step 1. Click the Save as option on the list and select PowerPoint Macro-Enabled Presentation.
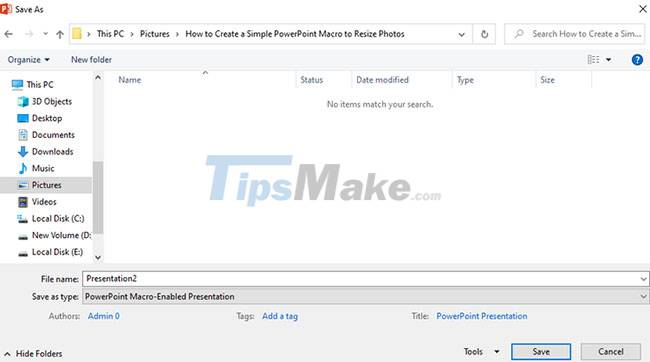
Step 2. Click Save and close the window on Visual Basic Editor.
Use Macros in PowerPoint presentations to resize images
Select a few images that you want to resize by doing the following:
Step 1. On the top bar menu, select Insert, then click Picture and select an image from your file.

Step 2. Repeat the action; Add more images to the slide until done. The size of the images can be both large and small at this stage, but don't worry as they will all be resized to the same size with the macro.
Step 3. Once you've selected the image to resize, click View on the top ribbon and select Macros.
Step 4. Click on the macro you saved and press Run.
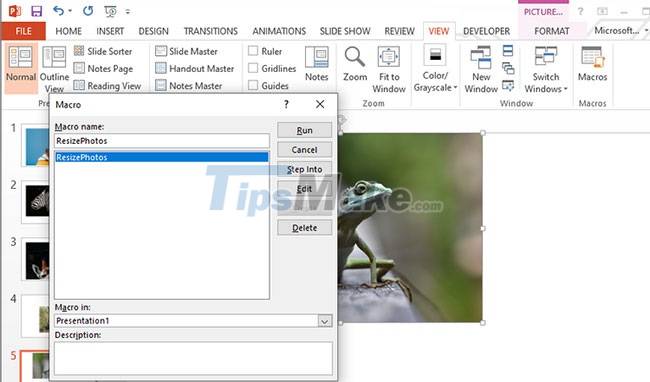
Your photo will be resized instantly. Continue applying the macro to other images in the presentation.
Hope you are succesful.
Was this article helpful?
Your feedback helps us improve.
Related Articles
 How to resize images properly in Photoshop9 minutes read
 How to resize images online3 minutes read
 Instructions for resizing images in Windows 10 series4 minutes read
 The fastest way to batch resize photos with Microsoft's Power Toy software3 minutes read
 PowerPoint 2019 (Part 14): Inserting Images5 minutes read
 How to resize images in Paint 3D application on Windows 104 minutes read
Reader Comments 0
Sign in with email or Google to join the discussion.