How to Resize Photos with Image Resizer for Windows
Image Resizer for Windows is the replacement for Microsoft's Image Resizer Powertoy. It allows you to resize one or more photos easily, without having to manage each file one by one. You can directly resize photos right from Windows...
Table of Contents
Part 1 of 2:
Installing Image Resizer for Windows
-
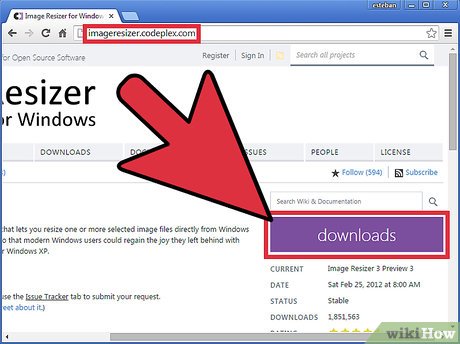 Download Image Resizer. Go to imageresizer.codeplex.com on any web browser, and click on the download link for the setup file.
 -
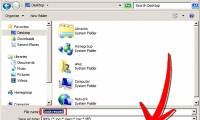
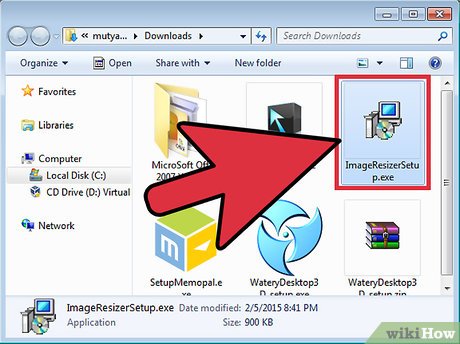 Install CDisplay. Locate the downloaded file on your computer. The filename will be ImageResizerSetup.exe.
- Double-click on the setup file to run the installation.
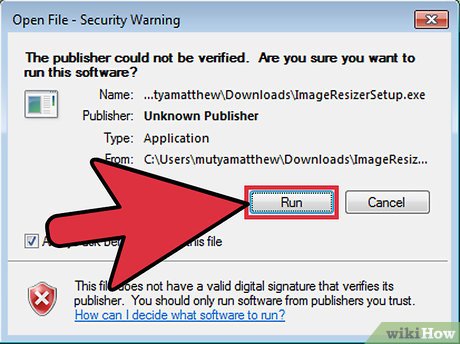
- Click on the 'Run' button. Follow the on-screen instructions to complete the setup.
Part 2 of 2:
Resizing Photos
-
 Open Windows Explorer. Navigate to the folder that contains the photos you'd like to resize.
 -
 Select the photos that need to be resized. All resizing configurations will be applied to the whole batch of photos.
- You can select multiple files by pressing the CTRL key on your keyboard and clicking on each file.
-
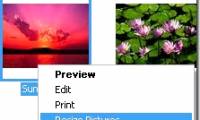
 Launch Image Resizer. Right-click on the selected files to open the context menu. Click on 'Resize pictures,' and Image Resizer for Windows will launch.
 -
 Set the size or dimensions for the output files. Choose from the predefined options:
- Click the radio button for Small to set the output files to 854 x 480 pixels.
- Click on the radio button for Medium to set the output files to 1366 x 768 pixels.
- Click on the radio button for Large to set the output files to 1920 x 1080 pixels.
- Click on the radio button for Mobile to set the output files to 320 x 480 pixels.
- Click on the radio button for Custom to set your own custom size. You can set it by Pixels, Centimeters, Inches, or Percent.
-
 Set resizing options. After selecting the output size, there are several configuration options available for the resizing:
- Only shrink pictures. Tick the checkbox for this option if you want the photos to only be shrunk and not be enlarged to fit the set dimensions. If this is selected, only files larger than the output size will be resized. Enlarging a smaller picture to fit the output size may cause pixelation of the output photo.
- Replace the originals. Tick the checkbox for this option if you want the output photos to replace the original files. Make sure you won't need the original files anymore if you select this as they will be overwritten.
- Ignore picture rotations. Tick the checkbox for this option if you want the tool to ignore the orientation of the photos when resizing. The output photos may be poorly cropped if this is chosen.
-
 Click on the 'Resize' button once you're done setting the options. The selected photos will be processed and resized accordingly.
- The output files will be placed in the same folder as the original files.
Was this article helpful?
Your feedback helps us improve.
Related Articles
 Easily edit image sizes in Vista and XP3 minutes read
 How to batch edit photos with Faststone Photo Resizer7 minutes read
 How to Easily Resize Photos in Windows XP5 minutes read
 How to resize photos in Photoshop3 minutes read
 Install High Quality Photo Resizer, software for reducing image file size on Windows 7, 8, and 10.4 minutes read
 How to batch resize photos with XnConvert6 minutes read
Reader Comments 0
Sign in with email or Google to join the discussion.