How to flip, rotate images on PowerPoint
PowerPoint insert images can change the display style such as flipping images, rotating images horizontally, changing the angle of the image.
Table of Contents
PowerPoint insert images have many ways to customize such as cutting photos on PowerPoint without using photo editing software, adjusting the size of photos on slides automatically, or inserting shadow effects for photos on slides, . Or people can rotate the image horizontally, flip the image horizontally to adjust the display angles for the image to match the layout of the content. Manipulating images or rotating PowerPoint images is simple, not complicated, and is introduced in the following article of Network Administration.
- How to reduce image size in Word 2007, 2010, 2013, 2016
- How to insert images below the word on PowerPoint
- How to insert text into images in PowerPoint
- How to cut photos using Microsoft PowerPoint
Instructions to flip photos on PowerPoint
Step 1:
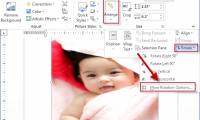
Users insert images into the content on the slide as usual, then click on the image. Continue to click the Format tab and then select the Rotate icon to rotate the image in many different ways.

Step 2:
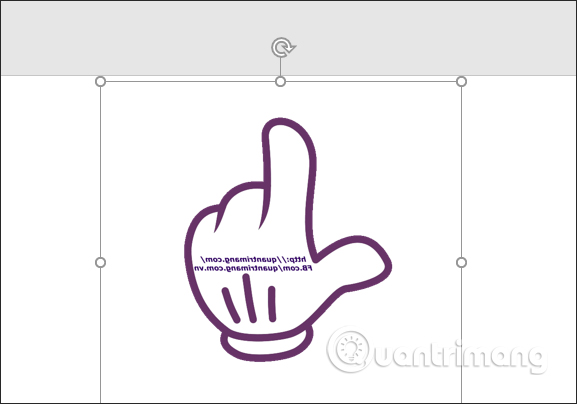
In the list shows the user click on Flip Horizontal to flip the image.

Immediately the image will be rotated horizontally to the opposite side.
Step 3:
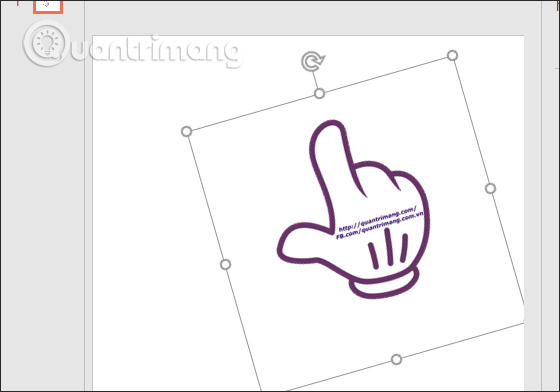
If you want to rotate the image , then click on the round arrow icon at the top of the image and then rotate to the angle you want.

Step 4:
If you want to rotate the image at more precise angles, you can choose 90 degree rotation angles. If you want to add other angles because you manually enter, click More Rotation Options .

Step 5:
At the right side of the screen, the column displays a custom angle for the image. Users will adjust the rotation angle at Rotation. If the angle of reduction is reduced - then the image will tilt to the left, otherwise increase to a positive number, the image will tilt to the right.

The resulting image will change the angle as shown below.
I wish you all success!
Was this article helpful?
Your feedback helps us improve.
Related Articles
 Resize, position, rotate, and flip images in Adobe Illustrator4 minutes read
 Instructions to add watermark, rotate, flip photos with Picasa3 minutes read
 Guide to rotate Video by Free Video Flip and Rotate2 minutes read
 How to rotate images backwards, horizontally on computers without software3 minutes read
 Instructions on how to resize, position, rotate, and flip images in Adobe Illustrator.3 minutes read
 Rotate and move images in Word2 minutes read
Reader Comments 0
Sign in with email or Google to join the discussion.