How to create image borders in PowerPoint
When we edit photos in PowerPoint, we will have the option to add image borders. You can choose many different image border styles in PowerPoint as you like.
Table of Contents
One of the ways to create highlights for photos in PowerPoint slides is to create image borders in PowerPoint. When we edit photos in PowerPoint, we will have the option to add image borders. You can choose many different image border styles in PowerPoint as you like. In addition, image borders in PowerPoint also have additional effects. The following article will guide you on creating image borders in PowerPoint.
Instructions for creating image borders in PowerPoint
Step 1:
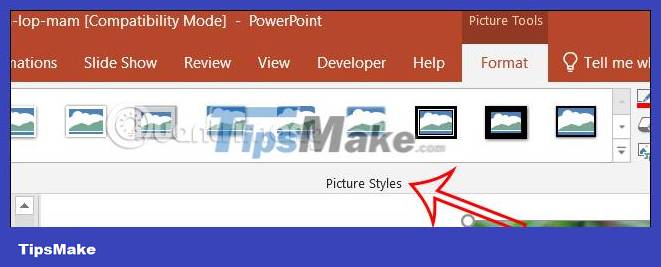
First, you also upload the image to the PowerPoint slide as usual. Then click Format and then look down at the Picture Styles group to adjust the image style.
Step 2:
At this point, users will see a number of image styles including image border styles for us to choose from.

You choose the type of image border you want to use and then display the image border in PowerPoint as shown below.

How to create image borders in PowerPoint manually
Step 1:
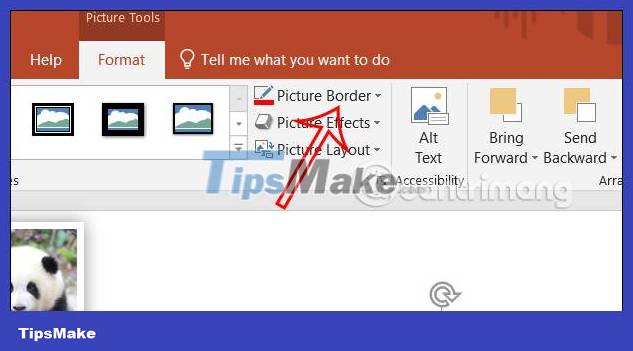
After uploading the image to PowerPoint, click on the image and then click the Format tab . Continue clicking Picture Border to create image borders.
Step 2:
In this Picture Border option, first click Weight to choose the thickness for the image border . Click on the border size you need.

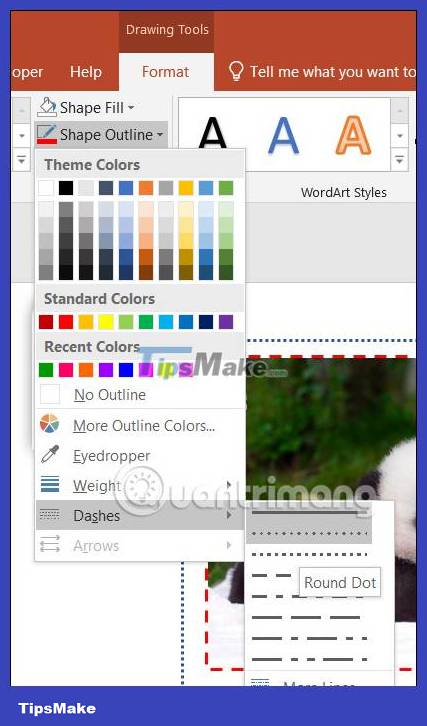
Step 3:
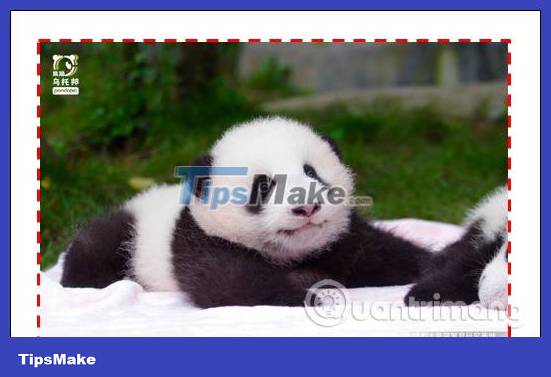
Next click Dashes to select the type of image border.

Continue to click on the color box to choose the color for the image border.

As a result, we have an image border in PowerPoint as shown below.
Step 4:
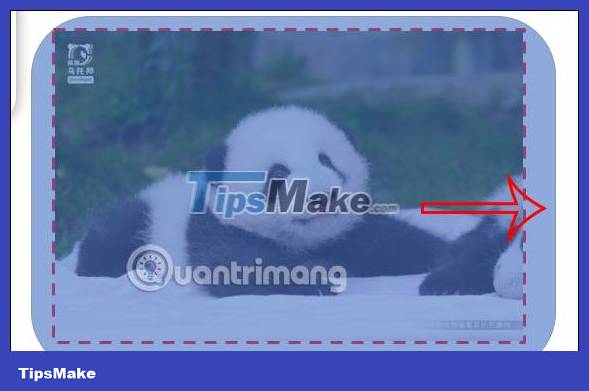
In case you want to further decorate the image by drawing another border around the existing image border, click on Shape and then select a frame that fits the image.
Next, draw a frame around the image.
Step 5:
Click on the frame then select Format , select Shape Fill and click No Fill .
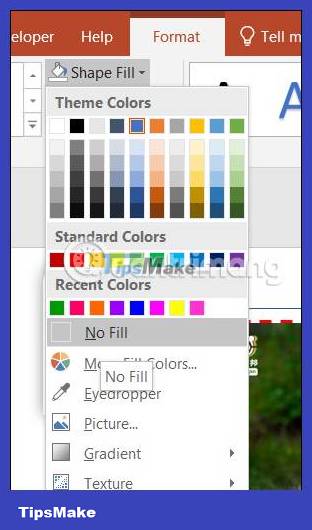
Then the user also clicks on Shape Outline to choose the color for the border, choose the style for the border and you're done.
Finally, you must group the image and the border created from Shape , by clicking on the image , pressing the Ctrl key, then clicking on the border . Continue to right-click and select Group to group together. When you move the image, you move the border.

Was this article helpful?
Your feedback helps us improve.
Related Articles
 How to create borders in PowerPoint5 minutes read
 PowerPoint 2019 (Part 15): Image Formatting5 minutes read
 How to create borders in Photoshop3 minutes read
 Instructions for creating borders in Powerpoint3 minutes read
 PowerPoint 2016: Image Formatting in PowerPoint6 minutes read
 How to create a blur border in a Photoshop image2 minutes read
Reader Comments 0
Sign in with email or Google to join the discussion.