Macromedia Flash - Running text effect
With just a few simple steps you can completely create a seemingly complicated effect. You can apply this lesson as a text effect for some advertising banners or slideshows.
With just a few simple steps you can completely create a seemingly complicated effect.You can apply this lesson as a text effect for some advertising banners or slideshows.
Step 1 . Create a file with parameters like Figure 1:

Figure 1
Step 2 . Select the Text Tool , adjust the colors, match the font size and type the words ' TipsMake.com '.

Figure2
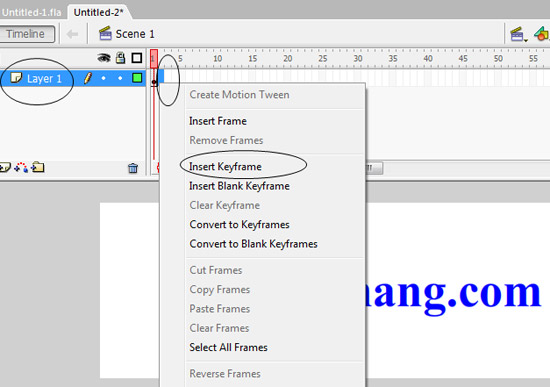
Step 3 . Right-click Frame 2 and select Insert KeyFrame
Figure 3
Step 4 . Do the same step Step 3 for Frames 3, 4, 5, 6, 7
Step 5 . Click Frame 2, click on the text on the canvas and set it to a different color depending on you
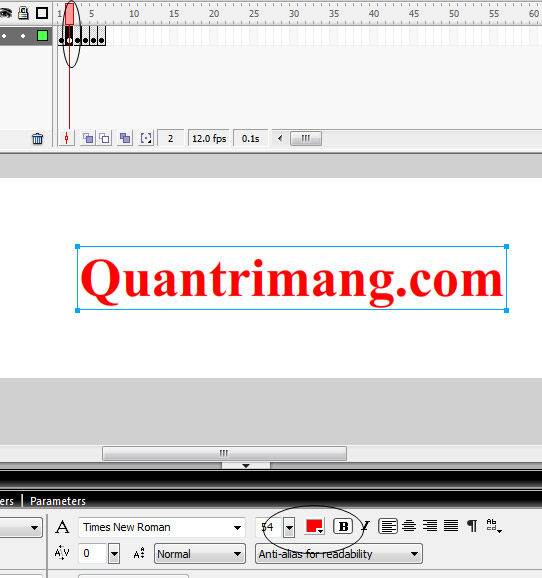
Figure 4
Step 6 . Do the same for Step 5 for Frames 4 and 6 with different colors you choose.
Step 7 . Do the same for Step 3 for Frames 8, 9, 10, ., 22
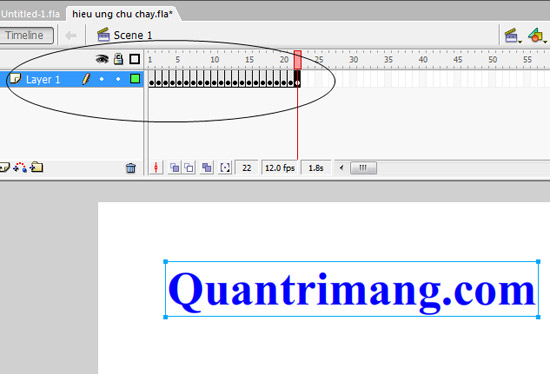
Figure 5
Step 8 . Click Frame 8, click on the Text Tool , blacken the letter Q in TipsMake.com and set its color to white (matches the background color, see Figure 6).
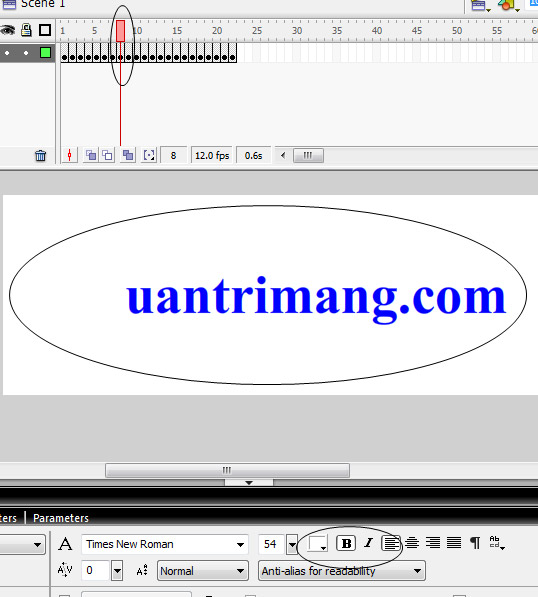
Figure 6
Step 9 . Do the same step Step 8 for the remaining frames until the end of the text.
Step 10 . Press Enter + Ctrl to check the result. Download the source file here !
Was this article helpful?
Your feedback helps us improve.
Related Articles
 Macromedia Flash - Create banner text effect5 minutes read
 Macromedia Flash - Text display effect5 minutes read
 Macromedia Flash - Falling text effect2 minutes read
 Macromedia Flash - Create Text running in banner5 minutes read
 Macromedia Flash - Product image advertising effects5 minutes read
 Macromedia Flash - Effects of lighting on photos3 minutes read
Reader Comments 0
Sign in with email or Google to join the discussion.