Instructions for creating Panoramic images with Windows Live Photo Gallery
In the following article, TipsMake.com will introduce you how to join and combine seamless photos with Windows Live Photo Gallery application.
TipsMake.com - Have you ever wanted to capture the moment when standing on a large mountain or a magnificent building? In the following article, TipsMake.com will introduce to you how to join, combine seamless photos together to create perfect panoramic picture with Windows Live Photo Gallery application .
The link to download Windows Live Photo Gallery program here.
Begin
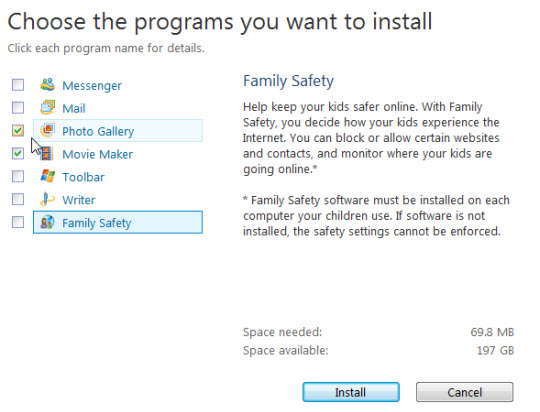
First, download the program and install it into the system. Live Photo Gallery is part of the Windows Live Essentials suite, selecting additional installation components if you want:
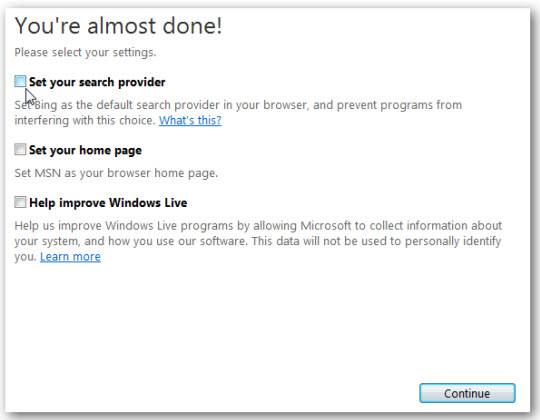
Setting up MSN's home page of choice and Bing's default search system in the next step, you can check the option box or leave it blank:
The following details are really necessary, because creating panoramic photos needs to be absolutely accurate from every angle, every detail, space, height so that all are suitable and bring the most authentic look. On the other hand, it makes it easy for the program to find common and closest points between component images. In this article, we use photos of a high-rise building from a phone with high resolution.
Create your own Panorama
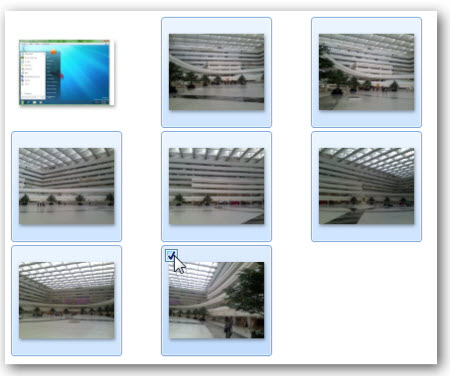
Open Live Photo Gallery and find photos to use. The program will automatically arrange and display all pictures in the Pictures folder or Library if you are using Windows 7:

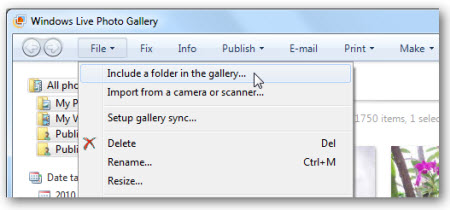
Or if you save the required photos elsewhere on the system, add that folder to Photo Gallery, click File > Include a folder in the gallery and select the archive folder:
And select each photo really necessary, check the box to the left of each photo:
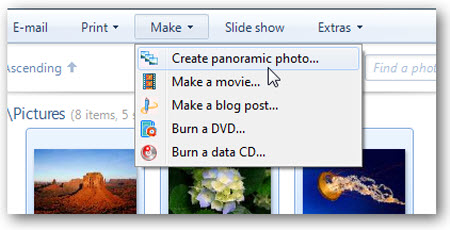
After the selection is complete, click Make > Create panoramic photo .
Then, right click on any photo and select Create panoramic photo .

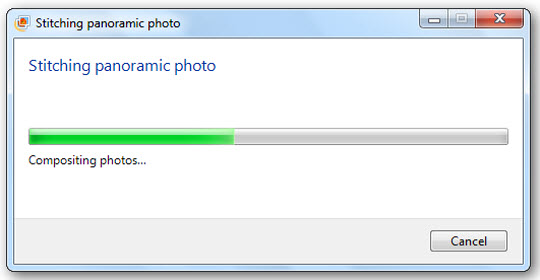
Live Photo Gallery will analyze, arrange and find common points among the above images to create a panorama. And the timing of this process depends on the number of photos, size, capacity and speed of the computer:
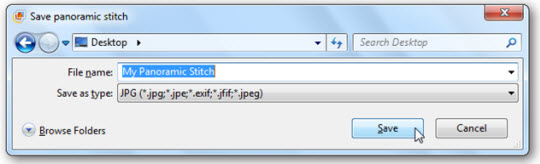
When finished, the program will display a bulletin board containing the panorama picture and name:
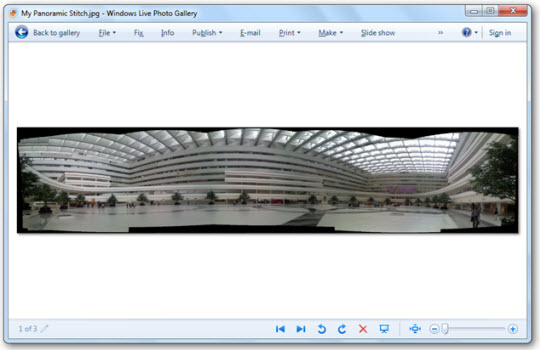
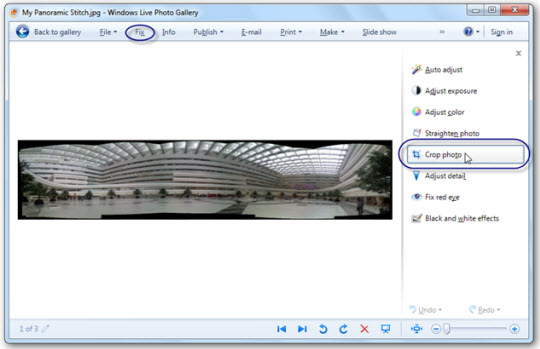
And here is the picture panorama after creating. However, depending on the angle of each previous component image, in the panorama there will appear black spaces, where the composition images cannot 'cover' the entire space:
To fix this phenomenon, select the Fix tool on the menu bar and then select Crop Photo :
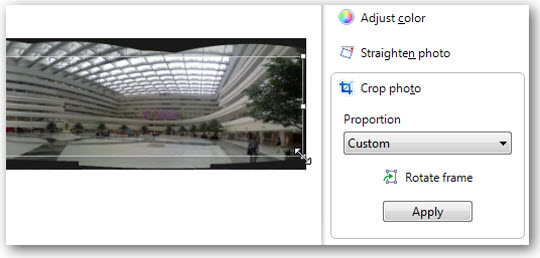
Carefully select the center of the image, where it is unaffected by the corners, the border is black with the Crop tool. Click Apply when done:
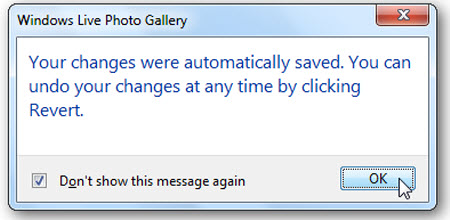
Live Photo Gallery will automatically remove the black border, and save this change directly on the panorama, or you can go back to it if you want with the Revert tool:
And this is your final result:

Good luck!
Was this article helpful?
Your feedback helps us improve.
Related Articles
 How to install Windows Live Photo Gallery on Windows1 minutes read
 How to Use Windows Photo Gallery6 minutes read
 How to use the Live Photo feature on iPhone3 minutes read
 Instructions on how to convert Live Photos to still images on iPhone2 minutes read
 Have you created the Gallery photo gallery on Facebook?5 minutes read
 Google Gallery5 minutes read
Reader Comments 0
Sign in with email or Google to join the discussion.