Instructions for using Style in Word
Frequently working with Word, with multi-page documents, the use of Styles to quickly format documents in a professional manner is essential. Styles can help you quickly create a table of contents automatically, in t format.
Frequently working with Word, with multi-page documents, the use of Styles to quickly format documents in a professional manner is essential. Styles can help you create automatic table of contents quickly, format text according to certain standards.
The following article will guide you how to use and create styles in Word.
Use the styles available in Word
Microsoft Word provides many styles for you to use in the Styles section of Home.
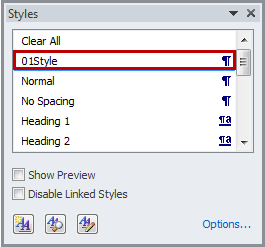
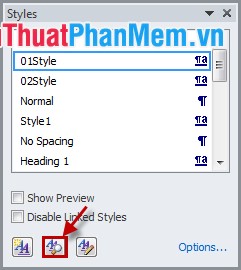
1. To display the Styles in full, click the extended icon as follows:

Click on the extended icon to display the Styles frame:

2. You can change the format settings for existing styles. You right-click on the Style you want to change the format and choose Modify .

In the Modify Style dialog box , you can change: font, font size, font style, font color, left alignment, center, right, line spacing, paragraph spacing in Formatting section .
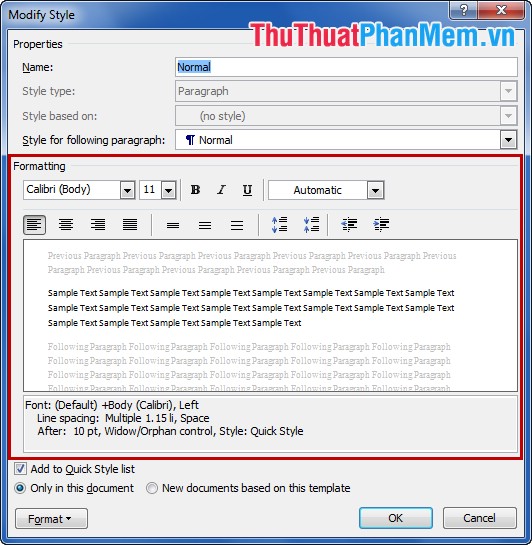
Also you can format more detail by clicking Format . In Format you can format paragraphs (paragraphs), tabs, borders (borders), languages (language), automatic numbering (numbering) .
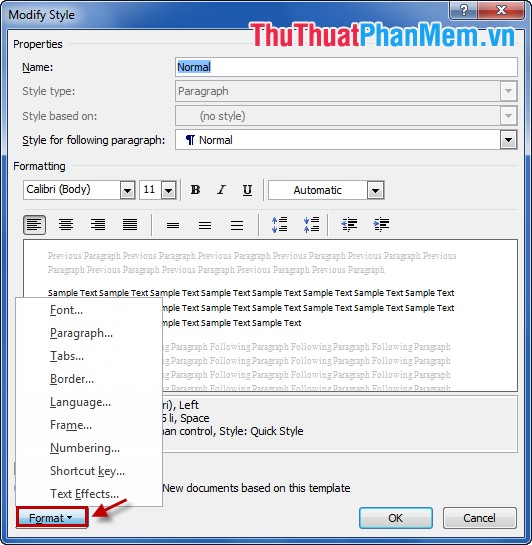
After adjusting, select OK .
3. To use the Style , you can select the text line (or highlight it). Click on Styles .

Select the Style you want.
Or you can choose Style first, then enter the content.
Create new Styles with New Style to use
1. Select the New Style icon .

2. In the dialog box Create New Style from Formatting , you enter the Style name in the Name box (you should name the purpose of the Style to remember), in Style based on you choose the style inherited from the available styles . Then you also set the text format as font style, font size, font .
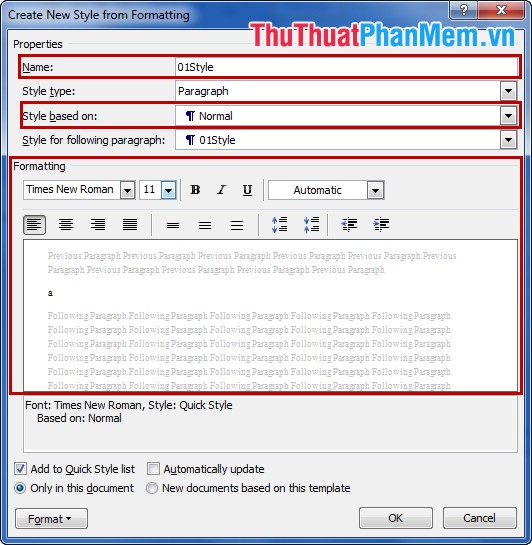
Add other format settings when you click Format .
3. After you have installed the new Style , select OK to save, the Style you created is already in the Styles list.
Create a new Style with New Quick Style
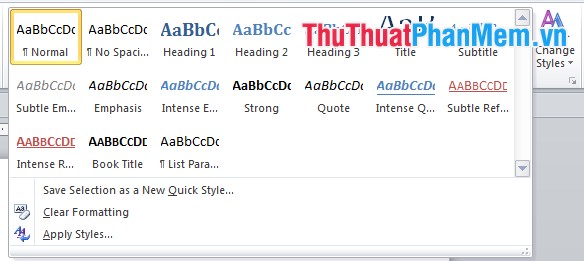
1. Choose any style in the list of available styles.

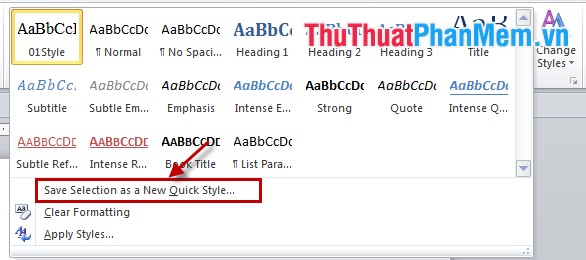
2. Next select the More icon in the Styles section.

3. You select Save Selection as a New Style .
4. To quickly create a Style, enter the Name (the name for the Style) and click OK .
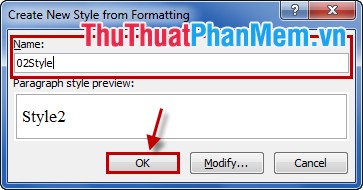
If you want to install format details, then select Modify to install.
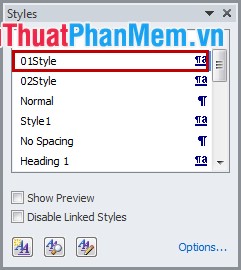
After creating, the Style will be displayed in Styles.

Determine the specific style of a part of a document
1. You put the cursor in any position in the text you want to identify.
2. Select the icon button of the Style Inspector .
Then there will be a dialog box displaying Style information of that text.
So now you can create Style and use Style to format your documents quickly. Good luck!