Instructions for creating signatures with Business Card in Outlook
Contact information, and most other related data are handled automatically by email client applications. For example, Outlook 2010, Gmail, Hotmail, Windows Live Mail ... are popular tools ....
QuanTriMang - Contact information, and most other related data is handled automatically by email client applications. For example, Outlook 2010, Gmail, Hotmail, Windows Live Mail . are popular tools. But if you want to display information in the signature section in a professional way, the best way is to create a Business Card in the Outlook 2010 program.
Create contact information:
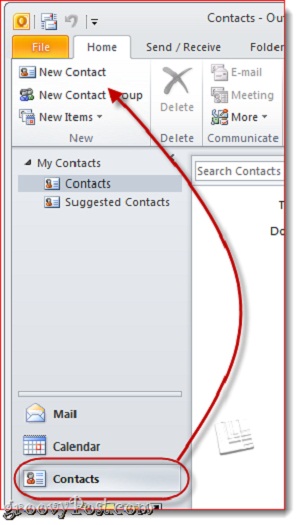
First, start Outlook 2010 , select Contacts> New Contact from the Home tab:
Here, you fill in the contact information, this information will automatically be displayed on the form window on the right:
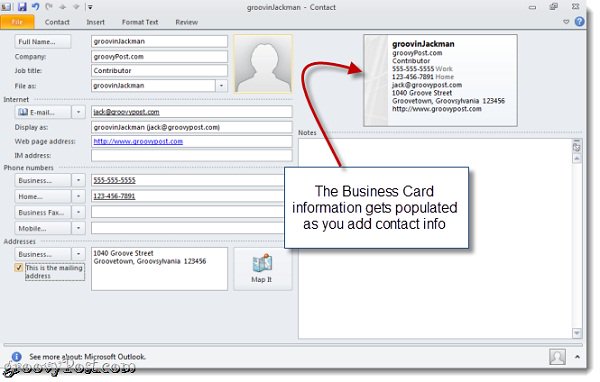
No need to worry too much about the information and appearance because we can correct it later. At this step just fill in the information.
Change the information of Outlook 2010 Business Card:
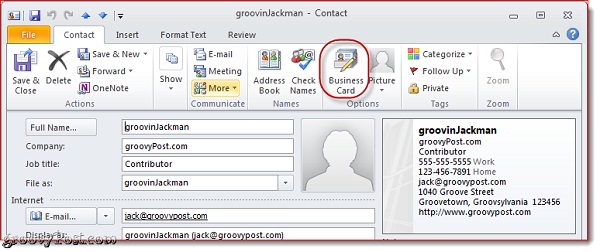
While the Contact list is still open, select Business Card , or right-click on your Business Card section and select Edit Business Card:
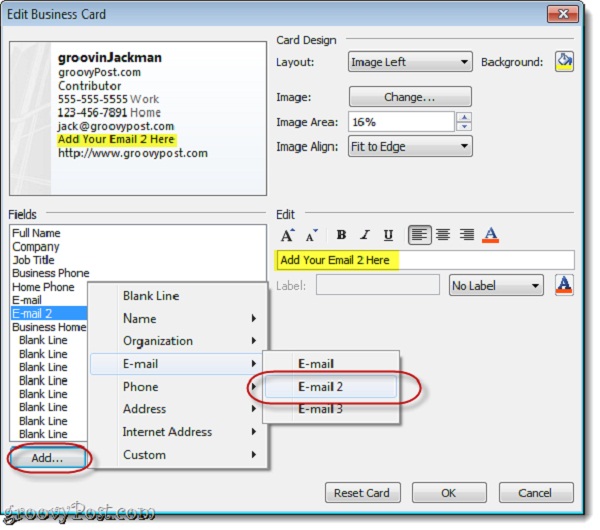
The Edit Business Card window displays, where you can change the design template, add or remove data fields, format each displayed information line. Here, the Business Card template will display in the upper left:
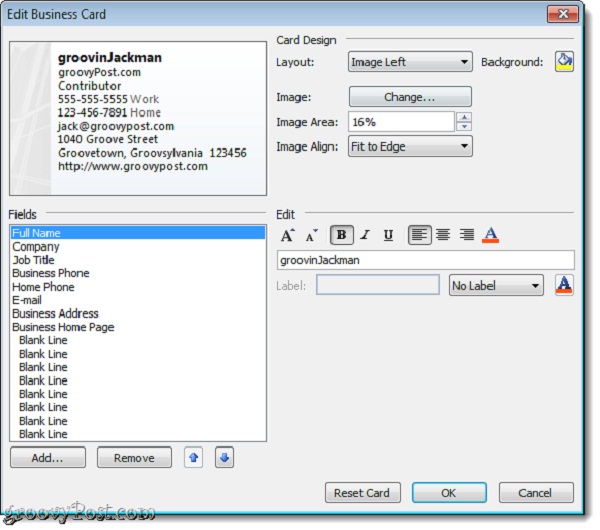
Next is to select each line of specific information to put into Business Card by Add or Remove button:
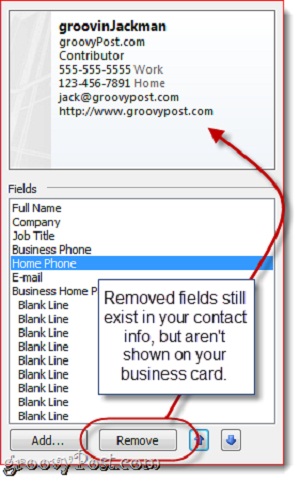
Here, we have removed the Home Phone and Business Address entries, but note that this step does not remove basic information from the account. If the items in the data field are added to the tag template too much, the system will automatically sort according to the available criteria:
Design and format Business Card templates in Outlook 2010:
After filling in all the information fields to display, we need to reformat it to suit our requirements. First, you select each individual item to edit and Edit in the right menu bar, depending on the corresponding data field (such as number or character), font style, size, color, alignment type , add the corresponding labels to display .:
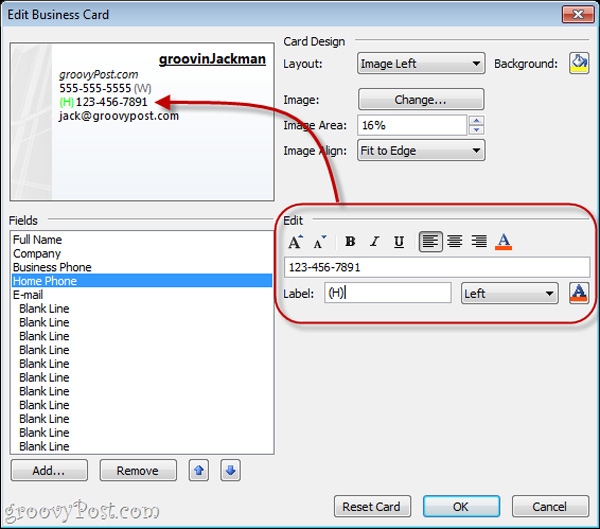
The added labels will appear on the left or right of the information field. To remove these labels, delete the data inside or select No Label from the menu. Then, select the logo or wallpaper with the Change function, next to the Image item in the Card Design section, point to the image storage folder to include:
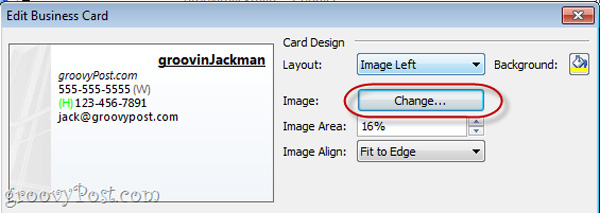
Select the display position of the image via Layout and Image Align from the menu, change the size displayed in the Image Area section according to the% number:
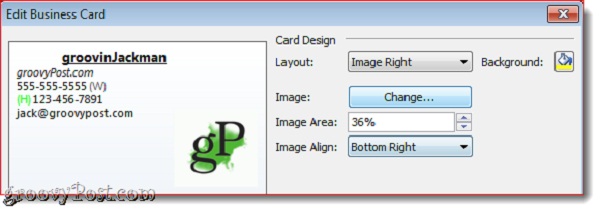
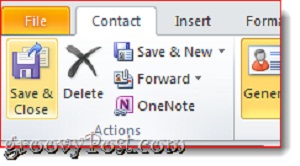
If you want to color the background image, select the Paint Bucket tool next to Background. After feeling satisfied with the template, save this design via Save & Close:
Attach Business Card to Signature form in Outlook 2010:
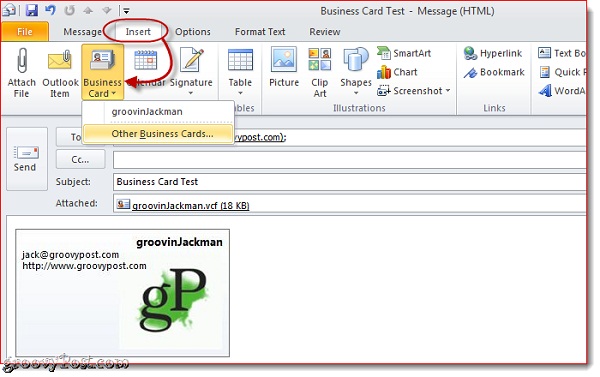
You can insert the Business Card template in a new email when selecting Insert> Business Card . For the first time, we have to select the Other Business Cards entry, and from the next time these templates will be displayed at the menu:
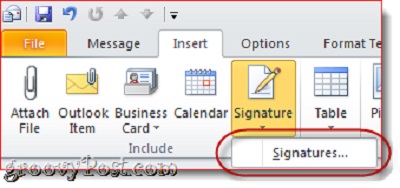
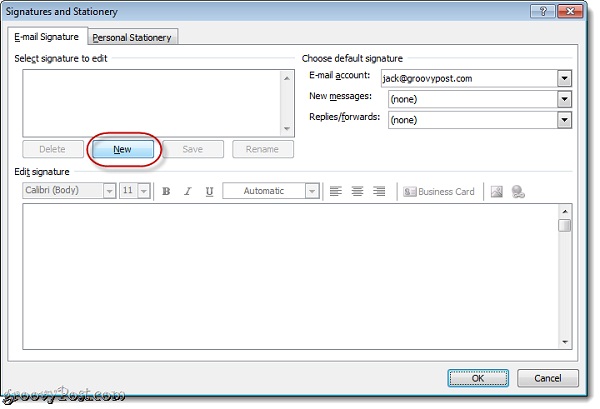
And here are the steps to insert Business Card into the Signature section. First, you need to create a new email, choose Insert> Signatures> Signatures:
The Signatures and Stationary window is displayed, select New as shown below, name this new signature and click OK:
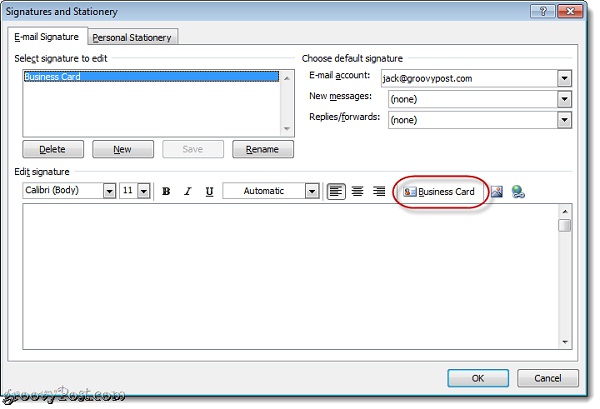
Select the signature you just created and click Business Card:
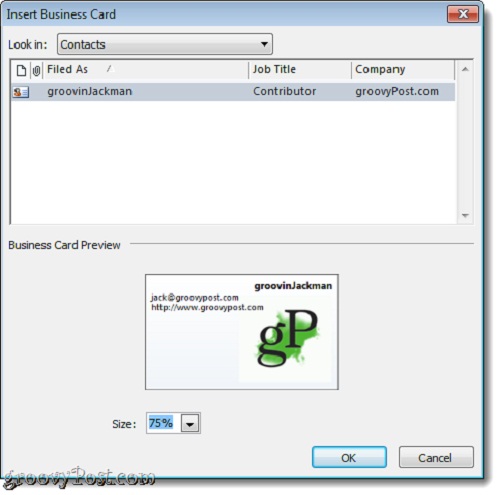
Select Business Card you want to insert and OK, if you want to change the size, set in Size with the desired size:
Select the default signature template of the account in the Choose default signature section as shown below:
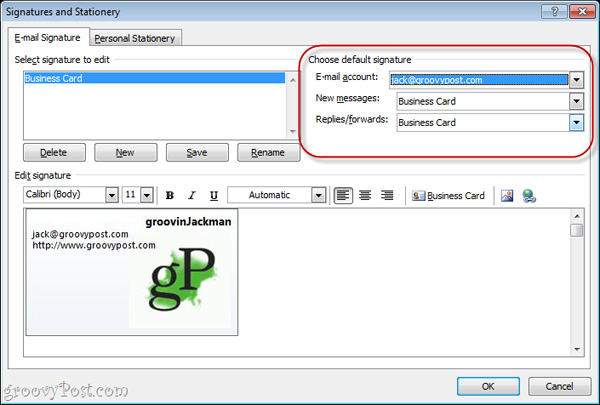
According to many users' tips, you should assign the default signature in the New messages section but should not leave it as default in Replies / forwards because of the addresses you reply to or forward the mail to have a Business Card template. Then click OK to close this window.
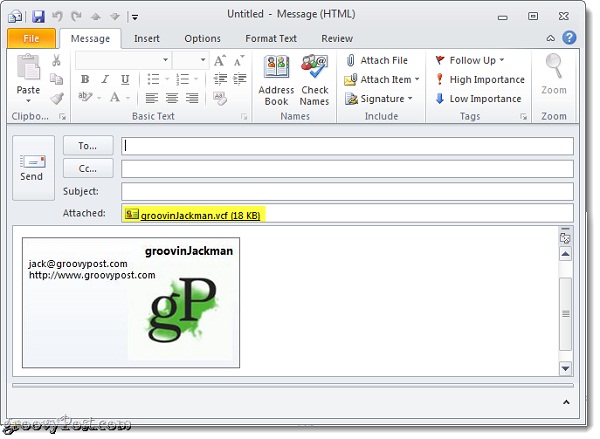
Create a new email, and the Business Card template is preseeded in the signature section as a * .vcf file attached:
Save personal account information from Business Card:
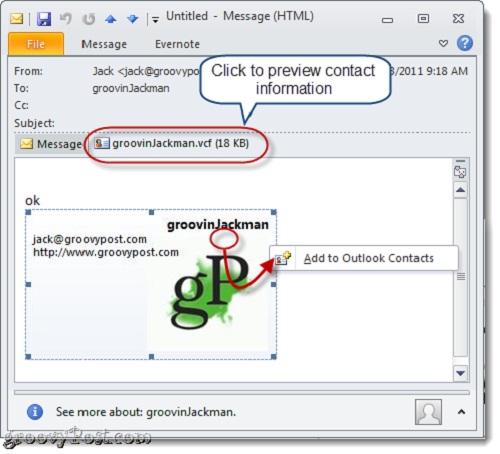
When the recipient of the other party receives a Business Card form, the email client program will automatically handle it accordingly. For Outlook users, right-click the Business Card template and select Add to Outlook Contacts to save the account information to the Address Book:
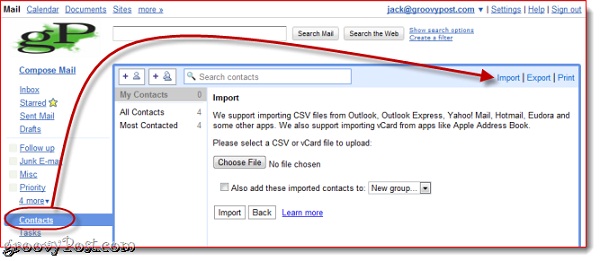
Importing vCards (.vcf files) into Gmail is a bit more complicated, you need to download the .vcf file to the previous hard drive. In Gmail, select Contacts> Import> Choose File and point to the folder where the .vcf file was previously stored:
Good luck!