Back up Gmai data to a free Windows Live account
Recently, netizens are chattering about Gmail's incident, causing some users of this email service to suddenly lose their email and folders. While google is still looking for ways to fix this problem, let's find a way to protect our data in many different ways. In the previous article, I showed you how to backup all Web-based email accounts using Thunderbird and use Offline mode. Today, we introduce another way to back up your Gmail account with a completely free Windows Live Mail account.
>>> How doesGoogle troubleshoot Gmail?
>>> Many Gmail users suddenly "white-handed"
1. First log into your Gmail account, then click on the installation icon (small wheel shape) and select Account Settings .

2. Select Gmail Settings .

3. Switch to the " Forwarding and POP / IMAP " tab and check the " enable POP for all mail (even mail that's already downloaded) " section, this will ensure the entire mail in your inbox (including The old message in the mailbox) will apply this setting.

4. Finally click the " Save Changes " button to save the changes.

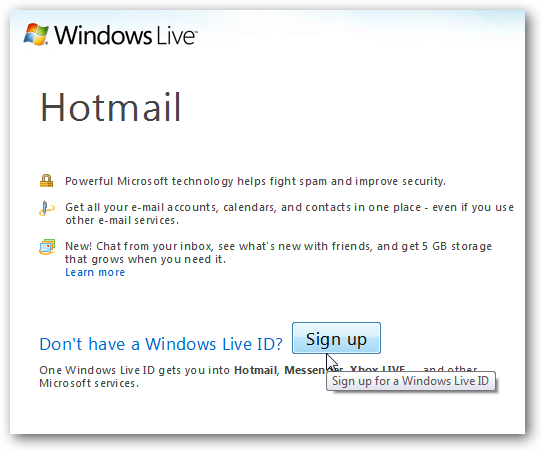
5. Access the Windows Live Mail website and log in with your account, in case you do not have an account on this website please register (the same steps as other email services).
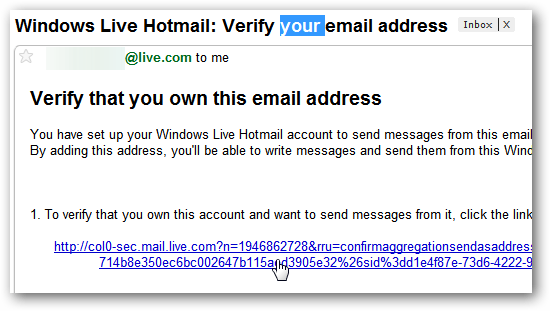
Click on the link below to confirm your account.
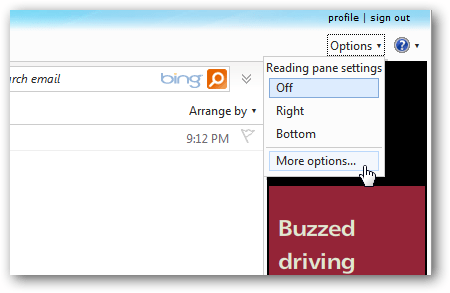
6. After registration is complete, activate your Windows Live account and log in to your mailbox. Here, click on Options > More options .
7. In the Hotmail Options window, in the section Manage your account, click on Sending / receiving email from other accounts .

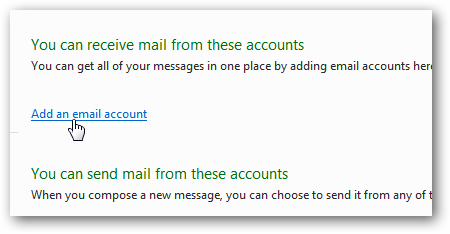
8. Click on Add an email account .
9. At the window that appears, proceed to import your Gmail account and click Next .

10. At this point you select the location that will save the messages sent from Gmail right in your inbox or a folder in Windows Live. Here we will choose to save them to a separate folder named "gmail - Backup ". Click save to save.
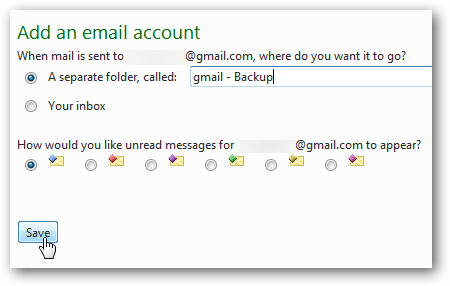
11. From now on all mail sent to your Gmail inbox will appear in Windows Live, in this example is the "gmail - Backup " folder we just created.

However, taking Gmail to Live Mail will be slow if you have too many messages. There are other ways to back up your Gmail with online services like Backupify or use email applications like Thunderbird.