Insert images in PowerPoint
Introducing image insertion operations in PowerPoint. To use the Font dialog box, you can select the following formats: 1. Insert pictures available in the computer. Step 1: Go to the Insert - Images - Pictures tab: Step 2: The Insert Picture dialog box appears to select the image you need
Table of Contents
The following article introduces you in detail to insert images in PowerPoint.
To use the Font dialog box, the following formats can be selected:
1. Insert images available in the computer.
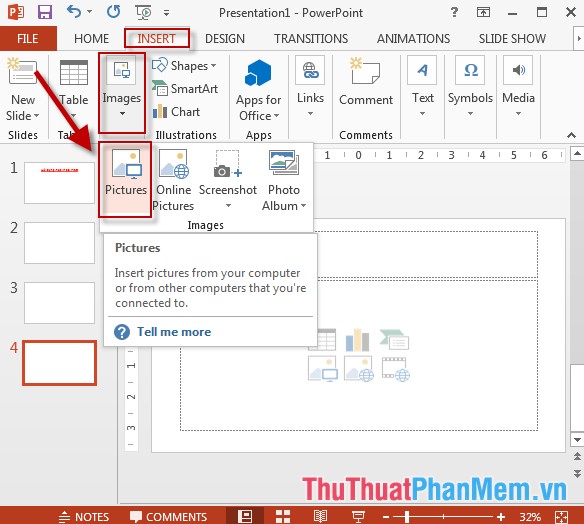
Step 1: Go to the Insert tab -> Images -> Pictures:
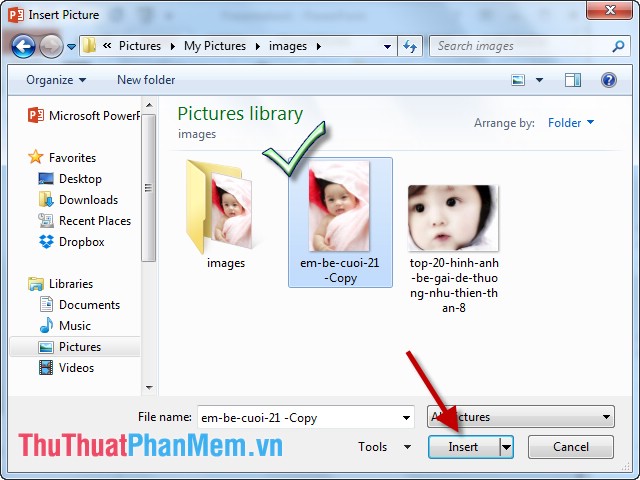
Step 2: The Insert Picture dialog box appears, select the image to be inserted -> Insert:
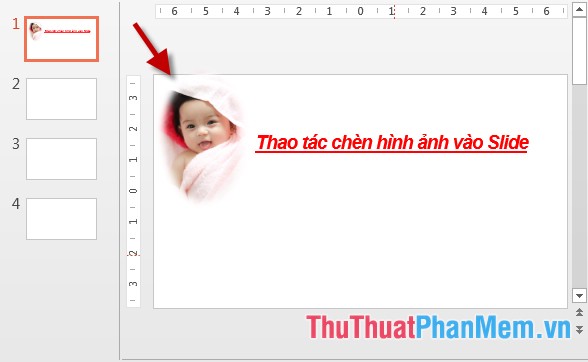
Step 3: Drag and drop the mouse and move the image to the position to insert:

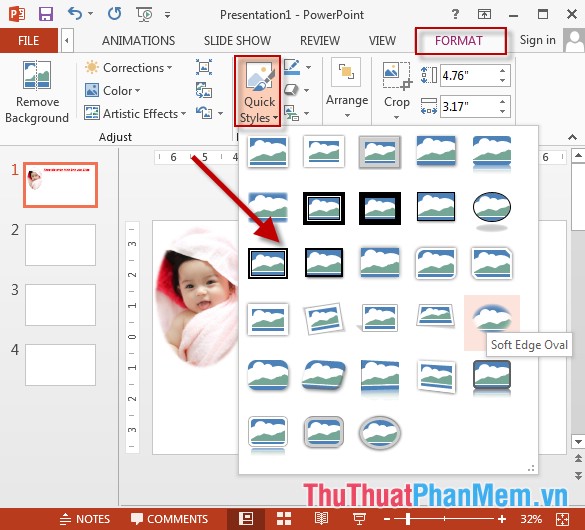
Step 4: Select the style for the image -> go to Format tab -> Quick Styles -> choose the display style for the image:
Step 5: On tag Format -> Pictures Effect -> choice of photo effects:

- Inserted image results:
2. Insert images online.
Step 1: On the Insert -> Online Pictures:
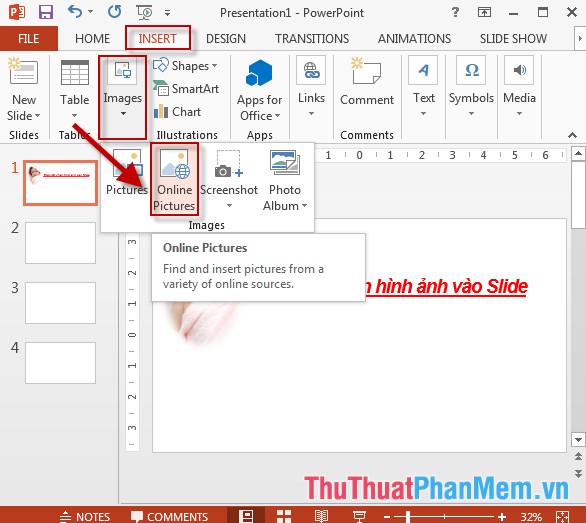
Step 2: Enter a search term for the image -> press Enter -> search results displayed -> select the image to insert -> Insert:

Step 3: Similar to inserting available images in your device, select the type and effects for your photos -> results:

Above is a detailed guide for inserting images in PowerPoint.
Good luck!
Was this article helpful?
Your feedback helps us improve.
Related Articles
 How to insert text into images in PowerPoint3 minutes read
 How to insert images below the word on PowerPoint3 minutes read
 How to insert images into Powerpoint 20166 minutes read
 How to insert GIF images into PowerPoint4 minutes read
 How to insert images into PowerPoint for each version3 minutes read
 How to insert a picture below another picture in PowerPoint2 minutes read
Reader Comments 0
Sign in with email or Google to join the discussion.