Table of Contents
This guide explains how to insert Text into Pictures in PowerPoint, with clear steps, practical tips, and important checks before you begin.
Step 1: You blur the PowerPoint file to insert text into the image and choose Insert -> Pictures to select the image to insert into the file.
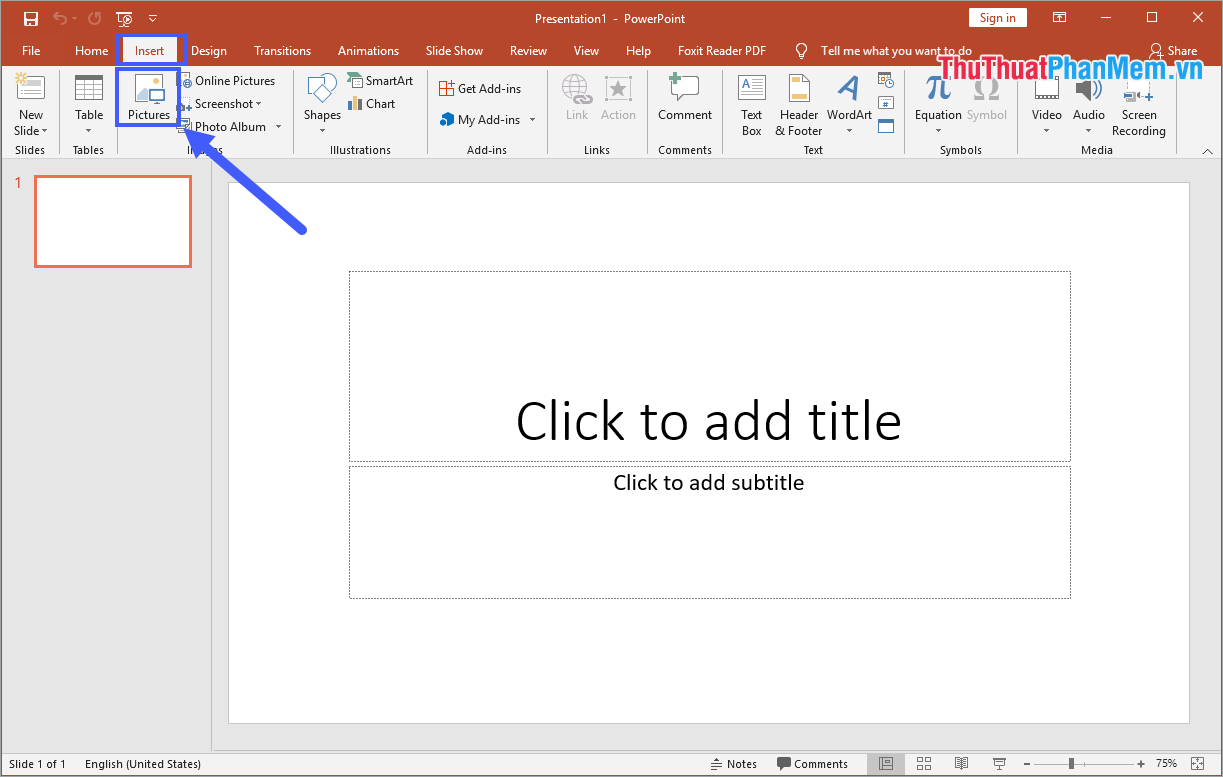
Step 2: After inserting the image into the PowerPoint file, you continue to select the Insert tab and select Text Box to write text on the image.

Step 3: Then, you click and hold the image and drag to create a text frame.

Step 4: Next, you proceed to write and edit the format for words. You can change the font size, format, alignment, size. with the text editing tools in the Home tab.

You can also move text and rotate text through circles at points on the text frame.
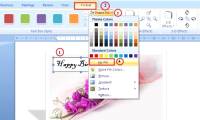
Step 5: In addition, you can choose Format and choose WordArt Styles to choose different fonts for highlights and not be boring.

In this article, Software Tips guide you how to insert text into pictures in PowerPoint quickly and beautifully. Good luck!
FAQ
What should I know about Insert Text into Pictures in PowerPoint?
Focus on the key features, requirements, limitations, and practical use cases explained in this guide.
How do I get the best results with Insert Text into Pictures in PowerPoint?
Follow the recommended steps, use current software or information, confirm compatibility, and review settings before major changes.
Are there any risks or limitations?
Potential limitations depend on compatibility, data quality, cost, privacy, support, and how the product or method is used.
Related Articles
 How to Integrate Pictures Into Text in PowerPoint3 minutes read
 Insert Text Into Pictures with Word3 minutes read
 How to Insert Images Below the Word on PowerPoint: PowerPoint Tips4 minutes read
 How to Insert Text into Images in PowerPoint: PowerPoint Tips4 minutes read
 The Fastest Way to Insert Text into Pictures in Word, Anyone Can Do It!4 minutes read
 Insert Text into Pictures Online3 minutes read
Reader Comments 0
Sign in with email or Google to join the discussion.