How to insert images into Powerpoint 2016
Adding photos can make your presentation more interesting and engaging. You can insert images from a file on your computer into any slide. PowerPoint even includes tools to find images online and add screenshots to presentations.
Table of Contents
Adding photos can make your presentation more interesting and engaging. You can insert images from a file on your computer into any slide. PowerPoint 2016 even includes tools to find photos online and add screenshots to presentations.
How to insert photos into a slide from a file on the computer
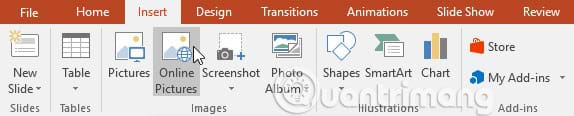
1. Select the Insert tab , then click the Pictures command in the Images group .

2. A dialog box will appear. Locate and select the desired image file, then click Insert.
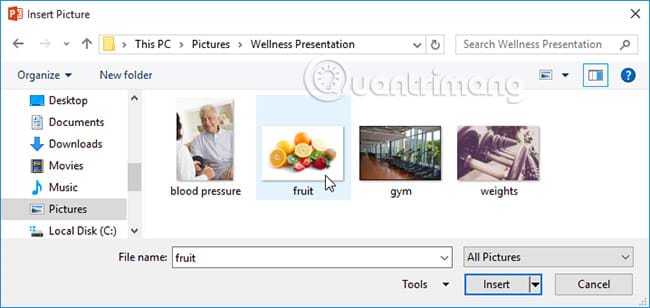
3. The image will appear on the currently selected slide.

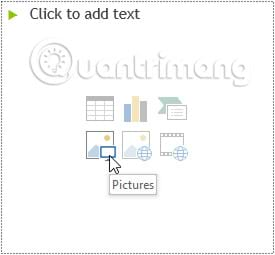
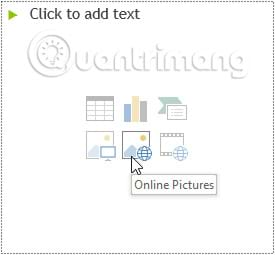
You can also click the Pictures command in the placeholder to insert images.
Insert images online
If the image you want to insert is not on the computer, you can find an image online, then add it to your presentation. PowerPoint provides two options to find images online.
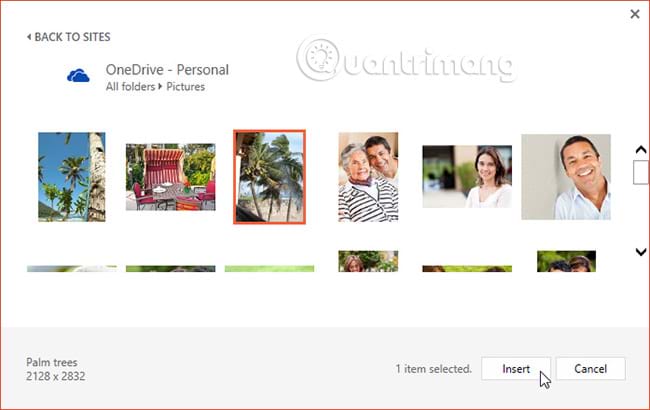
- OneDrive: You can insert images stored on OneDrive or link other online accounts to your Microsoft account, such as Facebook or Flickr.
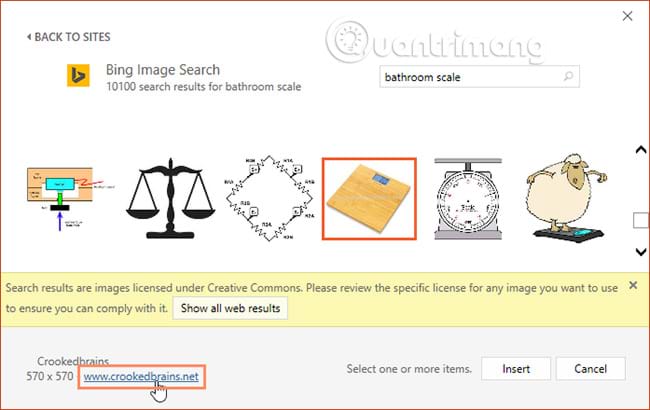
- Bing Image Search : You can use this option to search images on the Internet. By default, Bing only displays licensed images under Creative Commons, which means you can use them for your own projects. However, you should visit the image website to see if there are any restrictions on the use of this image.
How to insert photos online
1. Select the Insert tab , and then click the Online Pictures command .
2. The Insert Pictures dialog box will appear.
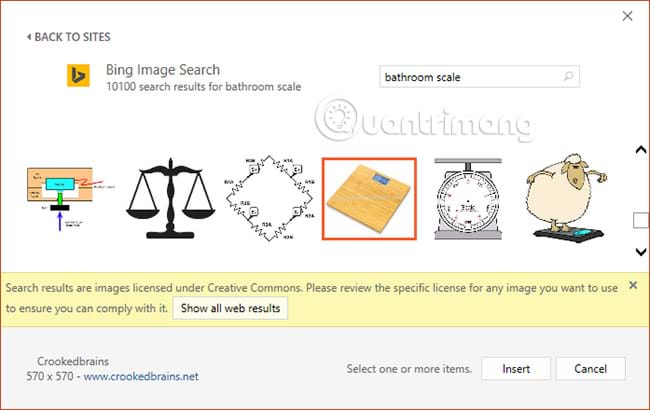
3. Select Bing Image Search or OneDrive. In the example in this article, we will use Bing Image Search.

4. Press the Enter key . The search results will appear in the dialog box.
5. Select the desired image, then press Insert.
6. The image will appear on the currently selected slide.

You can also click the Online Pictures command in the placeholder to insert images online.
When adding photos, videos and music to separate projects, it's important to make sure you have the right to use them legally. Most things you buy or download online are protected by copyright. That means you are not allowed to use them arbitrarily.
Move and resize images
Once you've inserted the image, you may want to move it to another location on the slide or change its size. PowerPoint makes it easy to organize images in presentations.
How to choose an image
Before modifying an image, you will need to select it. Simply click on the image to select. A solid line will appear around the selected image.

How to change the image size
Click and drag the sized dot to adjust the corners until the image has the desired size.

Drag the dots in the corner to resize the image, but still keep the aspect ratio. If you use round dots on the sides, the image will be deformed.
How to rotate the image
Click and drag the arrow above the image to rotate it right or left.

Hold Shift on the keyboard when rotating the image to increase by 15 degrees each time.
How to move an image
Click and drag to move the image to a new position on the slide.

How to delete an image
Select the image you want to delete, then press the Backspace or Delete key on the keyboard.
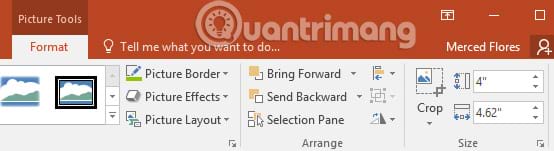
You can access more image formatting options from the Format tab . For more details, please refer to the article: PowerPoint 2016 image format.
Insert screenshot (Screenshot)
Screenshot is basically a computer screenshot. You can take screenshots of almost every open program, website or window. PowerPoint makes it easy to insert screenshots of the entire window or cut a window part into the presentation.
How to insert a screenshot of a window
1. Select the Insert tab , and then click the Screenshot command in the Images group .
2. Available Windows from the desktop will appear. Select the window you want to take a screenshot of.
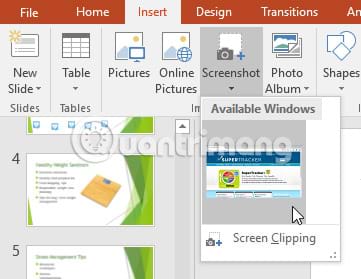
3. The screenshot will appear on the currently selected slide.

How to insert a screenshot of the screen
1. Select the Insert tab , click the Screenshot command , then select Screen Clipping.

2. Other open windows will appear. Click and drag to select the area you want to capture.

3. A partial screen shot will appear on the currently selected slide.

See more:
- Create and open presentations in PowerPoint 2016
- Basic information about slides in PowerPoint 2016
- Presenting slide shows in PowerPoint 2016
Was this article helpful?
Your feedback helps us improve.
Related Articles
 How to insert text into images in PowerPoint3 minutes read
 How to insert images below the word on PowerPoint3 minutes read
 How to insert GIF images into PowerPoint4 minutes read
 How to insert images into PowerPoint for each version3 minutes read
 How to insert a picture below another picture in PowerPoint2 minutes read
 How to integrate pictures into text in PowerPoint2 minutes read
Reader Comments 0
Sign in with email or Google to join the discussion.