Insert and draw shapes on Slide in PowerPoint
Introduce how to insert and draw shapes on slides in PowerPoint. To insert and draw shapes on the Slide, follow these steps: - Go to the Insert - Shape tab - select the image you want to insert..
The following article introduces you in detail how to insert and draw shapes on Slide in PowerPoint.
To insert and draw shapes on the Slide, follow these steps:
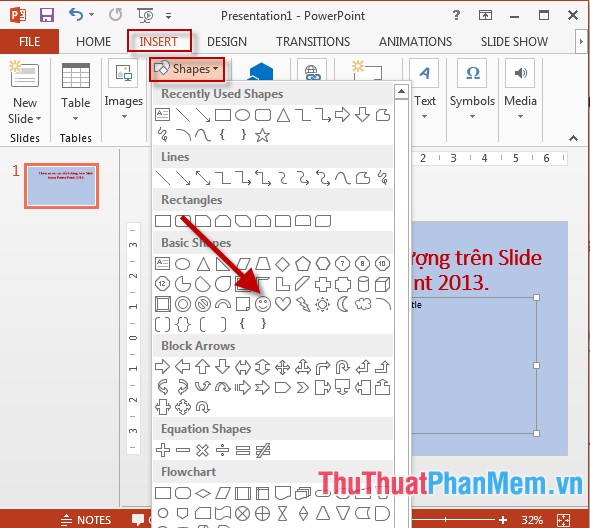
- Go to Insert tab -> Shape -> select the image you want to insert:
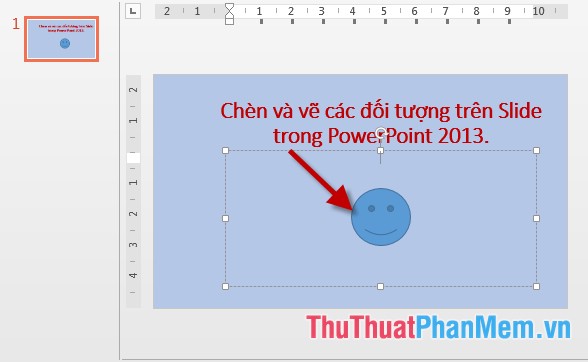
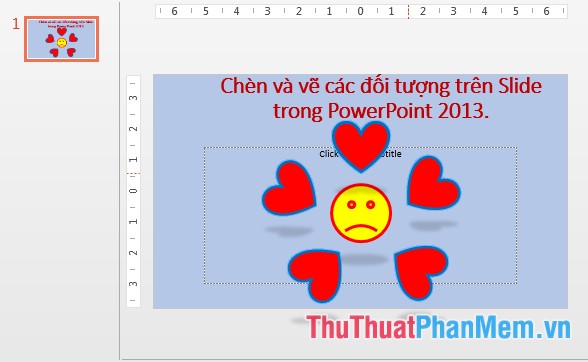
- Using the drag and drop operation, hold down the Shift key to draw the desired shape -> the resulting image has been inserted into the Slide:
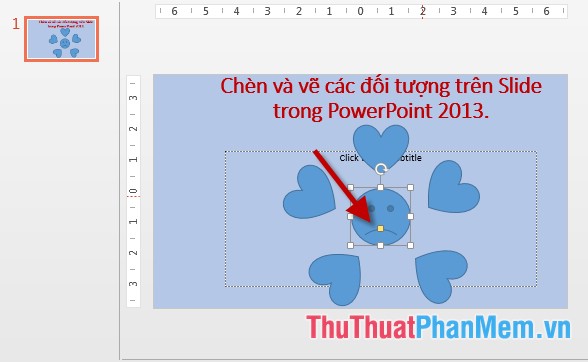
- Similarly, you draw other images as required and use the Copy operation to copy the same objects:

1. Adjustments to shapes and sizes of drawings:
- Click on the object to change its shape:
+ Circle icon with arrow allows rotation of objects according to the desired angle. Combined with moving the object you have the image you want:

+ The yellow diamond icon allows you to edit the object in a different shape. The example here corrects the mouth of the smiling face:

After editing the smiley face is changed:
+ In addition, rectangular icons allow you to zoom in and out of drawn figures.
2. Edit colors, effects for drawings.
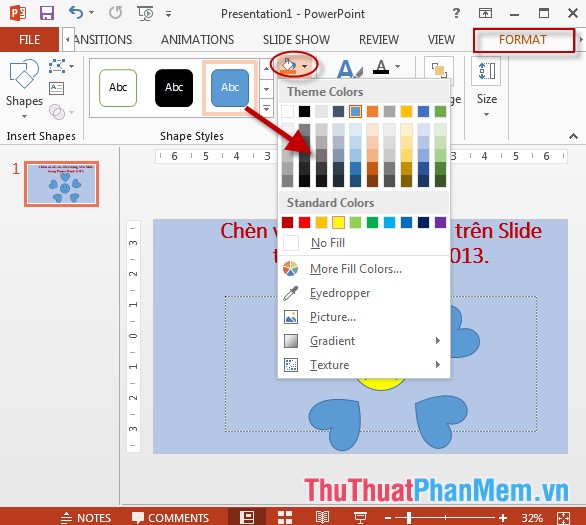
2.1 Fill the color of the drawing: Click on the object to create color -> Format -> click on the Shape Fill icon -> select the color to fill for the object:
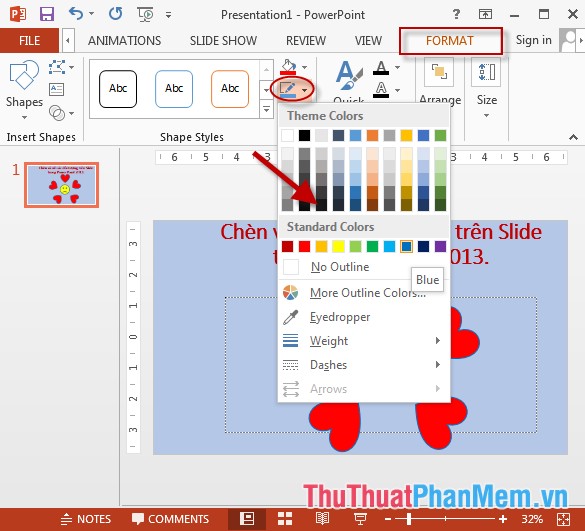
2.2 Fill border with selected object with the Shape Outline icon -> select the border color for the object:
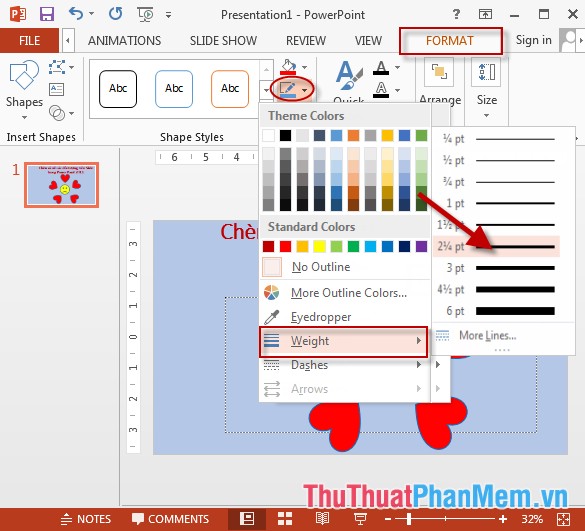
- To create a more prominent border color, you can increase the border size by selecting Weight -> choose the size for the border:
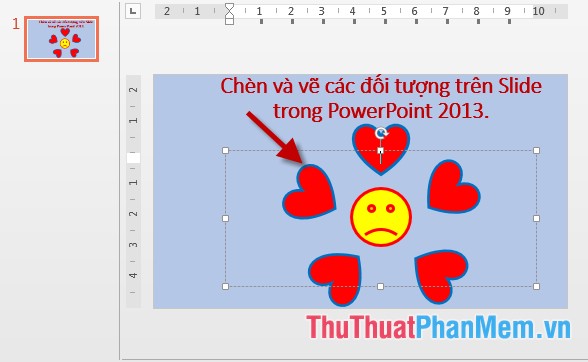
- The result after creating a large border is the result:
3 Create effects for drawings.
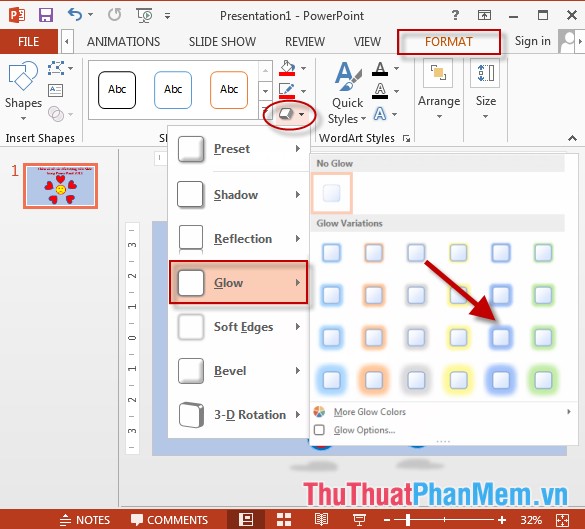
- Click on the object to create effects -> on the Format tab -> click on the Shape Effect icon -> select the effect type, for example, select the shadow effect, click Glow -> select the effect to create:
- Also can choose other effects. The results after creating the figure:
Above is a detailed guide on inserting and drawing shapes on Slide in PowerPoint.
Good luck!