How to Use DepositDrive for DepositStorage on Windows
Part 1 of 5:
Installing DepositDrive for Windows
-
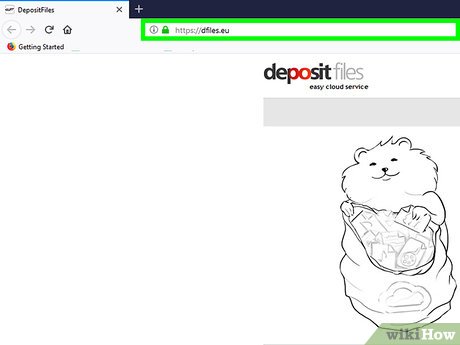
 Visit DepositFiles' website. Go to http://depositfiles.com/ on a new tab of your browser.
 -
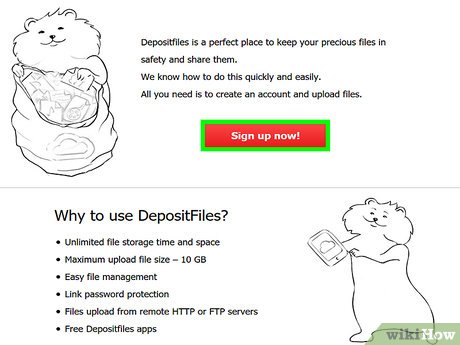
 Sign up for an account. Look for the Sign Up link found on the header banner of the page. Click this link and complete the registration form. Click the 'Register' button at the bottom of the form when you're done.
 -
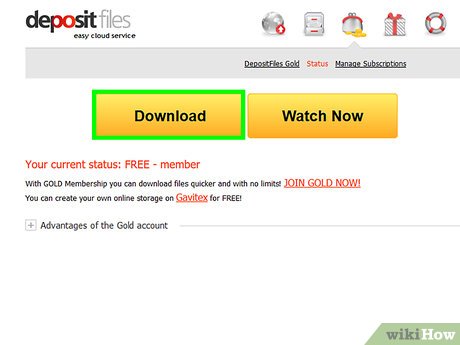
 Download DepositDrive setup file. Go to http://depositfiles.com/depositdrive.html, and click the big red 'Download' button.
 -
 Install the application. Look for the setup file on your computer. The icon will have a cloud with red, black, and gray outline. Double-click on this file to begin installation, and click the Install button when prompted.
 -
 Wait for the installation process to finish. The DepositDrive installer needs to be downloaded from the network. A dialog box will display the download progress. After the installer finishes downloading, Windows will begin the setup by configuring DepositDrive. Just wait for it to finish.
 -
 View the installed application. Once Windows finishes configuring the application, you will see its shortcut icon on your desktop and in the Start menu.
Part 2 of 5:
Logging into DepositDrive
-
 Run the application. The DepositDrive application can be accessed from the Start menu or from the shortcut on the desktop. Click on either of them to launch the application.
- The application will run and be present in the notification tray on the lower-right portion of your desktop.
-
 Log in. Look for the application icon on the notification tray. Right-click on it and select 'Settings.' The DepositDrive dialog menu will appear. Under the Account tab, input your DepositFiles username and password you created earlier. Click the login button to continue.
 -
 View your storage size. Once successfully logged in, DepositDrive will link with your DepositStorage account and retrieve all the data. It will also show you the available storage space in your account.
 -
 View local DepositStorage folder. A local DepositStorage folder will be created under your user directory. This is where all the files and folders from your cloud DepositStorage account goes and syncs.
- You can access this easily by right-clicking on the application icon on the notification tray and selecting 'Open DepositFiles folder.'
Part 3 of 5:
Managing Files
-
 Add files. If you want to add files to your DepositStorage account for storage, backup, and syncing, just use the normal Windows operations to add files into the DepositStorage folder. You can drag files into the folder or use the keyboard shortcuts to copy or move.
- All the files you put into this folder will automatically be uploaded and stored in your DepositStorage account.
-
 Move files. The normal Windows operations are used to move and copy files in and around your DepositStorage folder. You can click on a file, and do the basic copy or cut, and then paste actions.
- All the changes you made in your local DepositStorage folder will be updated and reflected in your DepositStorage account.
-
 Delete files. The normal Windows operations are used to delete files in your DepositStorage folder. You can click on a file, and press Delete on your keyboard. You can also click and drag the file to your Recycle Bin.
- All the files you removed from this folder will also be removed from your DepositStorage account.
Part 4 of 5:
Managing Folders
-
 Add folders. If you want to add folders to your DepositStorage account for better file organization and structure, just use the normal Windows operations to add folders into the main DepositStorage folder.
- You can right-click on the folder and select 'New' and then 'Folder' from the context menu. A new folder will be created, which you can rename.
- The new folders you create locally inside the DepositStorage folder will also be uploaded and reflected in your DepositStorage account.
- Once the folder has been created, you can add, move, or copy files into it, as in Part 3.
-
 Move folders. The normal Windows operations are used to move and copy folders in and around your DepositStorage folder. If you don't want to add files one by one to your DepositStorage folders, you can move or copy a whole folder. All the files inside that folder will also be moved or copied together.
- All the changes you in your local DepositStorage folder will be updated and reflected in your DepositStorage account.
-
 Delete folders. The normal Windows operations are used to delete folders in your DepositStorage folder. You can click on a folder, and press Delete on your keyboard. You can also click and drag the folder to your Recycle Bin.
- All the files inside the folder you've deleted will also be removed from your local DepositStorage folder and from your DepositStorage account.
Part 5 of 5:
Sharing Files
-
 Identify the file to be shared. Browse through your local DepositStorage folder and find the file you want to share. Click on it to select.
 -
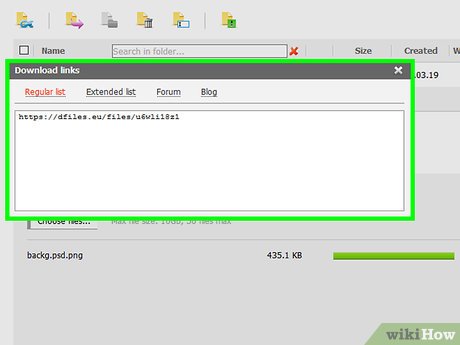
 Get the shared link. Right-click on the file you want to share and select 'Get Shared Link.' A dialog box will appear with the file's public link. Copy this link.
 - Send the shared link. Paste the link on your email, IM, Facebook, Twitter, and others. Anybody who has access to this link can now access the file you've just shared.

Share by
Jessica Tanner
Update 05 March 2020


