How to Move the Copy Folder in Windows
When the Copy desktop application was first installed in your computer, it created its own local folder named Copy under My Documents. This is where the files from your Copy account are placed and synced. If, for whatever reason, you....
Part 1 of 3:
Running Copy
-
 Open Copy. Go to your Start menu and locate the Copy folder. Click on the Copy application shortcut from there. Copy will be launched and will reside on your notification tray at the lower-right side of your screen.
- If Copy is already running, no need to launch it again.
-
 Go to Preferences. Right-click on the Copy icon, the one with the origami crane picture, to bring out the menu. Select 'Preferences' from here.
- Your Copy account details and settings can be seen in Preferences.
-
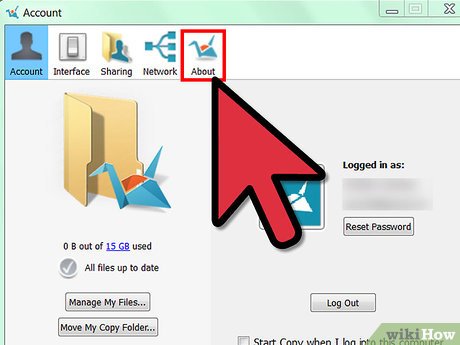
 Go to Account tab. The Preferences window has several tabs. The first one is the Account tab. Click on this, and your account information will be displayed.
Part 2 of 3:
Moving the Copy Folder
-
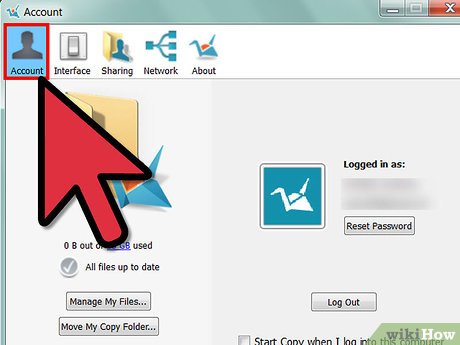
 Select 'Move My Copy Folder.' Under the Account tab, click on the 'Move My Copy Folder' button found towards the bottom of the window. This will bring out another window with your local file directory.
 -
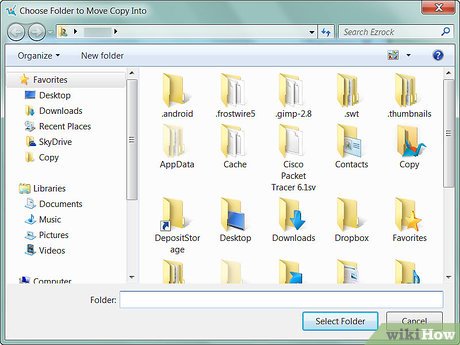 Identify a new location. Choose where to move your Copy folder. Navigate through your folders, and click on the folder that will serve as the local Copy folder's new location. Click on the 'Select Folder' button at the bottom of the window.
- While the folder is being moved, Copy will temporarily stop its syncing.
-
 Confirm the new location. After the Copy folder has been moved, a confirmation message will appear indicating the new folder location. Click the 'OK' button to close this.
 -
 Exit Preferences. Click on the 'Close' button on the Preferences window to exit.
Part 3 of 3:
Viewing the Copy Folder
-
 Go to the Copy folder. Open your Windows Explorer or any other folder. Navigate through the folders until you get to the new location of your Copy folder.
 -
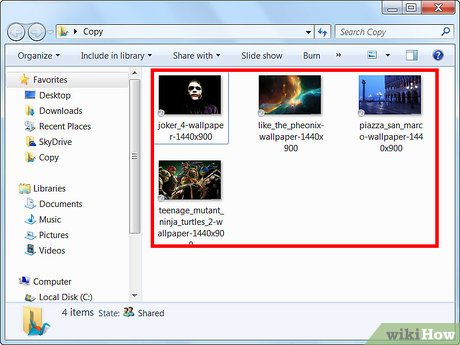
 Open the Copy folder. Double-click on the Copy folder to open it and view all your files and folders from your Copy account.
 - Check files. All the files and folder structure should remain the same. No impact to your Copy files should occur.