How to Password Protect Files on a Mac
This wikiHow teaches you how to create a password-protected disk image (DMG) folder on a Mac. Open Finder. Click the Finder app icon, which resembles a blue face, in your Mac's Dock.
Table of Contents
Part 1 of 2:
Creating a Folder
-
 OpenFinder. Click the Finder app icon, which resembles a blue face, in your Mac's Dock.
-
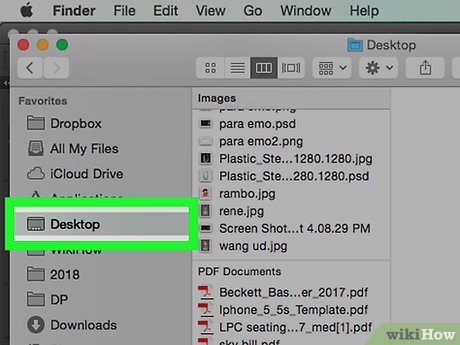 Click Desktop. It's on the left side of the Finder window.
 -
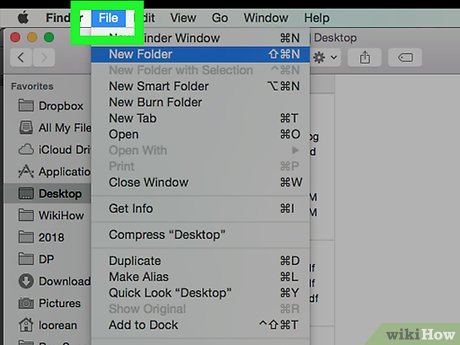 Click File. This option is in the upper-left corner of the screen. A drop-down menu will appear.
 -
 Click New Folder. It's in the File drop-down menu. Doing so will add a new folder to your Mac's desktop with the name field selected.
 -
 Enter a name for your folder. Type in the name that you want to use for your folder, then press ⏎ Return.
- The name that you use here doesn't really matter since you're going to rename the password-protected version of the folder.
-
 Add files to the folder. Once you've created your folder, you can add the files which you want to password-protect to it by doing the following:
- Go to the files' location.
- Select files to move to the folder by holding down ⌘ Command and clicking each file.
- Press ⌘ Command+X to copy and cut the files.
- Open the folder that you created.
- Press ⌘ Command+V to paste in the files.
Part 2 of 2:
Creating the Disk Image
-
 Open Disk Utility. Click Spotlight, type in disk utility, and double-click the Disk Utility result.
- You can also find Disk Utility in the Utilities section of the Finder's Go menu item.
-
 Click File. It's in the upper-left side of the screen. A drop-down menu will appear.
 -
 Select New Image. This is near the top of the File drop-down menu. Selecting it will prompt a pop-out menu to appear.
 -
 Click Image from Folder…. It's in the pop-out menu. Doing so will open a new window.
 -
 Select the folder that you created. Go to the Desktop folder by clicking the drop-down box at the top of the window and clicking Desktop in the drop-down menu, then click your created folder.
 -
 Click Open. It's in the bottom-right corner of the window.
 -
 Enter a title for your folder. Type whatever you want to name your protected folder into the "Save As" text box.
- You cannot use the same title as the folder that you created or any other folder on your desktop.
- You can also select a save location by clicking the "Where" drop-down box and then selecting a folder in the drop-down menu.
-
 Click the "Encryption" drop-down box. It's near the bottom of the window. Clicking it prompts a drop-down menu.
 -
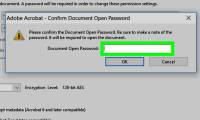
 Click 128-bit AES encryption (recommended). You'll find this option in the drop-down box. Doing so opens the password window.[1]
 -
 Create a password. Type your preferred password into both the "Password" text box and the "Verify" text box, then click Choose in the bottom-right corner of the password window.
 -
 Click Save. It's a blue button at the bottom of the window. Doing so will save your settings and create your password-protected folder.
 -
 Use the password-protected folder. To open the folder, double-click it, then enter the password that you set for it when prompted. The folder will open, and a drive-shaped icon will appear on your desktop.
- You may have to restart your Mac before the folder will ask for your password.
- You can close and re-protect the folder by moving the drive-shaped icon into the Trash and then restarting your Mac.
Was this article helpful?
Your feedback helps us improve.
Related Articles
 How to Password Protect PDF Files7 minutes read
 How to set password to protect files on Windows 105 minutes read
 How to Set Password for Folder and File in Windows8 minutes read
 How to Password Protect a Website8 minutes read
 Password setting tools for PDF files7 minutes read
 How to remove PDF file password7 minutes read
Reader Comments 0
Sign in with email or Google to join the discussion.