Table of Contents
This updated guide examines How to Delete Dll Files and organizes the essential facts, background, and practical takeaways in clear American English.
Part 1
Finding DLL Files
 Open the Start menu.
 Click "Control Panel". There should be a default icon in your Start menu.
- You can also click "Run", type in "Control Panel", and then click "OK".
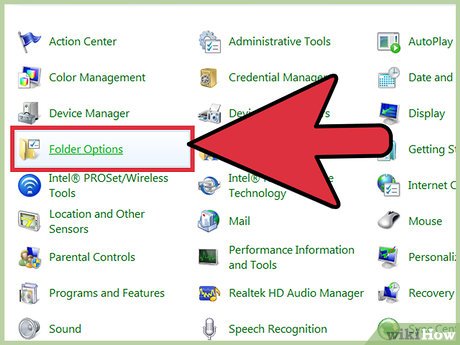 Open the "Folder Options" folder. This will allow you to make changes to system folder appearances.
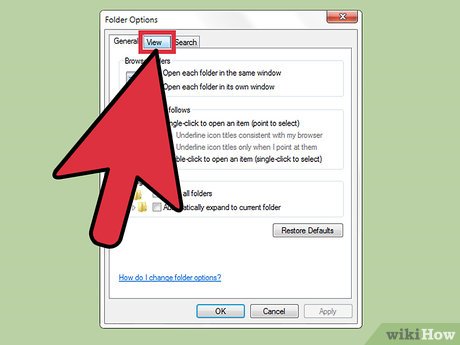 Click the "View" tab at the top of the Folder Options menu.
 Click "Show hidden files and folders". This will display a wide variety of previously-hidden system files, including.dll files.
 Make sure "Hide extensions for known file types" and "Hide protected operating system files" are both unchecked. You should be able to view.dll files and their extensions now.
 Click "OK". This ensures that your preferences are saved.
 Open a web browser of your choice.
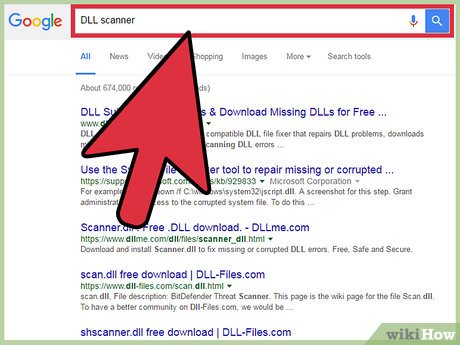 Type "DLL scanner" into your search engine. Unless you know exactly which.dll files are corrupt--and, therefore, in need of deletion--you'll need software to scan for the afflicted files.
- "DLL Files Fixer" and "DLL Archive" are both highly-recommended choices.[1]XResearch source[2]XResearch source
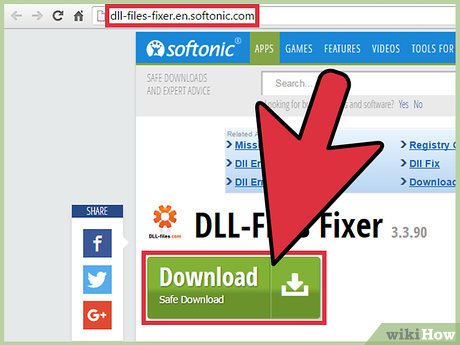 Download your DLL finder once you settle on a software choice. Make a note of the location to which the software downloads, since you'll need to install it from there.
 Double-click the software's icon to install the DLL finder. Software installation will vary based on its version and brand, so follow the instructions on your screen to install correctly.
 Run your DLL finder once it is installed.
 Review your results. The DLL finder should give you the names and locations of any corrupted or false.dll files. You can use this information later to unregister and then delete these files.
Part 2
Unregistering and Deleting DLL Files
 Open your DLL file's location. This will ensure that your current directory is updated to match that of the.dll file.[3]XResearch source
- If you are deleting multiple.dll files, they may not be in the same location.
 Open the Start menu.
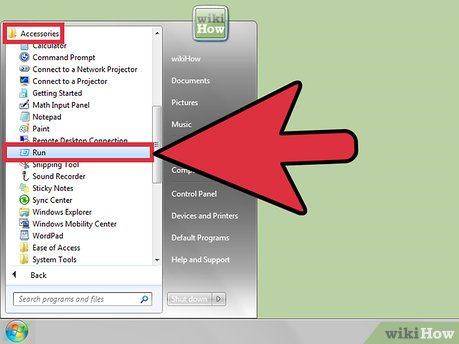 Click "Run".
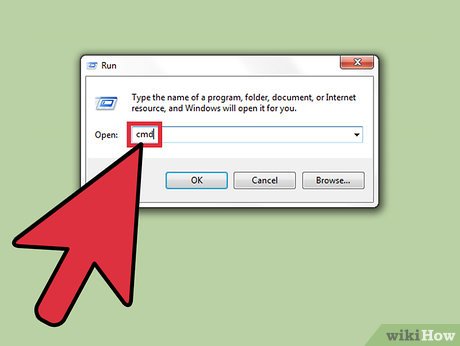 Type "cmd" into Run's text field, then click "OK". This will open the Command Prompt app, which allows you to interact with the operating system via user-entered commands.
- If you're using Vista or later, you'll need to boot Command Prompt in Administrator Mode. To do this, click "All Programs" in the Start menu, select "Accessories", right-click the "Command Prompt" icon, and select "Run as Administrator".
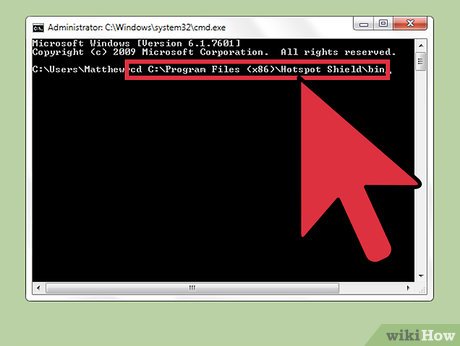 Type "cd" without the quotes and press↵Enter. This will reset your Command Prompt execution to your current directory, where the.dll file is located.
 Type "regsvr32 -u (filename)dotdll" into Command Prompt. This command finds and unregister your targeted.dll file. Exclude the quotation marks and the apostrophes; for "(filename)dotdll", insert the name of your target.dll file and the.dll extension.
 Press↵Enterto unregister your DLL file. Your.dll file should now be ready for deletion!
 Locate your DLL file in its directory.
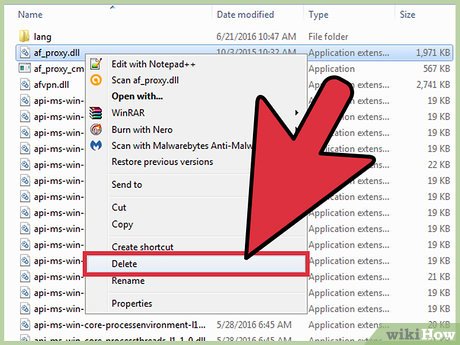 Right-click your DLL file and select "Delete". This will send your.dll file to the Recycling Bin, from which you can delete it permanently.
FAQ
What is How to Delete Dll Files about?
It provides a structured overview of dll, explains the main context, and highlights practical takeaways for readers.
Why does this topic matter?
Understanding the main concepts helps readers evaluate the issue, avoid common mistakes, and make better-informed decisions.
How should readers use this information?
Use the guidance as a practical starting point, confirm details that may have changed, and follow current product, safety, or security recommendations.
Related Articles
 Delete the Most 'Stubborn' Files on Windows10 minutes read
 How to Delete Files on Mac Directly Without the Trash4 minutes read
 How to Delete Files That Cannot Be Deleted13 minutes read
 How to Automatically Delete Zip Files After Extracting on Mac4 minutes read
 How to Delete 'iOS Files' Which Is Taking up Your Mac's Memory?4 minutes read
 Guide to Delete Files Not to Delete, Fix Errors When Deleting Files3 minutes read
Reader Comments 0
Sign in with email or Google to join the discussion.