
How to turn a photo into a painting using the Generative Fill function in Photoshop
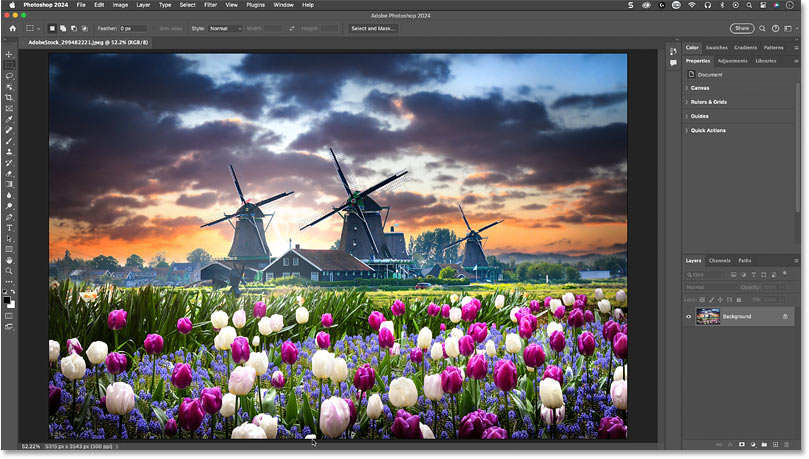
Step 1: Open your photo
Because the AI that generates the image always replaces the original image detail with new detail (even when applied at low intensity), the painting effect created with Generative Fill tends to work best on photos like landscapes and nature shots, where precise details are not as important as, say, someone's facial features.
So the tutorial will use this photo from Adobe Stock.
Step 2: Switch to Quick Mask mode
To apply a Generative Fill at less than 100% strength, you need to start in Photoshop's Quick Mask mode.
On the toolbar, click the Quick Mask icon (near the bottom, just below the color swatches). Or you can press the letter Q on your keyboard.

An easy way to know you're in Quick Mask mode is that the Background layer in the Layers panel is highlighted in red.
Step 3: Open Fill options
While Quick Mask mode is active, go to the Edit menu in the Menu bar and select Fill.
Step 4: Choose a dark gray fill color
In the Fill dialog box, change the Contents option to Color.
Note that even if a Color is already selected, you still need to select it again for the Color Picker to open.
In the Color Picker, set the H (Hue) and S (Saturation) values to 0 to work with gray. Then set the B (Brightness) value to 30%.
Think of the luminance value as the AI intensity value. The higher the value, the more impact Generative Fill will have on the image (and the more the image will change). The lower the value, the more original detail will be preserved.
For this painting effect, 20 - 40% usually works best, and 30% tends to be the sweet spot. But you can always repeat these steps with different brightness values to compare results.
Step 5: Exit Quick Mask mode
Click OK to close Photoshop's Color Picker. Then click OK to close the Fill dialog box.
Since you're in Quick Mask mode, your image will appear with a red overlay (another easy way to tell you're in Quick Mask mode).
Exit Quick Mask mode by clicking the Quick Mask icon on the toolbar again or pressing Q on your keyboard.
Step 6: Select Generative Fill
In Photoshop's Contextual Task Bar, click Generative Fill.
Step 7: Enter the drawing prompt and click Generate
In the prompt box, type the type of painting you want to create. For example, we'll type watercolor painting.
Then click Generate.
Step 8: Choose the best result
You will need to wait a few seconds for Photoshop and Adobe Firefly to generate the results.
This is the original watercolor effect. Applying Generative Fill at just 30% strength allows for a lot of the original detail to be retained so that the flowers and windmills can still be distinguished.
As usual with Generative Fill, you'll see three variations of the result in the Properties panel so you can choose the one you like best. Or click Generate to try again.
Step 9: Try different drawing styles
After creating the initial drawing effect, you can easily try out different drawing styles simply by changing the prompt in the Properties panel.
For example, change the prompt from watercolor to oil painting. Then click Generate.
This is my favorite of the 3 oil painting results.
And that's it! That's how easy it is to turn a photo into a painting using Generative Fill in Photoshop.
You should read it
- Link download Adobe Photoshop CC
- Instructions for using Photoshop for newbies
- How to blur photos using Adobe Photoshop Fix Android
- Link download Adobe Photoshop Express for Windows 10 3.0.316.0
- How to hide - show menu items in Adobe Photoshop
- Remove bad details from photos with Adobe Photoshop
- Instructions for using Photoshop CS5 to edit photos in full set
- How to use Photoshop CS5 - Part 1: Toolbox
- Adobe unveils 'touch' photoshop version
- New features of Photoshop CC 2019
- The best Photoshop alternatives
- How to use Photoshop CS5 - Part 2: Panels
Maybe you are interested
Google Search officially stops supporting Internet Explorer 11 Latest Code Lifting Titans and how to enter Microsoft released the first build of Windows 10 without Internet Explorer How to quickly check the laptop screen for any damaged pixels? The 7 most common problems in Internet Explorer How to turn on / off Fullscreen Optimizations for apps and games in Windows 10