How to use Photoshop CS5 - Part 2: Panels
One of the best things about Photoshop is also the worst: it is overloaded options. Take a quick look at the default panels so you can understand what features to use in the process of using Photoshop so you can find them again when needed ...
Table of Contents
One of the best things about Photoshop is also the worst: it is overloaded options.Browse through the default panels to be able to grasp what features to use in the process of using Photoshop so you can find them again when needed.

- See the basic part 1 introduction to Toolbox in Adobe Photoshop CS5
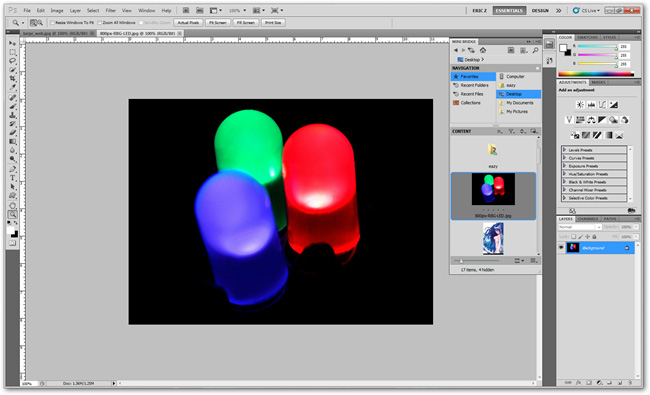
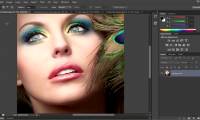
The default panel is located on the right side of the Photoshop work window. It contains all the useful settings for new users of Photoshop, you can adjust, hide or show them. Photoshop's workspace can be wider for you to work comfortably when you hide the panels.
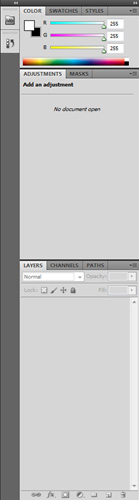
The default settings of the panels in the Essentials section will look like the following. In addition to the Essentials window, you can also choose other frameworks such as Design, 3D . by clicking
 to choose more. In addition to restoring the panels in each working frame you can select Reset in the context menu when clicking on
 .
.


Panels can be combined by clicking
 on the right side of the panel.

You can drag the panel to any position convenient for use by clicking and dragging the corresponding panel out of its fixed position.

Of course, the panel can also be reset to its original position by dragging to the right side of the Photoshop window, until you see a green bar on the right side of the window.
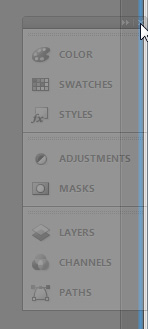
Learn the default panels:
In Essentials framework there are several default panels. It appears at the top (next to the Help menu).
 Mini Bridge : Adobe Bridge is a program to browse image files similar to Faststone, XnView or Google Picasa. CS5 has integrated a small version of Bridge to allow you to virtualize your photo folders in a simpler way through the panel. This is really helpful and saves you a lot of time in managing photos.
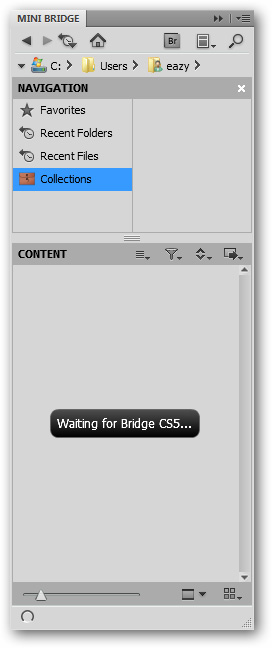
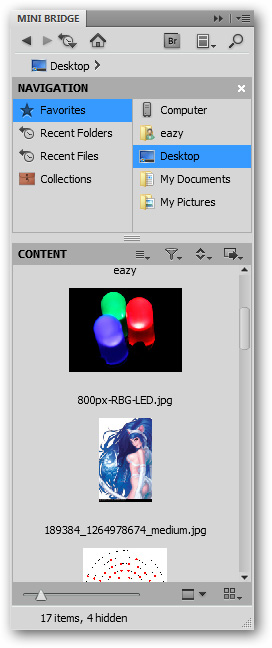
Virtual browsing of photo folders in Photoshop is very useful. Bridge will only load when you open the panel and select Start Browsing . The intuitive tool will navigate to the folders on the computer; Important and often used files / folders can be added to the Favorites section for quick access when needed.
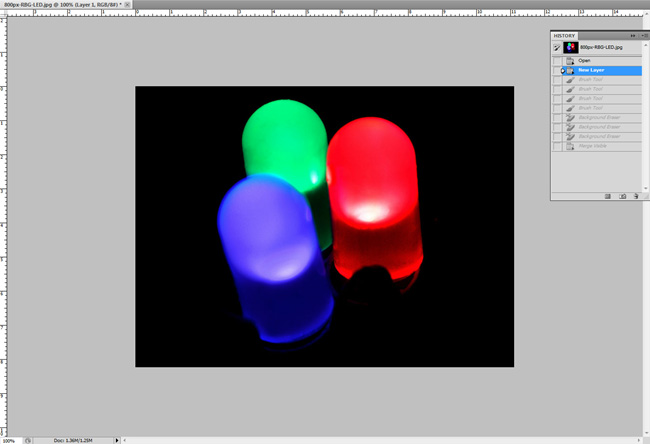
 History : This is one of the most important features in Photoshop, History allows users to undo a lot of work done.
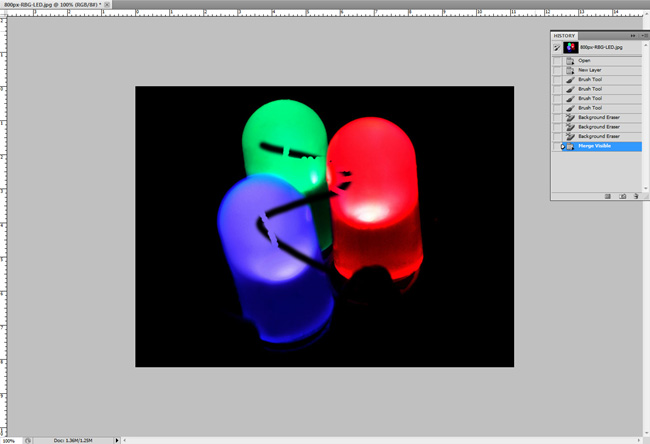
As you can see in the picture below, the left picture is the action done on the image, the right one is the undo operation that is almost the whole work done.
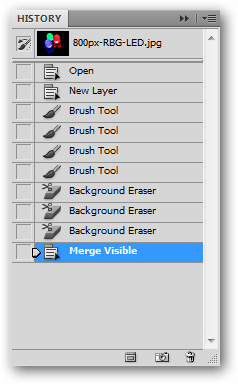
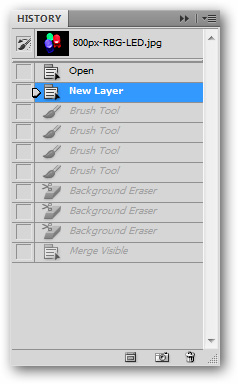
Using the History panel, you can back the most recent work done with the image or even restore the original image (in case of improper editing) by clicking on the top part of the History panel. .
 Color : this is a simple panel, it is the color part you set for foreground and background
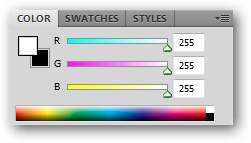
You can adjust the Red, Green and Blue values from 0 to 255. The higher the color value, the brighter and vice versa. You can also choose colors from the color bar at the bottom of the panel, it seems easier to choose.
You can also customize other color options by clicking
 and set the slider for different color modes.
 Swatches : This is a good resource for beginners and for professionals, swatches are a saved color palette.
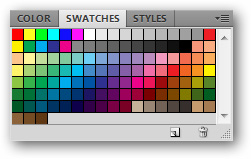
By default, CS5 will save 122 colors primarily for your use.

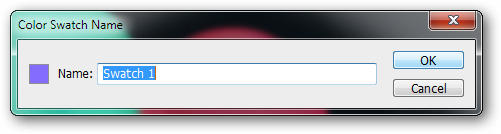
You can create a new swatch from the foreground color by clicking
 and select ' New Swatch '

The color you choose to save will be displayed in the Swatch panel.
 Styles : As a panel containing saved Layer Effects, Styles can be an interesting format for beginners and also helps professionals save time in reusing popular layer formats. .
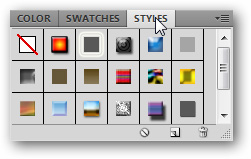
Quite simply, just click on any of the default styls to quickly reuse them later. If you don't want to select a specific format for the layer, edit them manually or click on the button
 to completely remove layer effects.
Lots of default effects
You can select more available formats by clicking
 to select more.
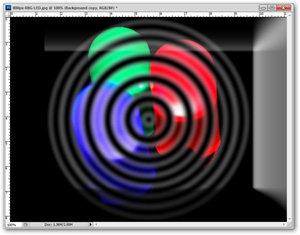
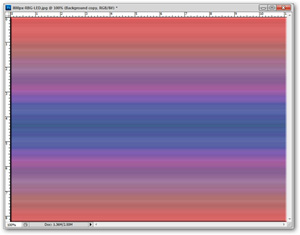
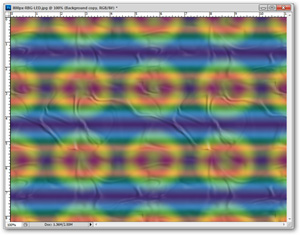
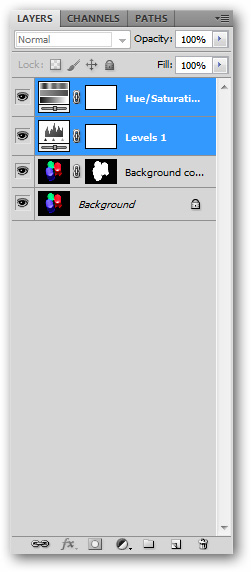
 Adjustments : this is an adjustment panel that creates layers for your photo to be more vivid and beautiful. You can use Hue / Saturation, Contrast or Levels features for photos. This feature essentially creates a new layer on top of your image and all adjustments are done on this new layer.
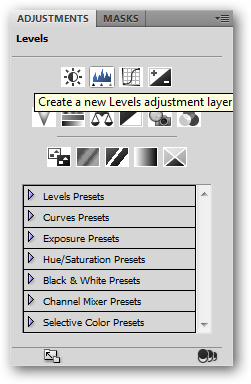
Click 'Levels' to automatically create a new adjustment layer.

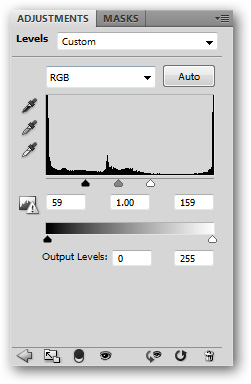
You will see the slider options to adjust the contrast of the image.
These changes can be undo without using history or other undo functions, just delete the created adjustment layers.
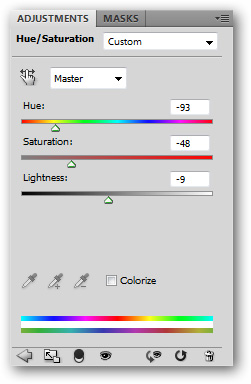
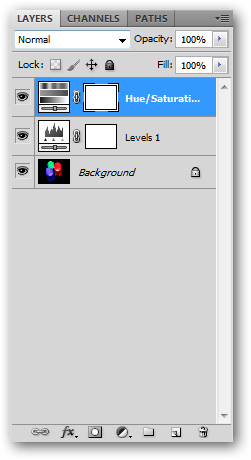
Many adjustment layers can be created at the same time and if any adjustment layer is needed, you just need to hide other adjustment layers because they are separate layers.

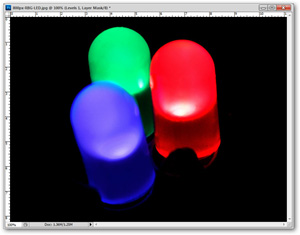
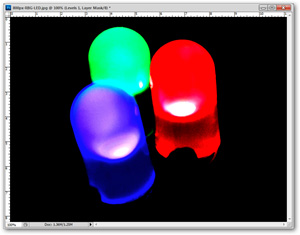
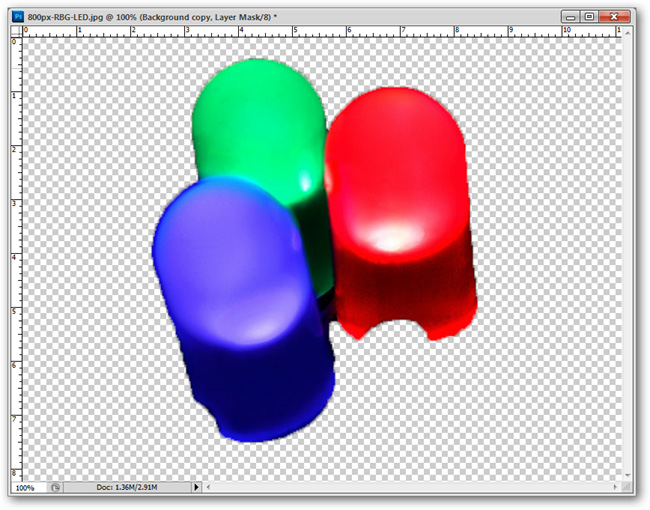
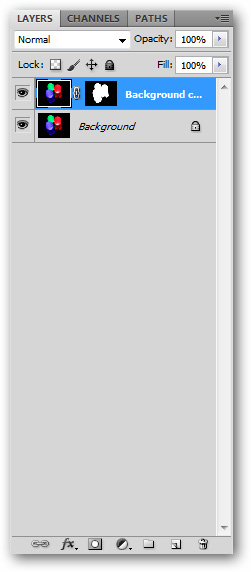
 Masks : Panel marks are a way to remove parts of a layer, bringing them to transparency. This is a nice way to remove a background from a layer without using the effect
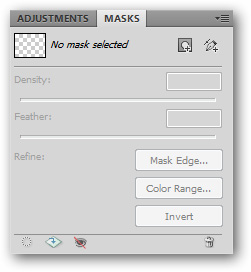
Panel Mask is a unique feature in CS5, it can help new users cut the background from the photos without much effort.
 Layers : Layer is a standard feature of Photoshop, it allows users to create 2D images from multiple editable parts.
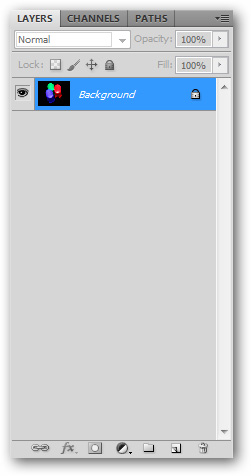
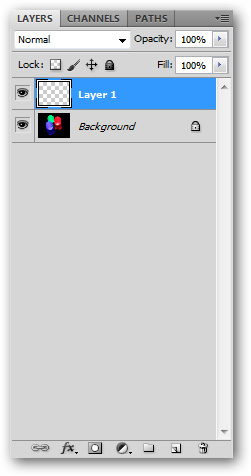
A new art editing layer makes the photo (or worse) look better without affecting the original image layer.
A layer can be copied, masked and many other operations. Adjustments for also created and managed classes in this Layers panel.
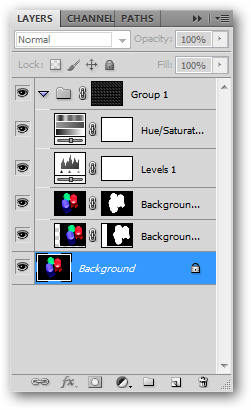

Layers are stacked together, combined to create perfect photos.
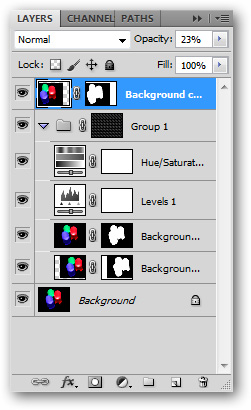
Opacity and Blending modes are also managed in this panel. Editing images with layers can create rich images and are easy to edit.
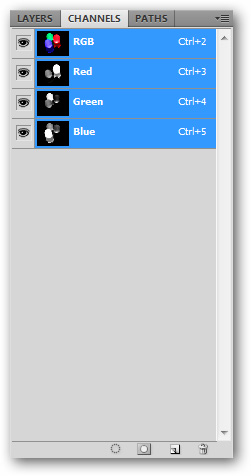
 Channels : Digital photos show colors according to the combination of primary colors. These basic colors will be displayed separately in Photoshop's Channels panel. New users can skip this panel.
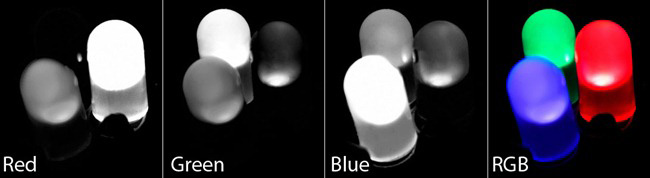
If you are interested in using Channels, save the image before testing.
 Paths : This is a fairly complicated component of Photoshop, the component-based paths are vectors (similar to Illustrator). Vector is not difficult to understand, but the Pen tool is very difficult and frustrating for new users.

Next lesson: How to use Photoshop CS5 - Part 3: Introducing Layers
Previous lesson: How to use Photoshop CS5 - Part 1: Toolbox
Good luck!
Was this article helpful?
Your feedback helps us improve.
Related Articles
 How to use Photoshop CS5 - Part 4: Basic menus14 minutes read
 How to use Photoshop CS5 - Part 6: Digital art8 minutes read
 49 smart Photoshop tips you need to know (Part 3)15 minutes read
 49 smart Photoshop tips you need to know (Part 1)12 minutes read
 How to use Photoshop CS5 - Part 5: Photo editing7 minutes read
 49 smart Photoshop tips you need to know (Part 2)9 minutes read
Reader Comments 0
Sign in with email or Google to join the discussion.