How to take a laptop screen, take a screenshot of the computer screen
Here are two ways to take a screenshot of a laptop screen quickly, without the need to install additional software, using directly available tools of Windows that is Prt Scr key on laptop keyboard (Print Screen on removable keyboard) , Snipping Tool.
Table of Contents
Do you want to find a way to take a screenshot of laptop screen quickly, do not need to install additional software to save more time? The following article will guide you two ways to take a screenshot of a laptop screen quickly with the tools available on the computer, you can refer to how to use it.

Here are two ways to take a screenshot of a laptop screen quickly, without the need to install additional software, using directly available tools of Windows that is Prt Scr key on laptop keyboard ( Print Screen on removable keyboard) , Snipping Tool.
Take a screenshot of laptop screen with Prt Scr key
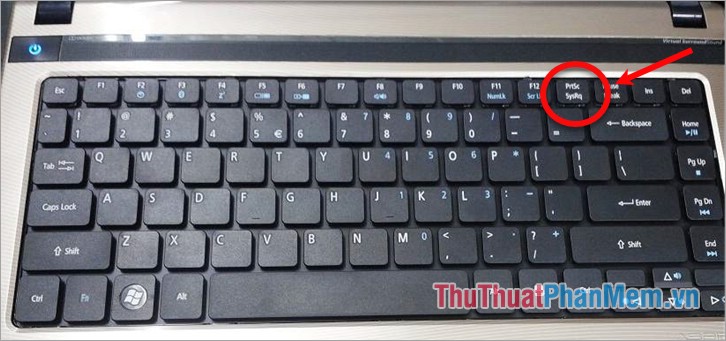
Step 1 : If you want to take a picture of a full screen laptop, then you press the Prt Scr key on the laptop keyboard. If you just want to capture an application that is open on the screen, then press the Alt + Prt Scr key combination on the keyboard.
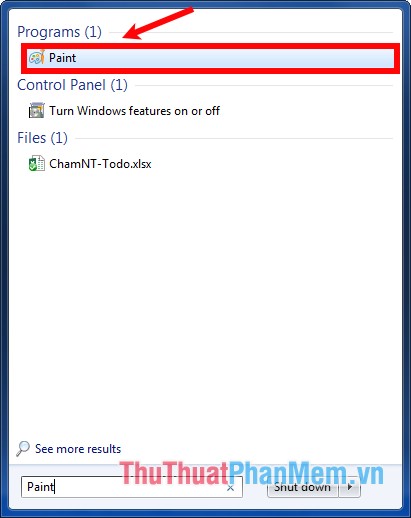
Step 2: Open a simple photo editing application on your laptop, so that you can quickly use the laptop's Paint application. To open Paint, select the Start Menu icon -> enter the keyword Paint -> select the Paint application.
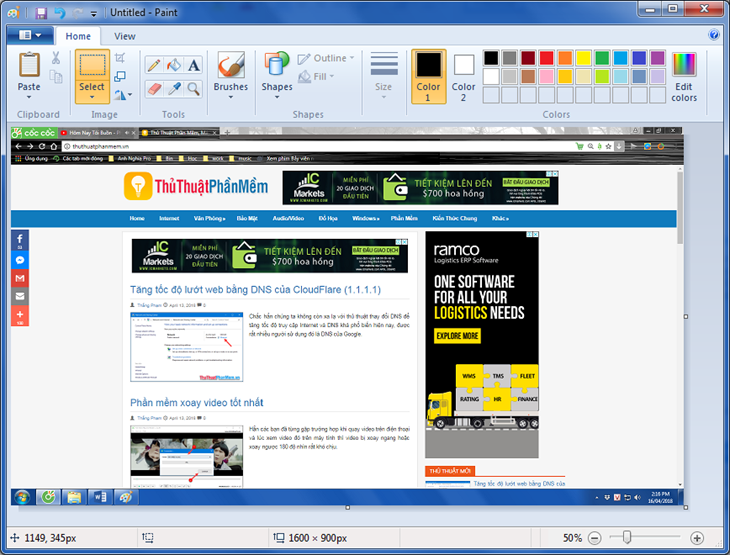
Step 3: Press Ctrl + V to paste the image just taken into Paint. You can edit the image with the support tools on Paint.
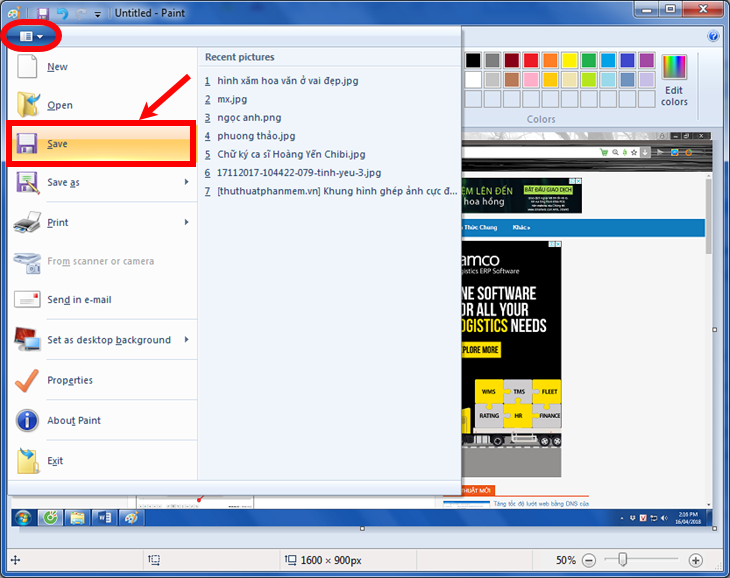
Step 4: Finally you save the image by clicking Paint -> Save and save the file again.
Take a screenshot of laptop screen with Snipping Tool available
Using Prt Scr key or Alt + Prt Scr key combination, you can only take a screenshot of full screen or capture an open application on laptop screen. If you just want to capture an area of the screen, you can use the built-in tool of Windows, Snipping Tool . Here are the steps to take a screenshot with Snipping Tool.
Step 1: Open the Snipping Tool.
Click the Start window (or the window key on the keyboard) -> enter the Snipping Tool -> select the Snipping Tool.

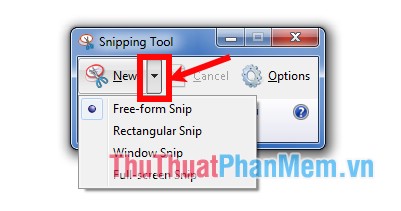
Step 2: On the Snipping Tool interface, click the triangle icon next to New to select the shooting style, you have 4 shooting style options:
- Free-form Snip: delineate any area on the screen to capture with a brush stroke.
- Rectangular Snip: Capture an area of the screen in a rectangle of your choice.
- Window Snip : capture a window, any application is open on the screen.
- Full-screen Snip : capture the whole screen.
Step 3 : After selecting the shooting type, depending on the shooting style, Snipping Tool handles differently:
- If you choose Free-form Snip , the mouse cursor appears, drag the area you want to capture by holding and drawing the area, then the Snipping Tool will capture and bring up the editing interface.

- If you select Rectangular Snip , then hold down the mouse cursor and select the area you want to capture, this area will be the rectangle of your choice.

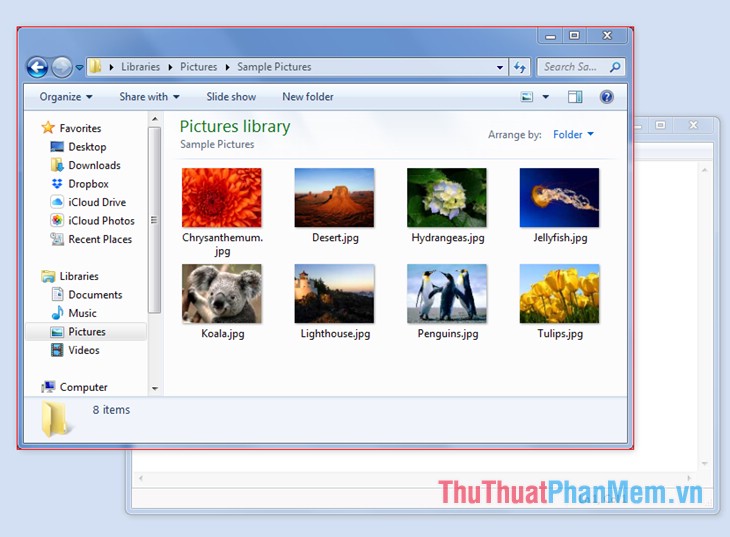
- If you choose Windows Snip , click on the application on the screen you want to capture, Snipping Tool will capture that application and offer an editing interface.
- If you select Full-screen Snip, then immediately after selecting the type of shooting tool, the tool will automatically capture the full screen and offer an editing interface.
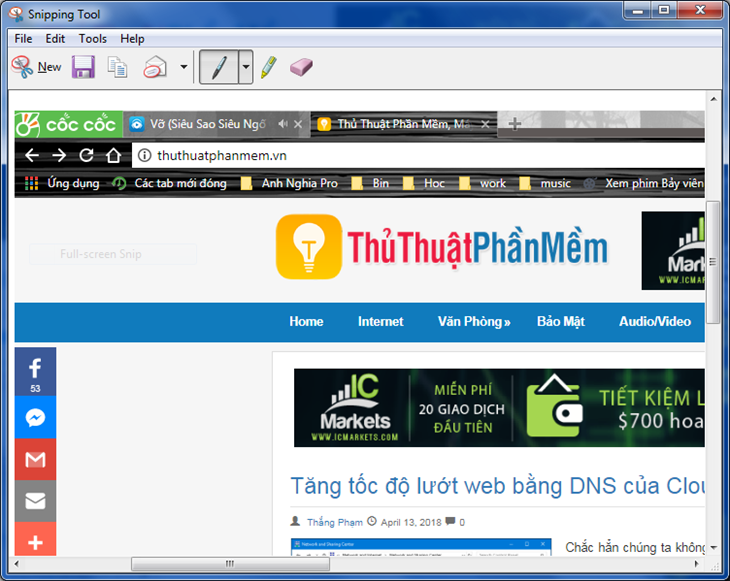
Step 4 : After the Snipping Tool presents the captured image to the editing interface, here you can edit or save the image using the functions supported by the tool:
- New : reopen Snipping Tool main interface to take another picture (1)
- Save images to a computer (2)
- Copying images (3)
- Emailing pictures (4)
- Use a pen to draw notes (5)
- Highlight pens (6)
- Delete edits (7)

Good luck!
Was this article helpful?
Your feedback helps us improve.
Related Articles
 12 quick and simple ways to take screenshots of Acer computers8 minutes read
 How to take screenshot on HP windows 10 computer6 minutes read
 How to take a screenshot on a laptop simply, quickly and accurately6 minutes read
 How to take a screenshot of Dell laptop2 minutes read
 The fastest ways to take screenshots on a computer or laptop.7 minutes read
 10 Simplest Ways to Take a Screenshot on an ASUS Laptop6 minutes read
Reader Comments 0
Sign in with email or Google to join the discussion.