Table of Contents
Overview
This guide explains how to take a screenshot on a laptop , and accurately in clear, practical terms. It covers the key concepts, recommended steps, common limitations, and useful checks so you can make a better-informed decision.
While using a laptop or computer, suddenly a piece of information, image, or notification appears. At this time, taking a photo with your phone is inconvenient and the image is not beautiful. Instead, taking a screenshot of the laptop screen is the most suitable operation when you fall into that situation. If you do not know how to take a screenshot of a laptop, please refer to the following instructions from this guide. This is a way to take a screenshot of a laptop that can be applied to all types of laptops from Dell, Acer, Asus to Hp, Lenovo.
Take a screenshot of your laptop screen and save it automatically.
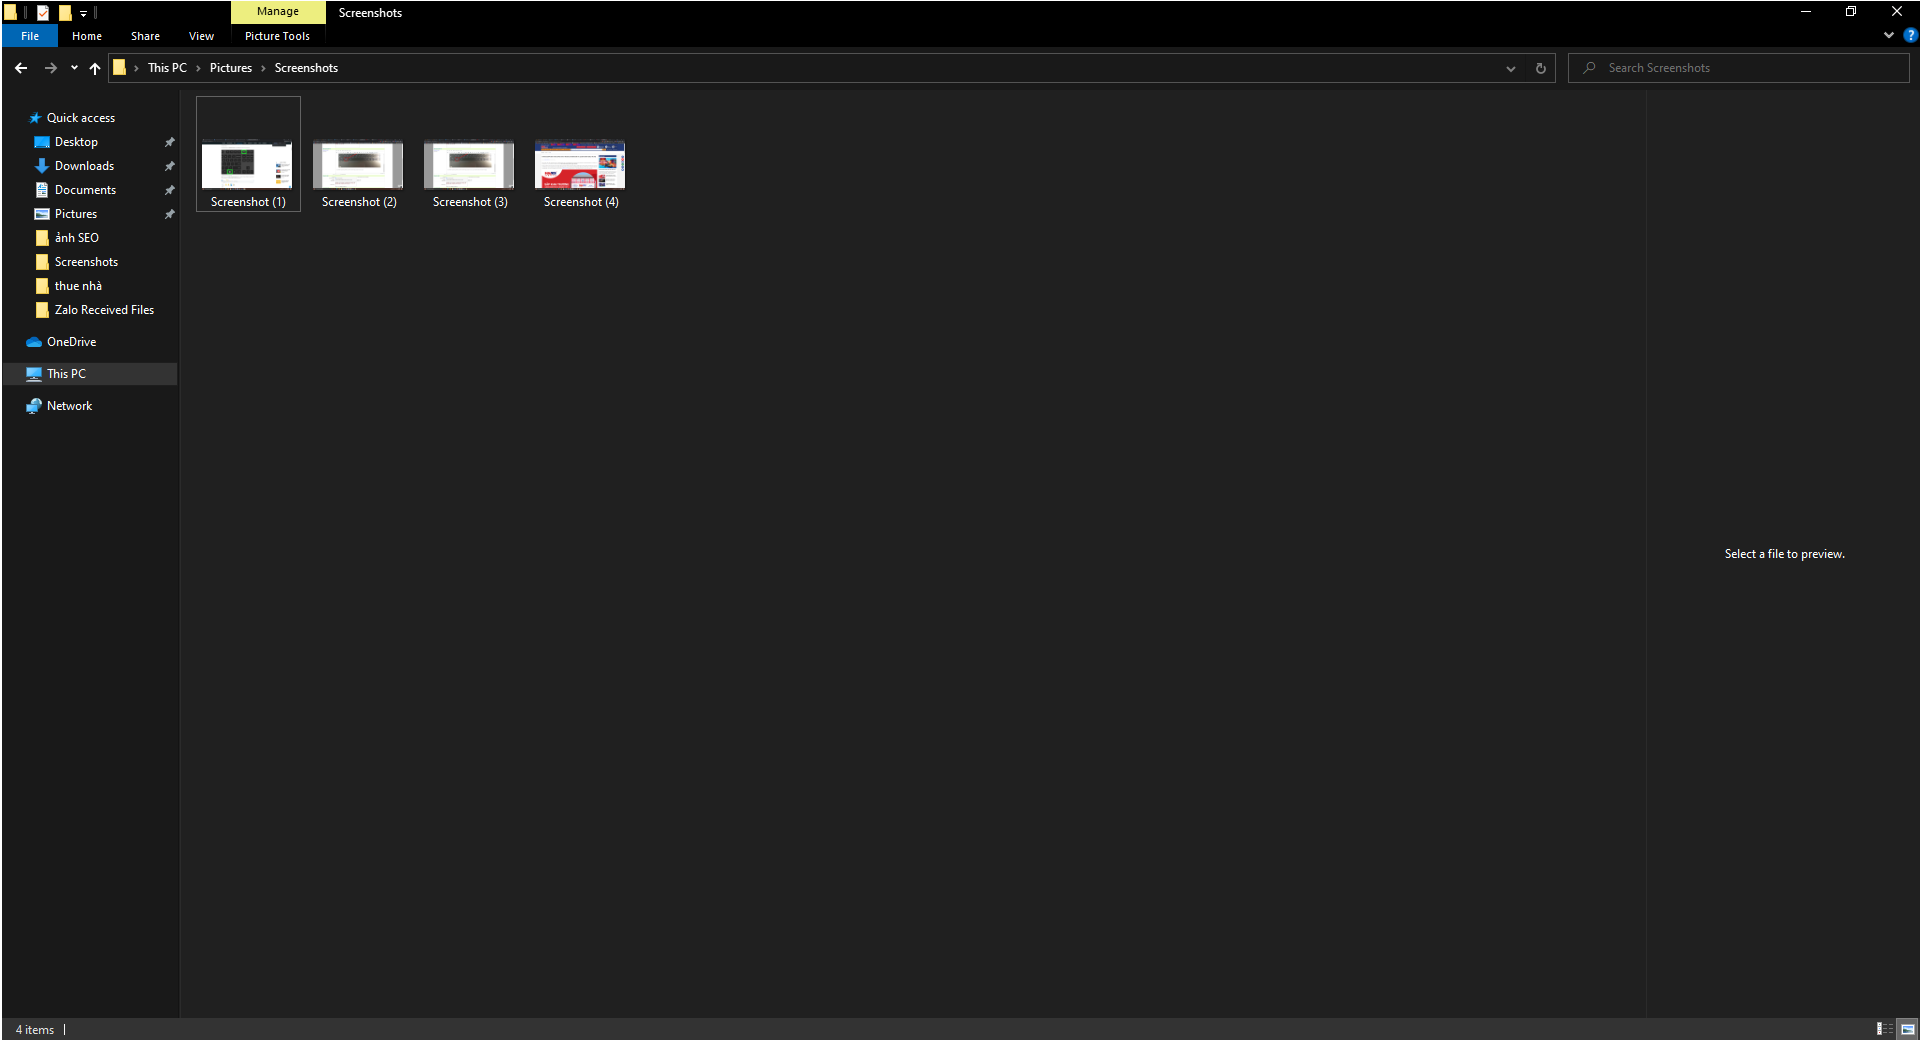
This laptop screenshot action will instantly take a screenshot of your current laptop screen, then automatically save it to a separate folder.
On the current Windows 10 platform, you can take a screenshot of your laptop screen and automatically save it using the shortcut key combination Windows + PrtSc (Print Screen).
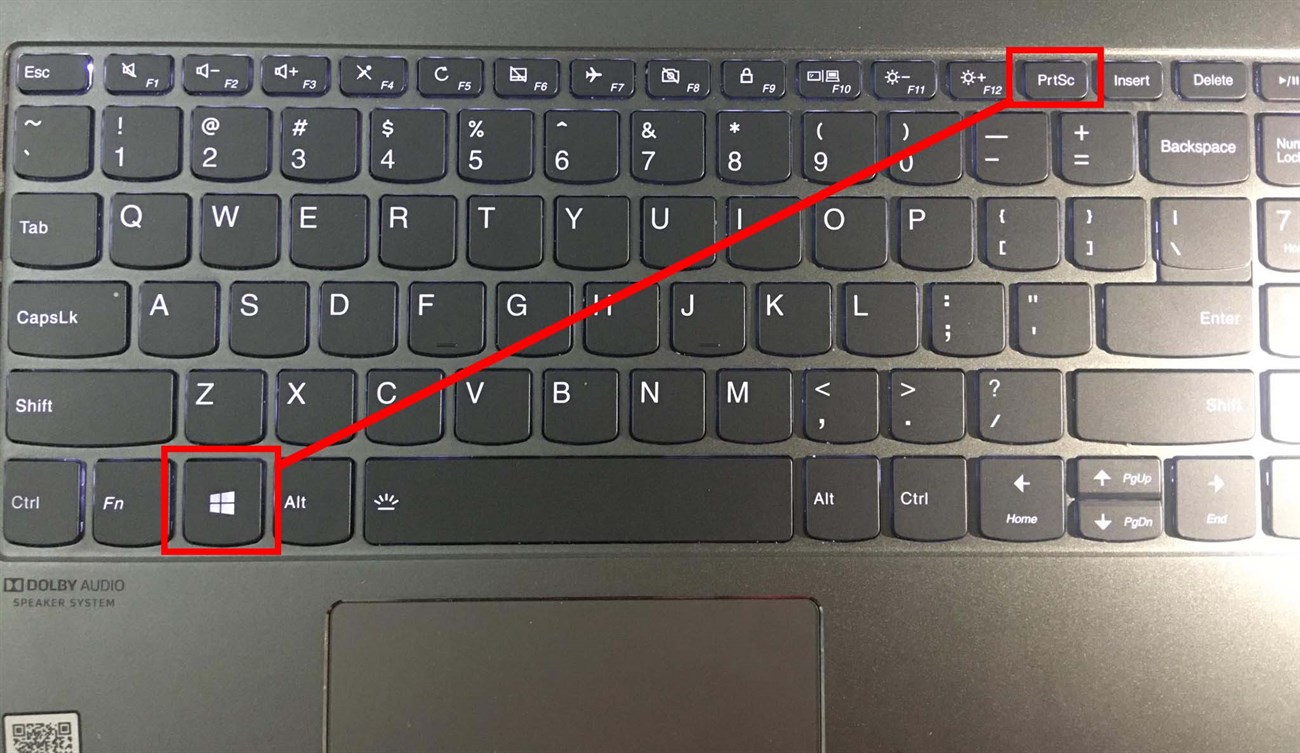
After pressing this shortcut key combination, the image on your laptop screen will be captured with the recognizable sign that the laptop screen flashes black for 1 second and then lights up immediately. The screenshot will be saved in the folder in the path: Pictures > Screenshots

Take a screenshot and edit it in Paint
This is the classic way to take a screenshot of a laptop that is known and used by many people. Still with the PrtSc (Print Screen) function key, but in this way we only press this key. Of course, the screenshot is still saved but not in a folder but in the clipboard like we are using the copy command ctrl + C. And the remaining thing is to open the Paint software and Paste this image in.
Step 1: On the laptop keyboard, press the PrtSc (Print Screen) shortcut key to take a screenshot.
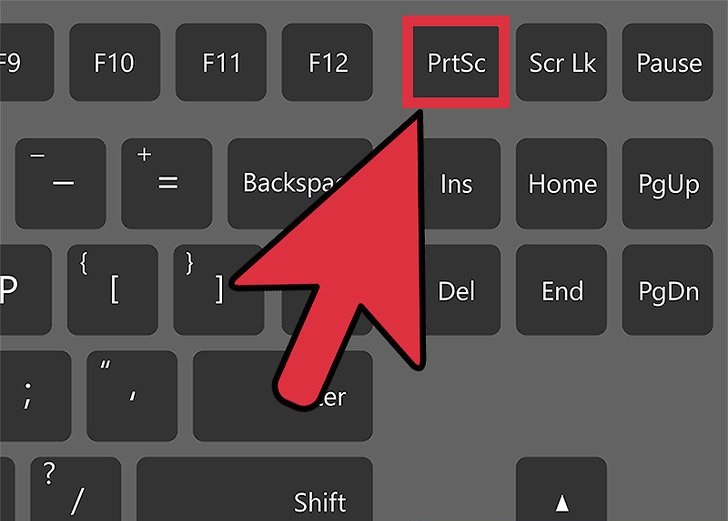
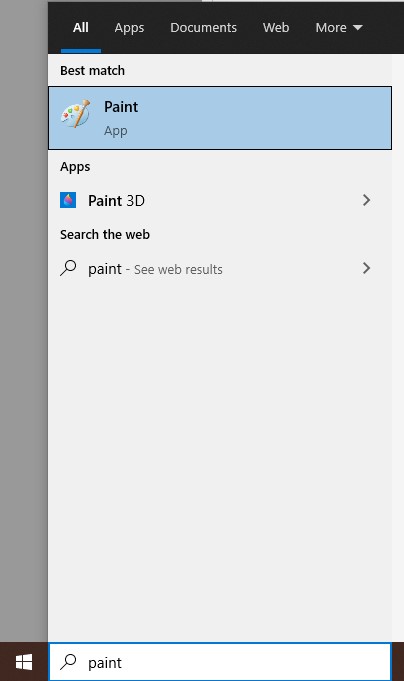
Step 2: Open the Paint application available on Windows by typing Paint into the search box on Windows.
Step 3: Press ctrl + V to paste the screenshot of the laptop.

In this Paint working window, you can choose to cut each image area you want, add image characters, add text notes.

Take a screenshot of the laptop tab that is working
This operation will also capture your laptop screen, but the difference is that it only captures the laptop screen at the working tab and ignores other elements.

Working tabs
As shown above, I am working in the Folder tab. Now, if you want to take a photo to work in this tab, press the key combination Alt + Print Screen, then open the Paint application and press Ctrl + V to paste the photo. The operation to save this screenshot is similar to working with other photos, which is to press the Save icon or Ctrl + S.
Take a screenshot with Snip & Sketch
Step 1: Go to Start, or type Snip & Sketch in the search box and then open this application. For convenience in future uses, you can attach this tool to the Taskbar or Start box.
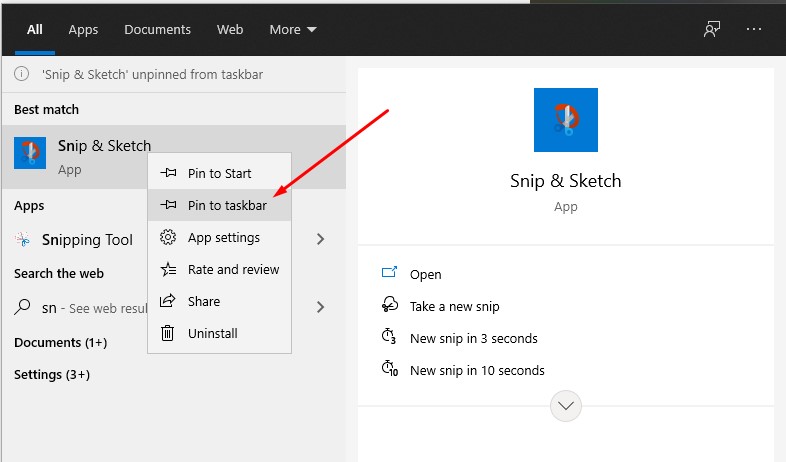
Step 2: Click New on the toolbar or press Ctrl + N to take a screenshot.
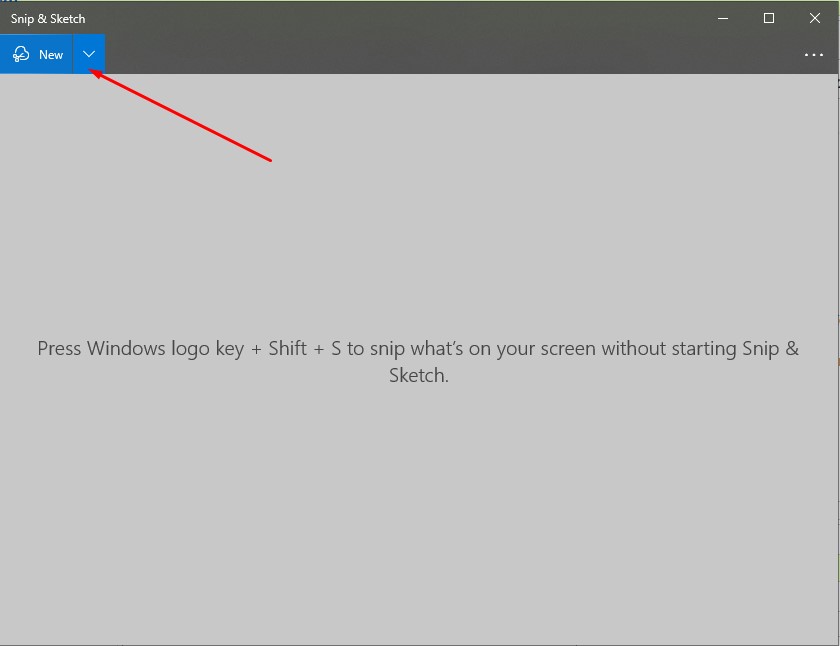
Step 3: The screen turns black, a small toolbar appears at the top allowing you to switch between screenshot modes.
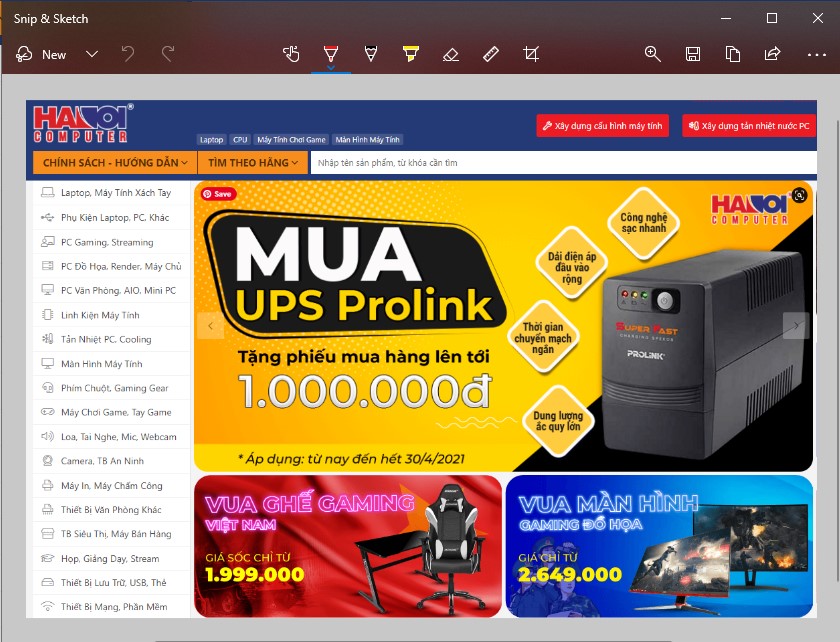
Step 4: The photo after taking will be automatically pasted into the software, you can freely use the pen to draw, mark, crop the photo,. before saving.
Take screenshots with Lightshot software
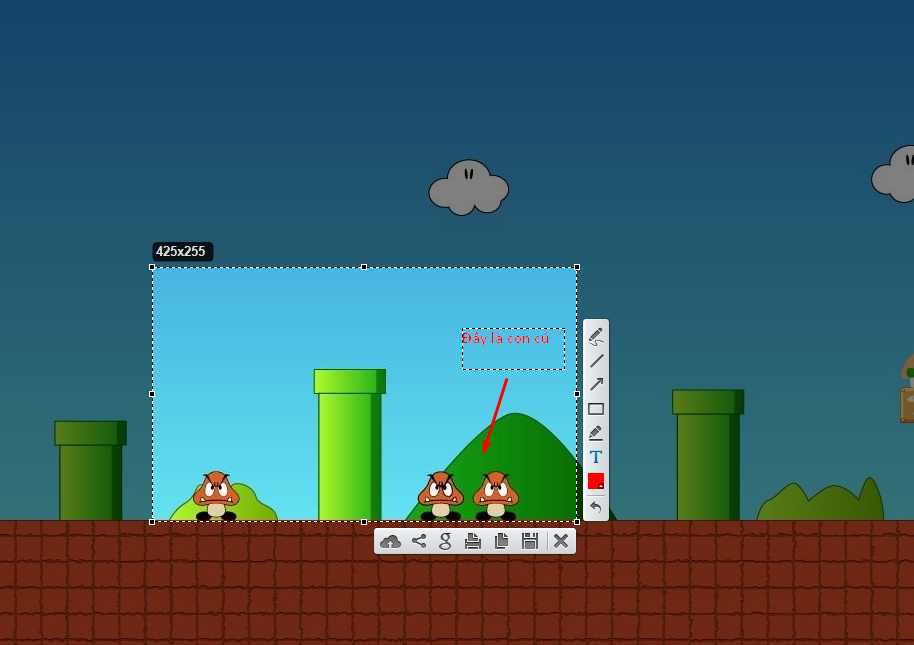
This is the way I am currently using. In my personal opinion, when using Lightshot software, we can still operate extremely easily with just 1 key press, PrtSc, but can use many utilities at the same time such as selecting the screen area to capture, using a pen to draw symbols, adding text. very simply. In general, it is very convenient for office workers or people who need to take screenshots of laptop screens regularly for reporting like me.
First, you download the software here. Then go to install it, the software is very light so this operation will take place very quickly, in just a few seconds.
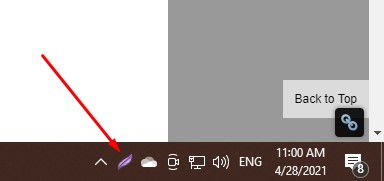
After installation is complete, you can see the lightshot icon appear in the toolbar below with a purple feather image.
The operation of taking a screenshot of a laptop screen with lightshot is similar to the above methods. You only need to press a single PrtSc key, your laptop screen will be fixed as soon as you press this key. Now select the area you want to capture, add annotations and notes as desired and you're done.
Above are the simplest and easiest ways to take screenshots on a laptop that this guide wants to share with you. Each operation has its own advantages and disadvantages, so try it and choose which method is most suitable for you!
Key Takeaways
Use the guidance above as a practical reference for take a screenshot on a laptop. Check compatibility, follow the steps carefully, and verify important details with official documentation when software, security, accounts, health, or purchases are involved.
FAQ
How do I take a screenshot on a laptop , and accurately?
Follow the steps in this guide in order, confirm each setting before continuing, and save, restart, or reconnect the device when the instructions require it.
What should I check before I begin?
Confirm the correct device, account access, software version, compatibility, and a current backup whenever the process could affect files, settings, or security.
What should I do if the process does not work?
Repeat the steps carefully, check for model or version differences, install available updates, and consult the manufacturer's official support documentation.
Related Articles
 Top Ways to Take Screenshots on PC Simply and Easily8 minutes read
 How to Take a Screenshot of Your Computer Using the Mouse8 minutes read
 12 Quick and Simple Ways to Take Screenshots of Acer Computers9 minutes read
 How to Take a Laptop Screen, Take a Screenshot of the Computer Screen5 minutes read
 10 Simplest Ways to Take a Screenshot on an ASUS Laptop7 minutes read
 How to Check the Battery Level of the Laptop Quickly and Accurately3 minutes read
Reader Comments 0
Sign in with email or Google to join the discussion.