How to take a long screenshot on a Windows 11 computer

Taking long screenshots or scrolling screens is no longer strange to   current smartphones when this feature is built-in by default. With  a computer  , you can't do that, you can only take pictures manually step by step. You can also use assistive applications. And in this article, I will show you  how to take long screenshots on Windows 11 computers  .

1. Take a long screen shot on your computer with ShareX . software

This is a free application that helps you take screenshots or record screen videos in many different ways that are extremely convenient. You can download the app on the homepage or on Steam and Discord. You can quickly access the link below to download the application.

  1. Access link here
How to take a long screenshot on a Windows 11 computer Picture 1

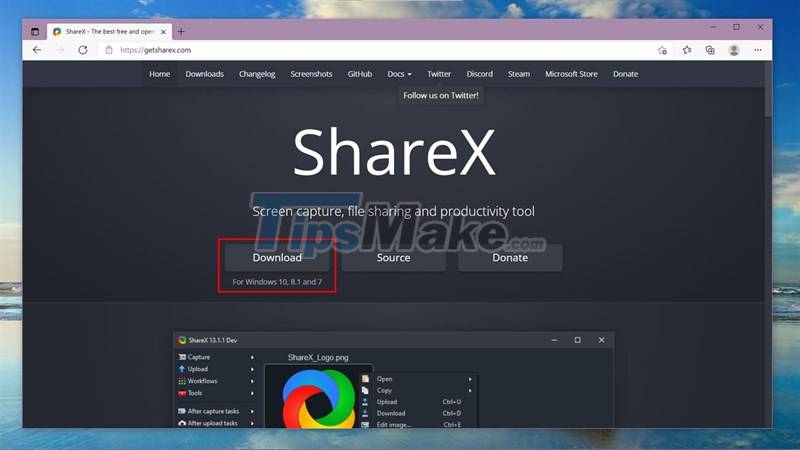
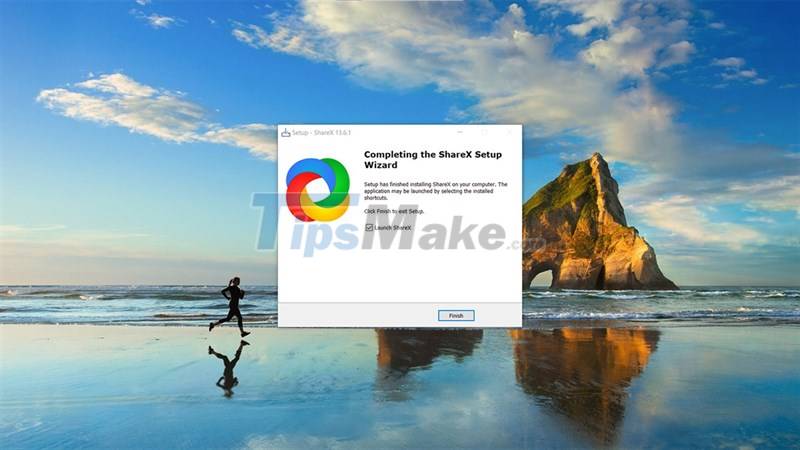
Step 1: Open the software and install it as usual.

How to take a long screenshot on a Windows 11 computer Picture 2

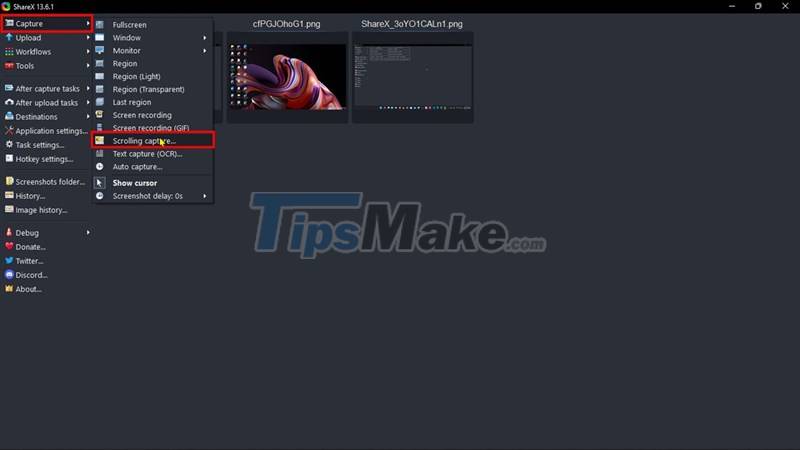
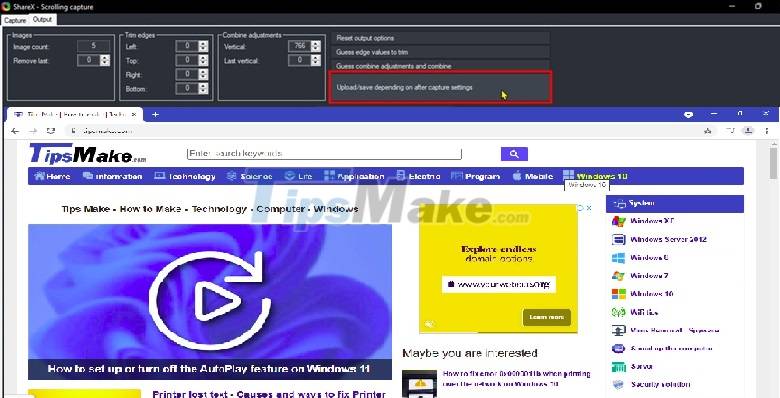
Step 2: After successful installation, open the application and select Capture> Scrolling Capture to take screenshots.

How to take a long screenshot on a Windows 11 computer Picture 3

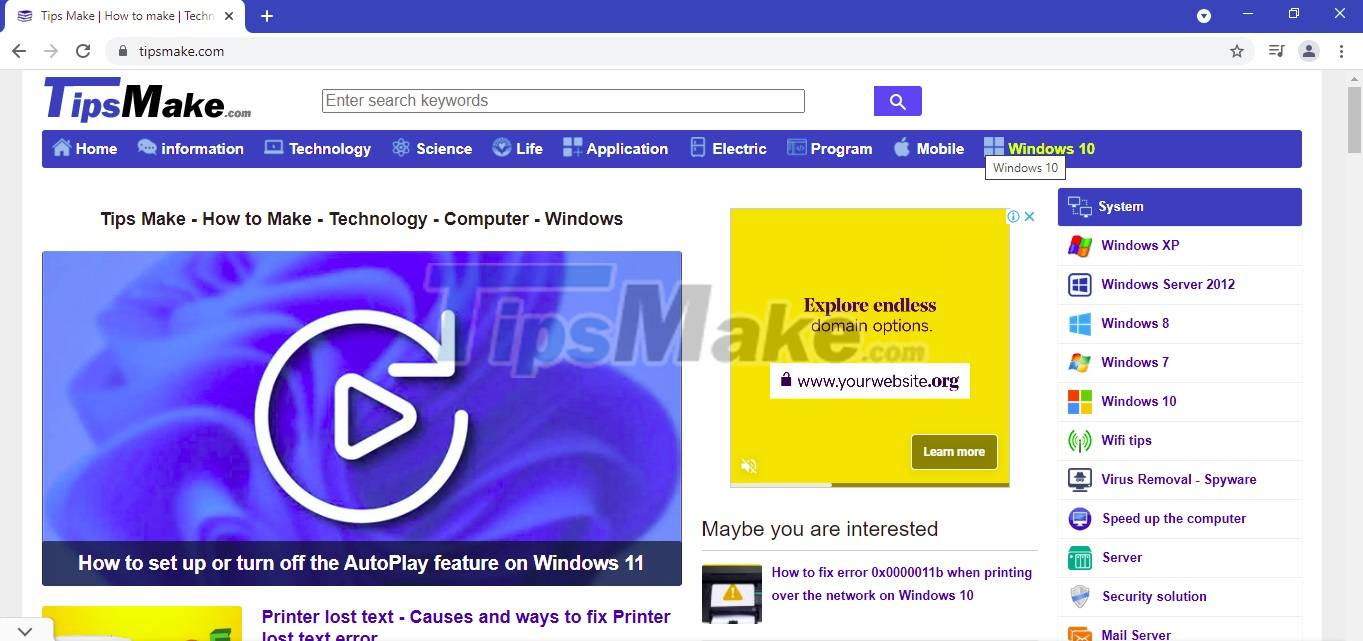
Step 3: Now the application will appear for you a frame, you align it with your Web page and click.

How to take a long screenshot on a Windows 11 computer Picture 4

Step 4: In the basic parameter adjustment, keep it the same, the application has suggested a very reasonable picture frame and select Start scrolling capture.

How to take a long screenshot on a Windows 11 computer Picture 5

Step 5: Finally, you select the Upload / save item as shown in the picture and select No when the application asks whether to upload the image. Next, the image will be saved and you can use it right away.

How to take a long screenshot on a Windows 11 computer Picture 6

2. Take a long screen shot on your computer with PicPick . software

PicPick software is a very useful application that allows you to take pictures or record screen videos with a lot of advanced and interesting features. Besides, this application is completely free for personal use, you can download and use by quick access to the link below to lead to the homepage.

  1. Access link here
How to take a long screenshot on a Windows 11 computer Picture 7

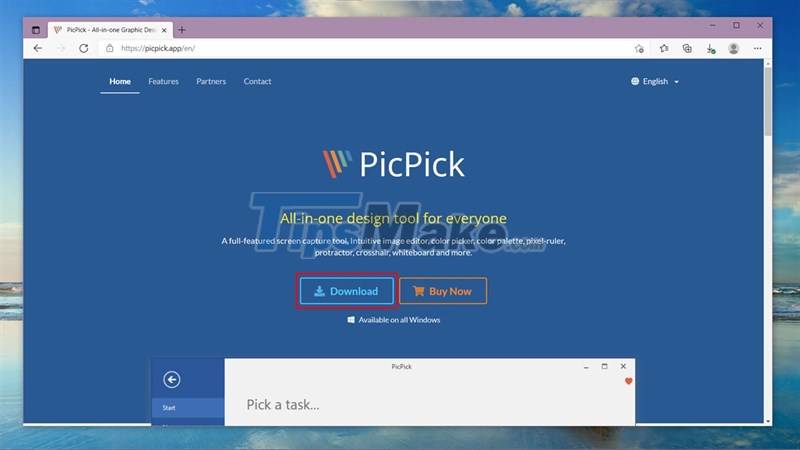
Step 1: You download and install the application as usual.

How to take a long screenshot on a Windows 11 computer Picture 8

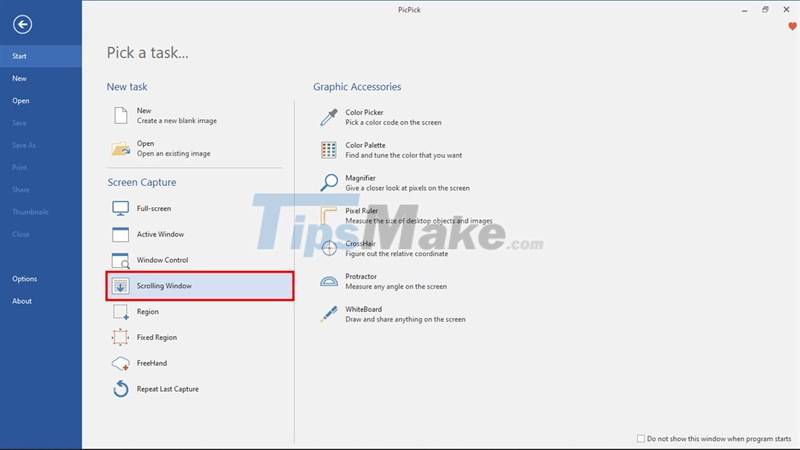
Step 2: After the installation is complete, open the application and select Scrolling Window.

How to take a long screenshot on a Windows 11 computer Picture 9

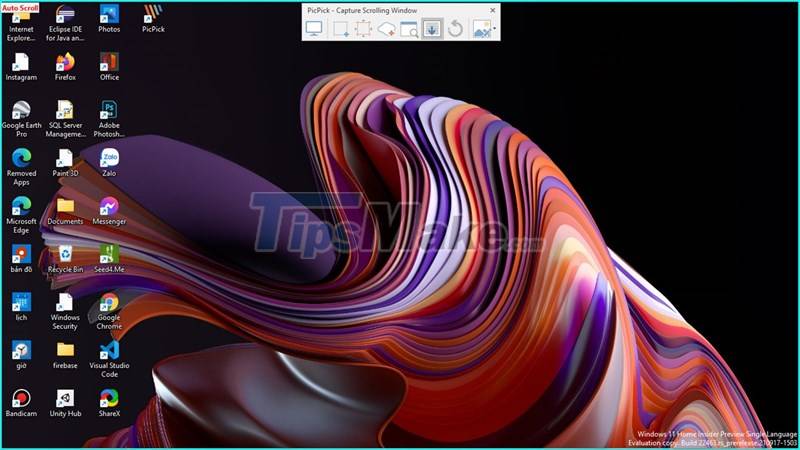
Step 3: Now a format window will appear and you left-click to proceed with the capture.

How to take a long screenshot on a Windows 11 computer Picture 10

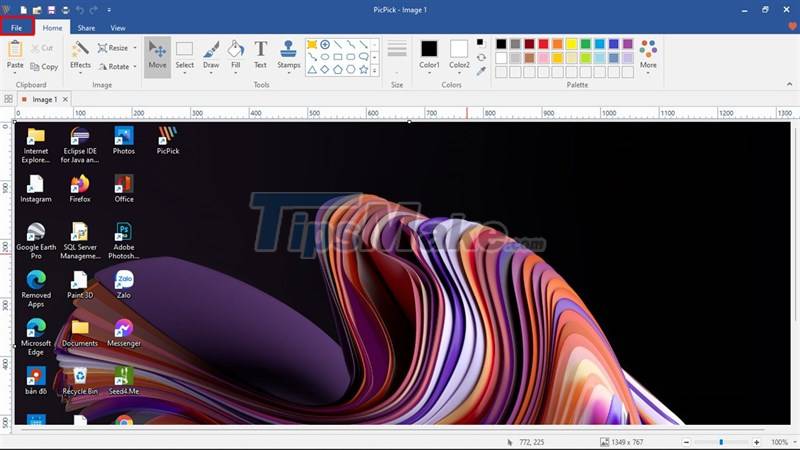
Step 4: Next when the capture is complete, the photo will appear inside and you select File.

How to take a long screenshot on a Windows 11 computer Picture 11

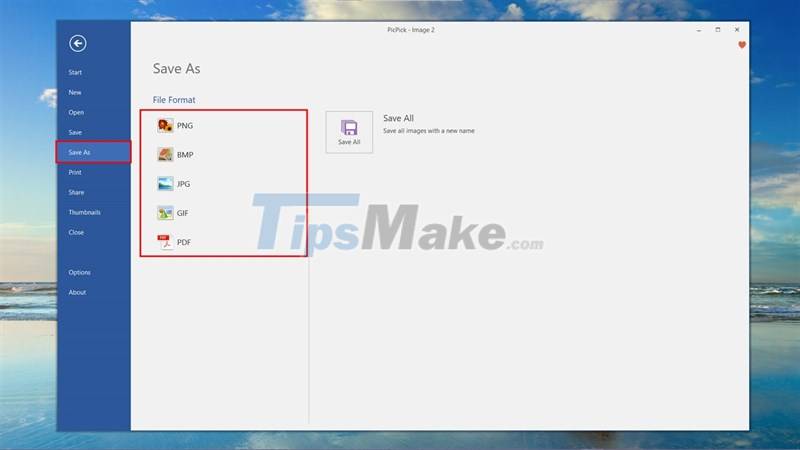
Step 5: Select Save As and choose an image format to save the photo to your device.

How to take a long screenshot on a Windows 11 computer Picture 12

Thank you for viewing the article. Good luck.

4.1 ★ | 7 Vote

May be interested

  • How to take a screenshot of your computer using the mouse quicklyHow to take a screenshot of your computer using the mouse quickly
    instructions on how to take a screenshot of your computer using the mouse quickly, simply and in detail from a to z.
  • How to Screenshot on ChromeHow to Screenshot on Chrome
    this wikihow teaches you how to take a screenshot of your chrome browser's contents on a computer or smartphone. while all computers and smartphones have built-in screenshot functions, you can use a chrome extension or an app to make...
  • How to Use the 'Print Screen' Function on a KeyboardHow to Use the 'Print Screen' Function on a Keyboard
    this wikihow teaches you how to locate and use a windows computer's 'print screen' key to take a screenshot of items on your computer's screen. once you've taken a screenshot, you can paste it into a program like paint or microsoft word....
  • How to Take a Screenshot using Firefox and WindowsHow to Take a Screenshot using Firefox and Windows
    there are several options available when it comes to taking screenshots in firefox for windows. if you want to take a screenshot of an entire webpage's content in a single file, a screenshot extension will be able to do just that. if you...
  • How to Edit a ScreenshotHow to Edit a Screenshot
    this wikihow teaches you how to capture and edit a screenshot on an android, iphone, ipad, mac, or windows pc. press and hold the volume down and power buttons simultaneously. after 1-2 seconds the screen will flash indicated a screenshot...
  • Instructions for using Screenshot HD to take screenshotsInstructions for using Screenshot HD to take screenshots
    screenshot hd application is a compact screen capture application on your computer, helping you to get quality and sharp screenshots.
  • How to screenshot Dell laptop for all Windows generations from XP to 10How to screenshot Dell laptop for all Windows generations from XP to 10
    how to take a screenshot of dell laptop is the fastest and most compact? the 3 suggestions below will surely only take you a few seconds to get a screenshot right away.
  • How to Take a Screenshot of the Entire ScreenHow to Take a Screenshot of the Entire Screen
    have you ever wanted to take a picture of your computer screen? it's easier than you'd think. you can learn how to take a screenshot on windows, macs, and your phone. all you need to do is learn a few keyboard shortcuts and quick tricks....
  • How to Take a Screenshot on a MacHow to Take a Screenshot on a Mac
    this wikihow will show you various ways in which to take a screenshot on a mac. make sure your screen displays exactly what you want to show in your screenshot image. ensure all the relevant windows are visible.
  • 10 Simplest Ways to Take a Screenshot on an ASUS Laptop10 Simplest Ways to Take a Screenshot on an ASUS Laptop
    to share information on the laptop screen with others, taking a screenshot is the most common way. if you are using an asus laptop and do not know how to take a screenshot, please refer to the instructions below!