How to insert pictures, format pictures in Word 2007
To make the article content more vivid, we can add images to the article. show you how to insert and format images into Word 2007
Table of Contents
How to insert pictures in Word:
Insert pictures available in the computer
Step 1: Put the cursor in the position to insert
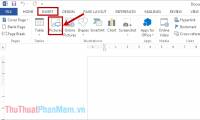
Step 2: Go to insert, at Illustrations tab choose Picture
Step 3: Select the image at the saved drive, then press insert
Insert image from Clip Art
Step 1: Put the cursor in the position to insert
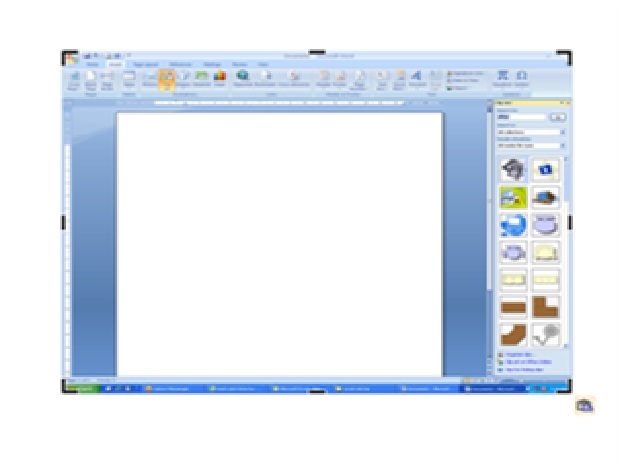
Step 2: Go to insert, at Illustrations tab choose Clip Art
Step 3: Display the Clip Art panel on the right of the screen, in Search for type 'office', then click 'Go', we will get a table of available images as shown below.
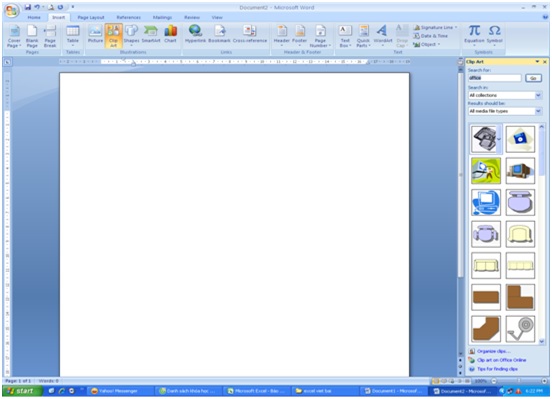
Select any image and click to insert.
Delete the inserted image, click the image and press the 'Delete' key
Picture format in Word:
Double click on the picture, the image you just inserted will appear on the bar 'Fomart' to use the picture format.
Move pictures and pictures: Place the mouse on the picture, when the 4-way black arrow appears, hold the left mouse button, move the mouse to the position to move to.
Format of display mode:
Click on the picture you want to format -> select Format -> Text Wrapping
Select the display type to format:
In line with text: push text up and down
Square: push the word around
Tight: Pushing text, text hugging the picture
Behind text: picture hidden behind the text
In front of text: Painting over the text
Click the picture you want to format -> select Format -> Posittion
Select the display type to format:
In line with text: push text up and down
With Text Wrapping: other locations
Resize pictures and photos:
Method 1: Click on the picture to display the format frame, move to the edges of the picture, and show a 2-way arrow to change the size.
Method 2: at Fomat-> Size-> Height: see change the height or With: change the width
Cut pictures, photos: in section Fomat-> Size-> Crop, the picture will appear as follows
Drag the dark black borders to select the area to cut.
Choose a frame for pictures and pictures: Fomat -> Picture Styles -> Picture Shap-> choose a border style.
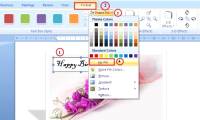
Change the border color of the picture: Fomat -> Picture Styles -> Picture Boder -> Choose colors.
Change the color for photos: Fomat -> Adjust -> Recolor -> choose a color style
Change the brightness for pictures and pictures: Fomat -> Adjust -> Brightness or contrast (default to 'normal' (0%)).
Rotate pictures and photos:
Method 1: Fomart -> Arrange -> Rotate
Method 2: Click on the picture, a small blue circle appears on the picture, put the mouse there, appear half circle, rotate the half circle to rotate the picture.

Was this article helpful?
Your feedback helps us improve.
Related Articles
 Insert text into pictures with Word2 minutes read
 The fastest way to insert text into pictures in Word, anyone can do it!3 minutes read
 Instructions for inserting captions for photos in Word3 minutes read
 How to insert pictures into Word, edit size and format8 minutes read
 The simplest ways to insert pictures in Word 20193 minutes read
 How to edit photos in Word is extremely useful that you should know2 minutes read
Reader Comments 0
Sign in with email or Google to join the discussion.