How to Fade an Image for an Advertisement Using GIMP
You can use this method for advertisements, announcements, or wherever you want to add some text that stands out with an image. Read on to learn how. * Screenshots are of GIMP 2.8 Get the image that you want to use. This one will use a...
Table of Contents
Method 1 of 2:
Prepare the Layers
-
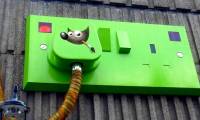
 Get the image that you want to use. This one will use a picture of a pomeranian. Since you are going to be adding some type of blurb, be sure that there is room for it.
 -
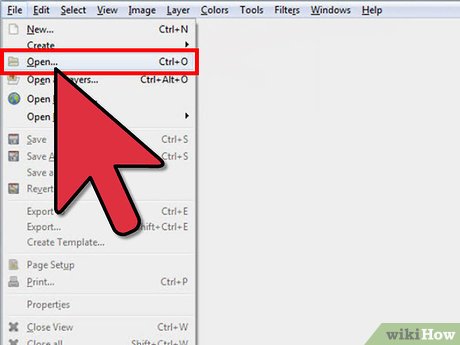 Open the image in GIMP.
 -
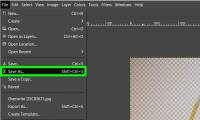
 Create a duplicate of the image by pressing CTRL + D and then close the original file.
 -
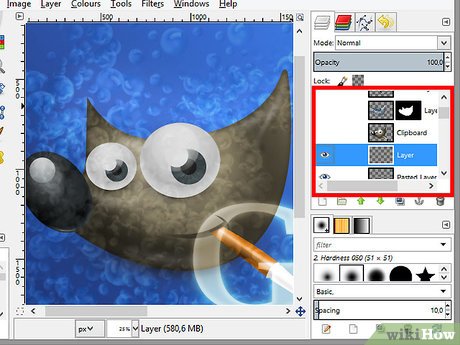 Add a layer using the layer dialog box. It doesn't matter which color it is, because you will be filling it.
 -
 Decide on the color that you want the image to fade into. Use the bucket fill tool to fill the empty layer with it. A light blue will be used here.
 -
 Move the layer below the image that you will be fading.
Method 2 of 2:
Create the Layer Mask
-
 Right click on your image in the toolbox and select "Add new layer". When the dialog box appears, select White (Full opacity). You will be making a layer mask.
 -
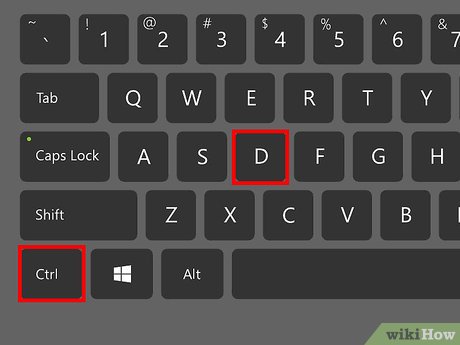
 Press the D key. This will reset your foreground and background colors to black and white.
 -
 Click on the Blend icon to open the Blend dialog box at the bottom of the tool bar. Be sure the options are what you see in the screenshot.
 -
 Hold down the CTRL key and (for this image), start the process by clicking on the very left of the image. Move left to the point where you want your fade to start.
- The first point is where the image will be 100% transparent. The end point is where the fade begins (as mentioned before).
-
 If you don't like the look of the layer mask fade, press CTRL + Z to undo.
 -
 Keep doing this until you are happy with the fade. Here is the final image.
Was this article helpful?
Your feedback helps us improve.
Related Articles
 How to Feather Edges on GIMP2 minutes read
 New features of GIMP version 2.1010 minutes read
 How to turn an image into transparent with GIMP6 minutes read
 How to Make a Transparent Image Using Gimp7 minutes read
 4 plugins that help GIMP become a professional tool.5 minutes read
 How to create X-ray effects in GIMP7 minutes read
Reader Comments 0
Sign in with email or Google to join the discussion.