How to create different Header, Footer on Word
To create different Header and Footer in Word, users need to split Word file into different sections. From there it is possible to present Header and Footer in different chapters.
Table of Contents
Inserting Header and Footer into Word content is no longer a strange operation for users. With some documents such as thesis, graduation report, books, adding Header, Footer is an essential element even for text documents. And creating Header, Footer on the top or bottom of the page is also done simply on the Word interface.
However, there will be times when users are asked to display different Header, or Footer in each page, or by different chapters in the document. So how to insert different Header, Footer for Word document? To do this basically, users will need to split the Word file content into different sections, depending on the content you want to divide. These sections can follow chapters, general content documents, . How to detail the creation of different Header, Footer in Word will be in the following article.
- Instructions on how to create frames in Word 2007, 2010, 2013, 2016
- Enter the serial number and the automatic initial character MS Word
- How to adjust the size of Word table cells equally
How to insert different Header, Footer on Word
Step 1:
In the document content in Word, the parts that want to create a different Header and Footer place the mouse cursor at the end of the content.
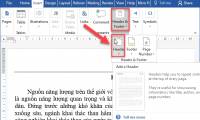
Step 2:
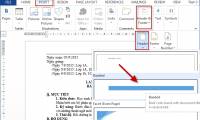
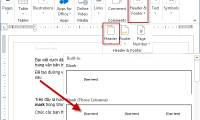
Next, users select the Page Layout tab and click on Breaks to proceed to divide the section. Here you will have 4 options to split the section including:
- Next Page: Switch to a new page.
- Continuous: immediately disables the cursor position.
- Even Page: even page breaks.
- Odd Page: odd page breaks.
For example, when you want to break the section on the new page just behind the cursor position, select Next Page. Thus the document will be split into 2 sections. Section 1 is the content entered. Section 2 is the content entered later. Depending on the content we can split into several sections.

Step 3:
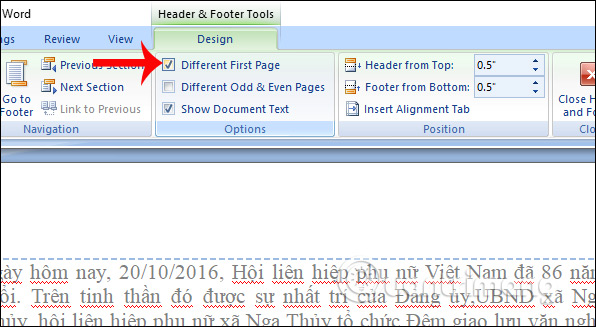
Next create Header and Footer for each section, we double click on the Header at the top of any page in section 1. Next to the Design section of Header & Footer Tools, everyone ticks the Different First Page section in Options, then enter the content for the Header of section 1 as you like.
Step 4:
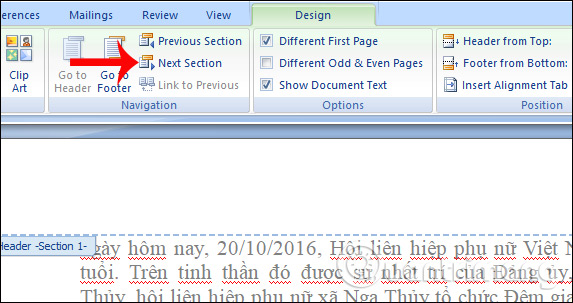
After writing the content for section 1 Header, click Next to switch to section 2 Header.
Step 5:
Finally, click the Link to Previous link to Header section 2 that is not related to the section 1 Header, and then enter the content for Header 2 of section 2. Just double click any location outside the Header to complete.
With creating Footer users also do the same as when doing on Header with the above actions.

Above is how to create different Header, Footer on Word with a simple and fast way to do it. Instead of using the same Header or Footer, we can change, use Header or Footer on different pages or chapters. This can make your document more vivid.
I wish you all success!
Was this article helpful?
Your feedback helps us improve.
Related Articles
 Microsoft Word: How to create page title (Header) and footer (Footer)4 minutes read
 How to create Header and Footer in Word3 minutes read
 How to lock Header, Footer in Word4 minutes read
 Create Header and Footer for text page in Word3 minutes read
 How to create a page header (Header) and footer (Footer) in Word2 minutes read
 Complete guide for Word 2016 (Part 14): Page title (Header) and footer (Footer)5 minutes read
Reader Comments 0
Sign in with email or Google to join the discussion.