MS Word - Lesson 11: Format the page
You can format the page for your document richer: page margin format, color, insert Header and Footer or create your own cover page.
TipsMake.com - You can format the page for your document more rich : page margin format, color, insert Header and Footer or create your own cover page. All will be presented in the following article:
Edit page margins and page orientation
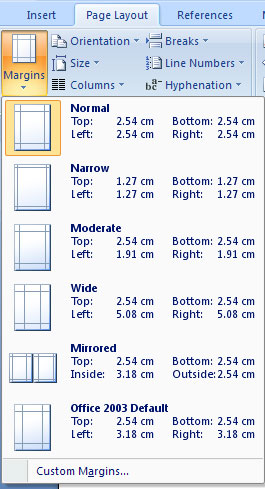
Page margins can be edited through the following steps:
• Click the Page Layout tab on the Ribbon group
• On the Page Setup group, click Margins
• Click Default Margin , or
• Click Custom Margins and complete the dialog box.
 To change the page's orientation, size or column:
• Click the Page Layout tab on the Ribbon group
• In the Page Setup group, click Orientation , Size or Columns
• Choose the appropriate model.
 Apply page borders and colors
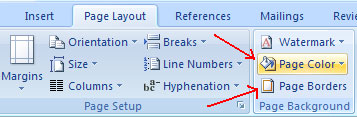
To apply page borders or colors:
• Click the Page Layout tab on the Ribbon group.
• In the Page Background group, click Page Colors and select the color you want to apply to the page or Page Borders and select the appropriate border for the page.
 Insert Header and Footer (footer)
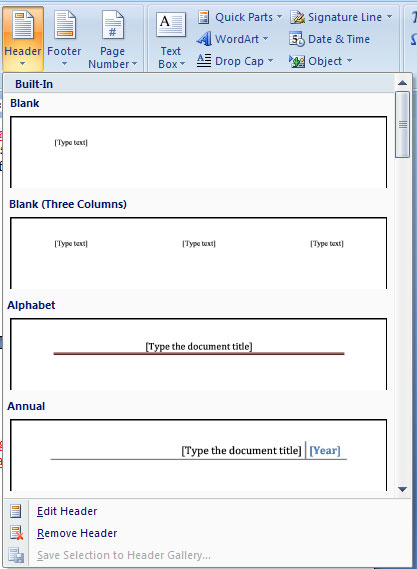
To insert Header and Footer such as page numbering, date, or title. If you want to insert information in the Header section (at the top of the page) or in the Footer section (at the bottom of the page):
• Click the Insert tab on the Ribbon.
• Click Header or Footer.
• Choose an arbitrary style
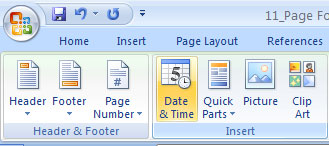
 • The Header / Footer Design tab will display on the Ribbon group.
• Select the information you want in the header or footer (date, time, page number, .) or enter the information you want into the header or footer.
 After you've inserted the Header and Footer, you can click the Close Header and Footer button on the Close group. You will now see the document inserted with Header and Footer as desired.
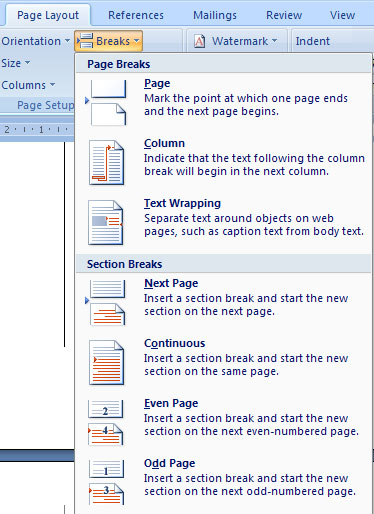
Create a page break
To insert a page break:
• Click the Page Layout tab on the Ribbon group
• In the Page Setup group, click the Breaks menu.
• Choose Page Break .
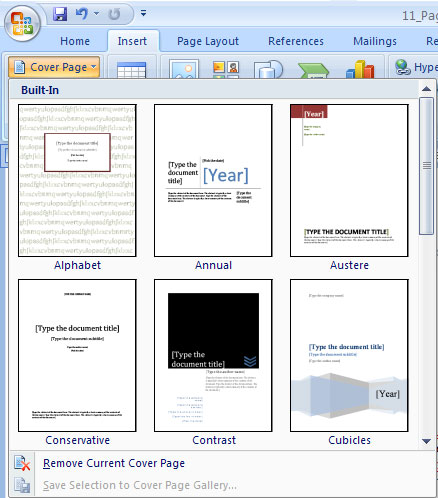
 Insert a Cover Page
To insert a cover page:
• Click the Insert tab on the Ribbon group
• Click the Cover Page button on the Pages group.
• Select a cover style.
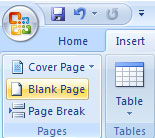
 Insert a blank page
To insert a blank page:
• Click the Insert tab on the Ribbon group.
• Click the Blank Page button on the Page group.
Was this article helpful?
Your feedback helps us improve.
Related Articles
 MS Word - Lesson 11: Formatting Word Pages7 minutes read
 MS Word - Lesson 10: Read and check proofs for documents3 minutes read
 Word 2016 Complete Guide (Part 10): Page layout4 minutes read
 Word 2013 Complete Guide (Part 6): Aligning page layout5 minutes read
 How to number page combination i ii iii and 1, 2, 3 on Word7 minutes read
 The most detailed guide on how to number pages, skipping the first page and starting from any page in Word.6 minutes read
Reader Comments 0
Sign in with email or Google to join the discussion.