How to Change Language in Windows 7
Windows 7 allows you to change the display language for most of its interface. This process is quite simple and will be most complete if you use Windows 7 Ultimate or Enterprise. If you're using Windows 7 Starter, Basic, or Home, you can install Language Interface Packs, which will help convert your most used components to your chosen language. You can also change the input language for the keyboard to easily type in other languages..
Display language (Ultimate and Enterprise)
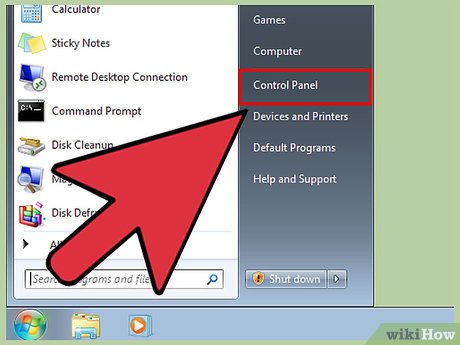
Open Control Panel. If you're using Windows 7 Ultimate or Enterprise, you can install a language pack to transform most of Windows' interface. Language packs are for Ultimate and Enterprise only. For Starter, Basic, or Home, you can install Language Interface Packs (LIPs). This package provides translation for some parts of the interface and requires the computer to have the base language installed. See details in the next section.
You can open Control Panel from the Start menu.
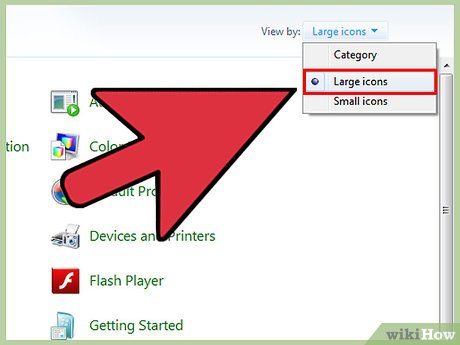
Click the "View by" menu and select "Large icons" or "Small icons." This will allow you to quickly access any Control Panel options.

Select Windows Update. You can use the Windows Update tool to download any available language packs.

Click on the " # optional update are available" link. If there's no link, click "Check for updates."

Click to select the language box you want to download. After selecting the language, click the OK button.

Click the button. Install updates (install updates). You may receive a resume message from the UAC security feature, and may be asked to enter an administrator password.
Downloading the language pack may take a few minutes.
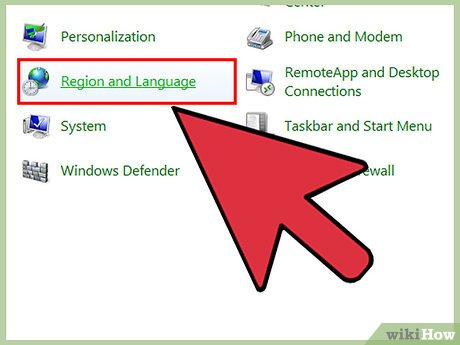
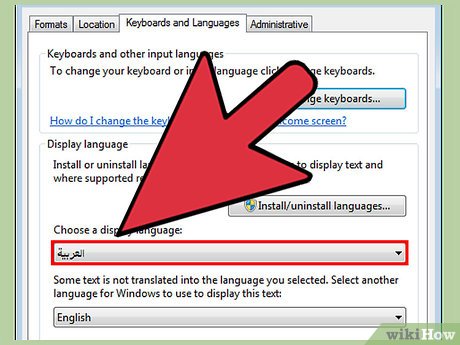
Return to Control Panel and select "Region and Language". Select the Keyboards and Language tab.
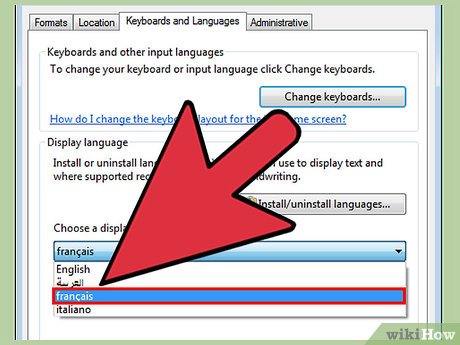
Select the language you just installed from the "Choose a display language" drop-down menu. All languages you have installed will be listed here.
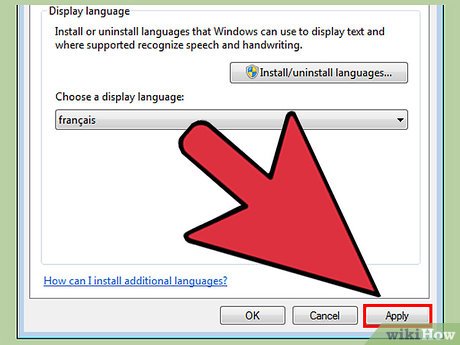
Click on the button. Apply and then click the Log off now button to log out. Your changes will be applied when you log back into Windows.

If the language is not displayed in some programs, you need to change the system language. Some programs may not display your new language until you change your system language settings to match that region.
Open Control Panel and select "Region and Language".
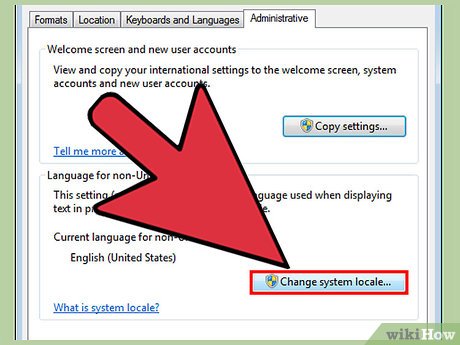
Click on the Administrative tab and click on the Change system locale button.
Select the language you just installed and click OK. The system will display a message to restart the computer.
Display language (for all versions)
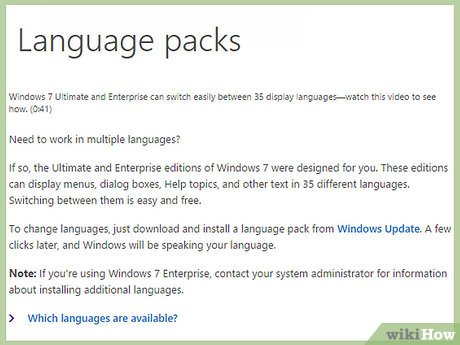
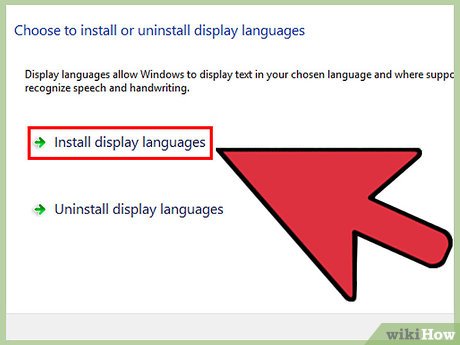
Learn the difference between language packs and Language Interface packs (LIPs). Traditional language packs translate the majority of UI elements and are available only to Ultimate and Enterprise users (see section above). For other versions, LIPs language interface packs will be used. This is a smaller package that translates the most used parts of the interface. LIPs language packs require the computer to have a background language installed because not all parts of the interface can be transliterated.
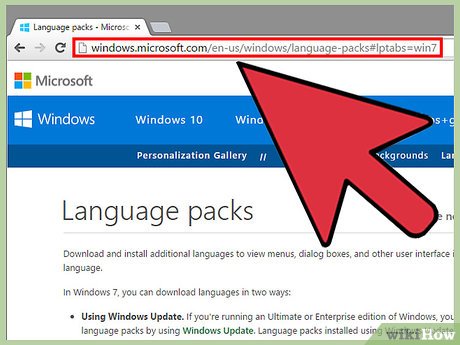
Visit the website to download LIP. You can browse all available LIP packages here.
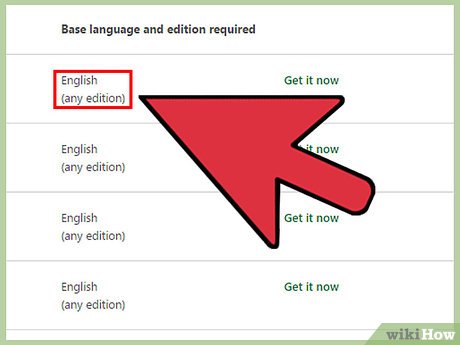
Check the request. The third column of the table will tell you the platform language required by LIP, as well as the version of Windows on which LIP can operate.
If LIP requires Ultimate or Enterprise edition, you will need to update your copy of Window to change the language.
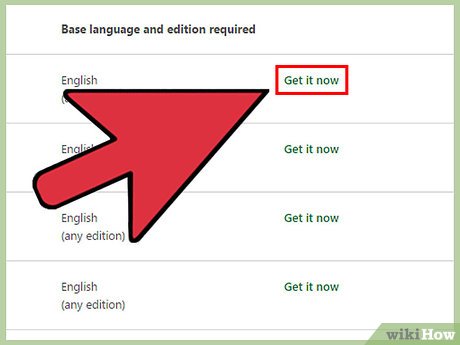
Click the "Get it now" link. This will open the website for the language you selected. This page will be displayed in that language.
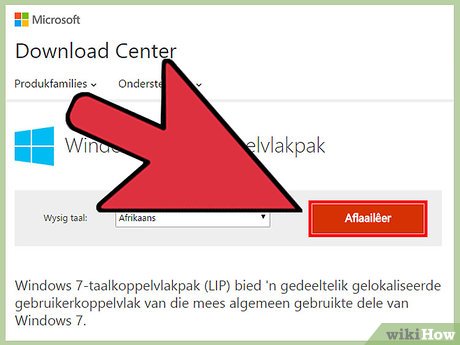
Click the "Download" button. This will open a new window displaying the language files.
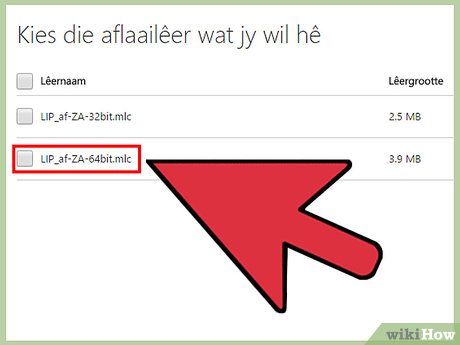
Choose the appropriate file for your computer. There will be 32-bit or 64-bit files for you to choose from. You can find your version of Windows by opening the Start menu, right-clicking "Computer", and selecting "Properties". Find the "System type" section.
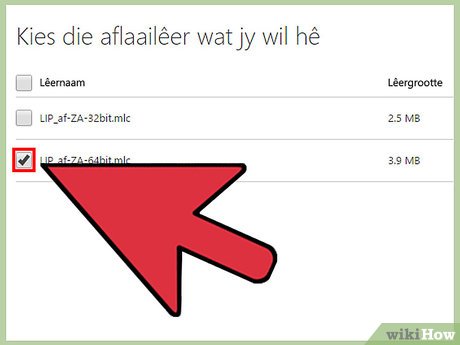
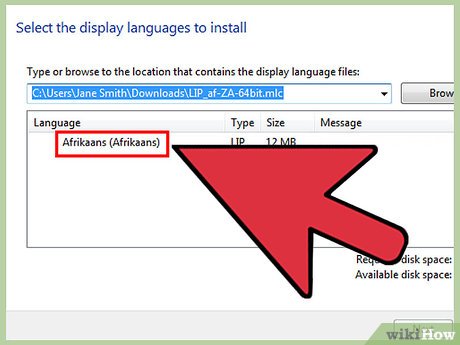
Click the file selection box and click the "Download" button. The LIP file will be downloaded to your Downloads folder.

Double click the downloaded file. This will open the language installer in the newly selected language automatically. Click the Next button to start the installation.
You will be asked to read and accept Microsoft's terms before the language is installed.
Review the ReadMe file. The ReadMe file for the language you select will be displayed before it is installed. You usually do not need to review this file, but it may contain information about common problems or compatibility issues.
Wait for language settings. This process may take a few minutes.
Select and apply new language. Once the installation is complete, you'll see a list of all your installed languages. Select the newly installed language and click the Change display language button.
If you want to change the Welcome screen, as well as any system accounts, click the check box below the language list.
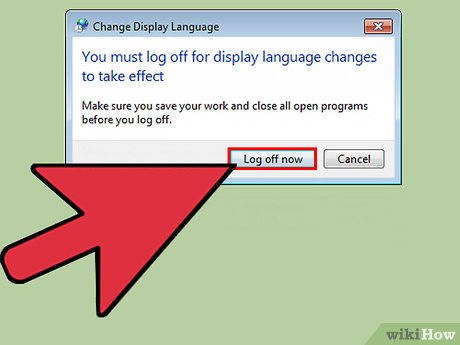
Log out to complete the language change process. You will be prompted to sign out for your new language to take effect. When you log back in, Windows will use the new language. Parts that are not translated into the new language will be displayed in the base language.
Install a new system language if some programs do not recognize the new language. Some programs are designed for certain languages and will only display the language if the system is located in that region.
Click on the Start menu and open Control Panel.
Open the "Region and Language" option.
Click the Administrative tab and click the Change system locale button.
Select the language you just installed, and restart your computer when prompted.
Input language

Start Control Panel. You can add additional keyboard layouts to your Windows settings so you can type in different languages.

Click the "View by" drop-down menu and select "Large icons" or "Small icons". This will make it easier to find the right option.

Select "Region and Language" and then click the tab. Keyboards and Languages. Click on the Change keyboards. button.
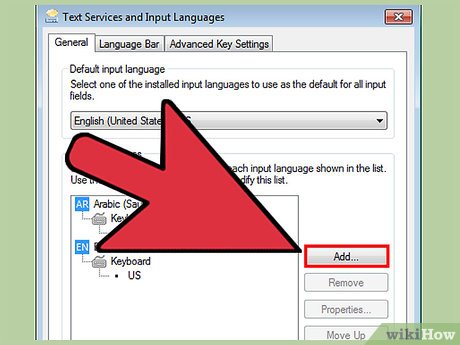
Click the button. Add to install another language. The list of available languages will then be displayed.
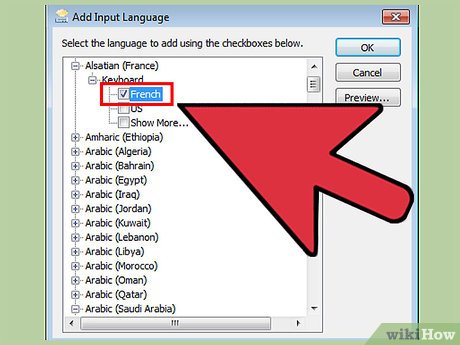
Select the keyboard language you want to install. Click to expand the language section, then expand the "Keyboard" option. Select the specific language form you want by clicking the check box. Click OK to add a language.
Some Languages will have multiple options as different regions speak different dialects.
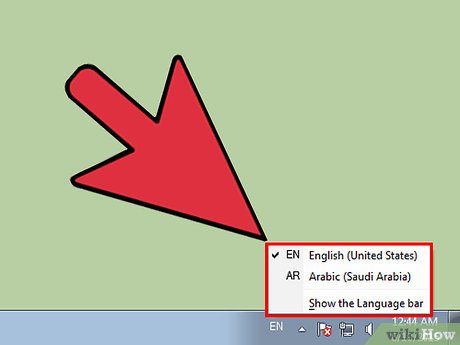
Switch between languages using the Language bar. This section is to the left of the System Tray and clock in the taskbar. The abbreviation for the active language will be displayed. Tap the abbreviation to switch between different input methods.
You can also press ⊞ Win+ Spacetoggle to cycle through installed languages.
If you can't find the Language bar, right-click the taskbar, select "Toolbars," then click "Language bar"