How to Enable Photo Previews in Folders (Windows 10)
Today's TipsMake will show you how to preview photos inside folders on your Windows 10 computer. Although photo previews are enabled by default, some versions of Windows 10 may accidentally turn this feature off. You can enable image previews in File Explorer's settings, but you need to make sure the folder being organized uses thumbnail preview support..
Turn on image preview
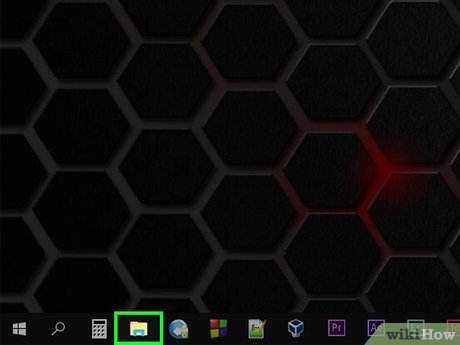
Open File Explorer. Click the folder-shaped File Explorer icon at the bottom of the screen, or press ⊞ Win+ E.
If File Explorer isn't at the bottom of the screen, you can click Start , type file explorer, and then click File Explorer at the top of the results menu.
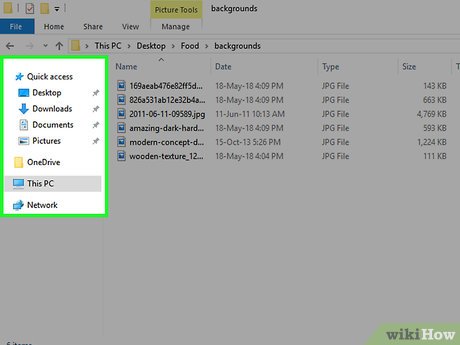
Open your folder. Use the left column of File Explorer to navigate to the folder where you want to enable photo previews.
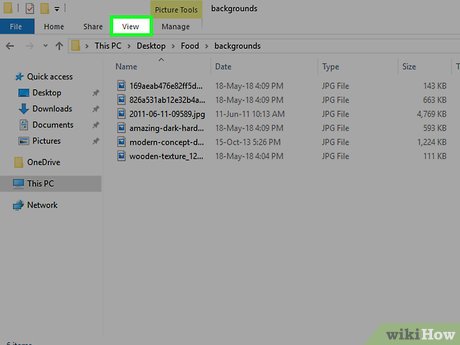
Click the View tab in the upper left of the File Explorer window. A toolbar will drop down from the top of the window.
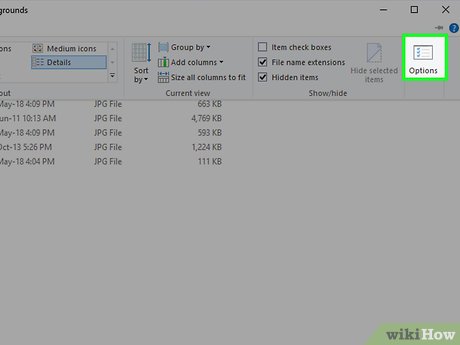
Click the Options icon shaped like a white box with a check mark in the upper right corner of the window. Another window will pop up.
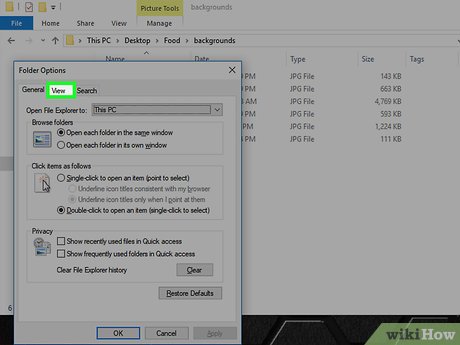
Click the View tab at the top of the pop-up window.
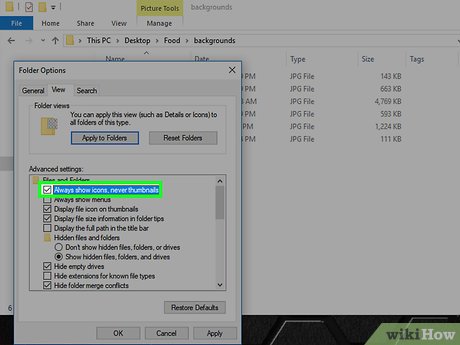
Uncheck the "Always show icons, never thumbnails" box. The options are in the "Files and Folders" section near the bottom of the window.
If you don't see this box, first double-click the "Files and Folders" heading for the options to appear.
If this box is inherently unchecked, you may need to fix the thumbnail cache error first.
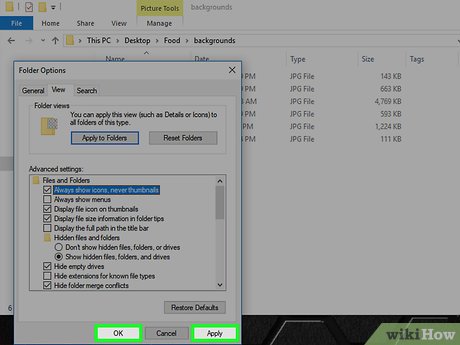
Click Apply , then click OK . All options are at the bottom of the window. Once your settings are applied, the window will close.
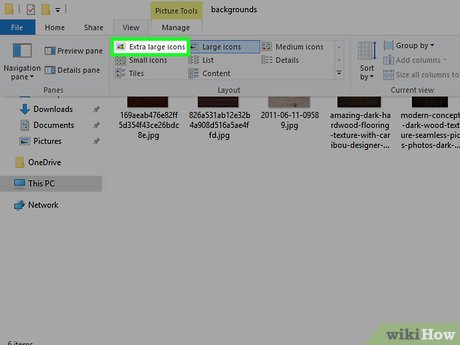
You need to make sure the folder has the right view options applied. If you want thumbnail previews, your folder must display its content in a supported view (such as Extra large icons ). To change existing view settings:
Click the View tab .
Click one of the following "Layout" options: Extra large icons , Large icons , Medium icons , Tiles or Content ( Content).
Fix preview image error
You need to know when it is necessary. Windows 10 keeps a quick-access memory of thumbnails of each file on your computer; If this memory fails, folder images will not display properly. If you want to allow photo previews, clearing the thumbnail cache may fix the error.
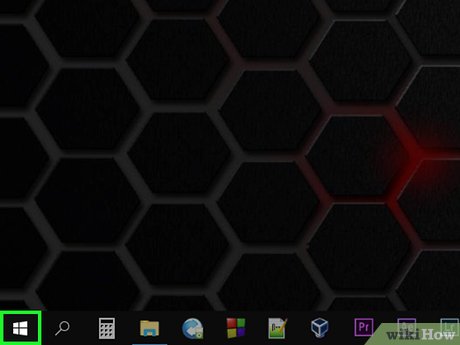
Open Start . Click the Windows icon in the lower left corner of the screen.
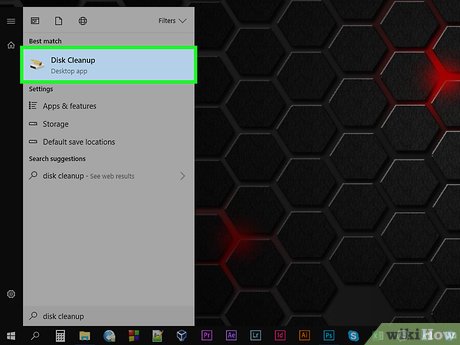
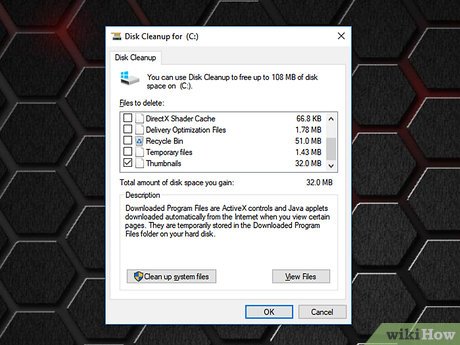
Open Disk Cleanup. Type disk cleanupand then click Disk Cleanup when the program appears at the top of the Start window. A window will pop up.
You may need to click Disk Cleanup when the icon appears in the taskbar to open the options window.
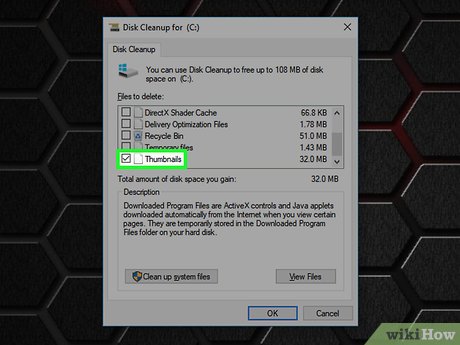
Scroll down and check the "Thumbnails" box. You can uncheck other boxes in the main window, but the "Thumbnails" box must be checked.

Click OK at the bottom of the window.
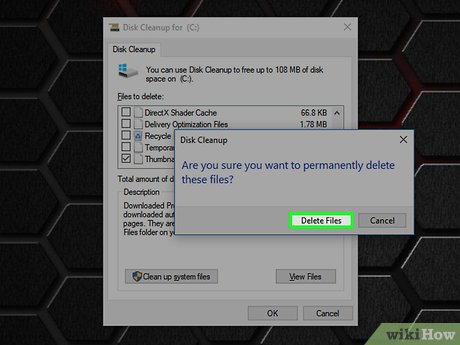
Click Delete Files when prompted. Disk Cleanup will begin deleting thumbnails from your computer's quick access memory.
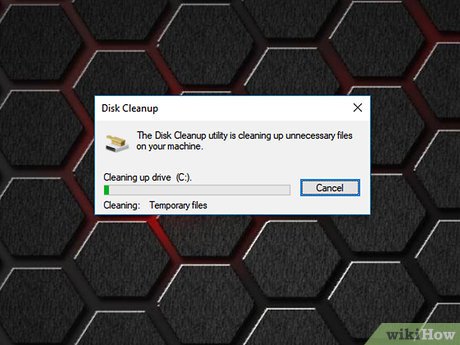
Wait for the thumbnail images to be deleted. This process may take a few minutes, especially if you've never deleted a thumbnail before. Once the pop-up disappears, you can continue.
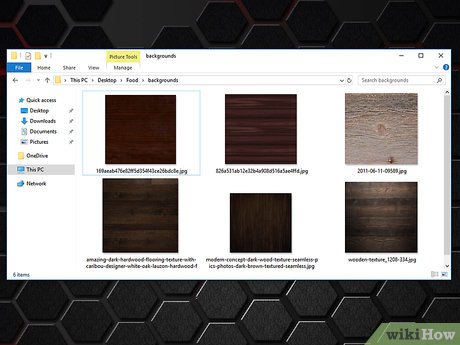
Open the folder you need to use. Go to the folder where you want the thumbnails to display. After refreshing, preview thumbnails of the photos in the folder will appear.

Turn on preview images if necessary. If the thumbnails are still not showing, you'll need to disable the "Always show icons, never thumbnails" setting and make sure the current folder has the appropriate view options applied.