How to Access Shared Folders in Windows 7
The quickest and easiest way to access shared folders in is to add the folders to the Windows Homegroup. The Windows Homegroup is a special networking function designed to make it easier for you to access shared files without having to....
Method 1 of 3:
Create the Homegroup
-
 Turn on the computer with the files that you wish to share. Connect to your home network.
 -
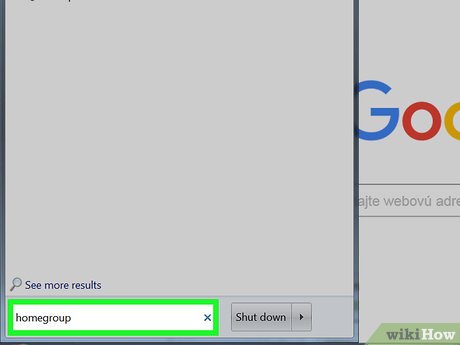 Click on the Windows 7 Orb, formerly the "Start" bar. Type "Homegroup" in the "Search Programs and Files" field.
- Wait for the system to search for and find the Homegroup tool. Do not hit the "Enter" key.
-
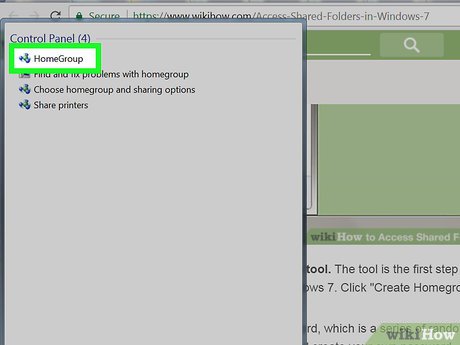 Single-click on "Homegroup" to launch the tool. The tool is the first step in learning how to access shared folders in Windows 7. Click "Create Homegroup," then click "OK."
- The system will create a homegroup password, which is a series of random letters and numbers. Click in the password field and create your own password.
- Write down your password and keep it in a secure place.
-
 Select the types of files you wish to share with the Windows Homegroup.
- Your options are pictures, music, videos, documents and printers. You can also share media with devices.
- Click "Save Changes."
- Close out of the Homegroup tool.
-
 Navigate to the folder you wish to share.
- Although the Homegroup will automatically share certain files, you can turn sharing on or off on specific folders.
-
 Right-click on the folder you wish to share. Select "Share With," and click "Homegroup." Do this with every folder you wish to share.
Method 2 of 3:
Join the Homegroup
-
 Turn on the computer on which you want to access the shared folders. Connect to your home network.
 -
 Click on the Windows 7 Orb, formerly the "Start" bar. Type "Homegroup" in the "Search Programs and Files" field. Wait for the system to search for and find the Homegroup tool. Do not hit the "enter" key.
 -
 Single-click on "Homegroup" to launch the tool. Windows will prompt you to join the existing Homegroup.
 -
 Select the types of files you wish to share with the Homegroup.
- Your options are pictures, music, videos, documents and printers. You can also share media with devices.
- Click "Next."
-
 Enter the Homegroup password. Click "OK" or "Join Now."
 -
 Close out of the Homegroup tool.
Method 3 of 3:
Access the Shared Folder
-
 Click on the Windows Orb. Left-click on your user name on the menu.
 -
 Click on the arrow next to the name of the computer in the Homegroup from the list on the left.
 -
 Click on the folder you want to access to show the contents in the window on the right. Browse the files inside the folder as you would on the host machine.