Connect your Windows XP computer from Windows Vista
This tutorial will show you the steps needed to access the shared files, folders, or printers that you have set up on Windows XP from your Windows Vista computer..
Ross McKillop
Network Administration - This tutorial will show you the steps needed to access shared files, folders, or printers that you have set up on Windows XP from a Windows Vista computer.
Before doing so, I want to show you a bit about network maps (Network Map). Network Map uses a detection protocol called Link-Layer Topology Discovery (LLTD) to query other devices on the network, aiming to discover how the network is organized. Computers running Windows Vista operating systems contain software components that implement the LLTD protocol. For computers connected to the network using the Windows XP operating system that want to appear in the network map, they must be enabled with a detection protocol in order to respond to the requirements of the mapped computers. .
-
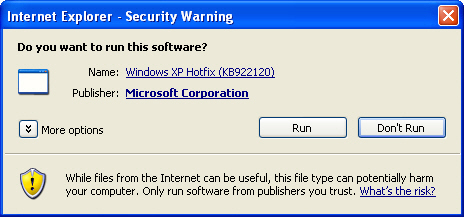
First of all, on a Windows XP computer, download and install Link Layer Topology Discovery (LLTD) Responder. If this link does not work then you can use this link.
Click Run when the dialog box below appears.
-
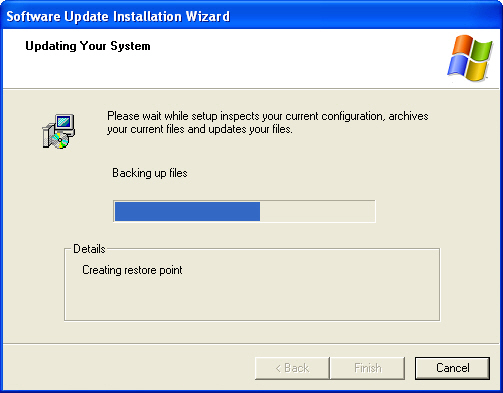
You will have to click Next a few times, after the installation is completed, restart your XP computer.
-
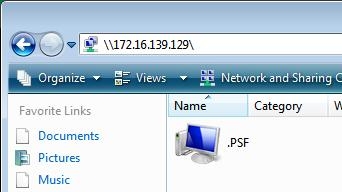
Now, on a computer running Vista, open Network from the Start menu. If your XP computer doesn't show up, you shouldn't worry. Type the IP address of the XP machine into the address bar and press Enter.
-
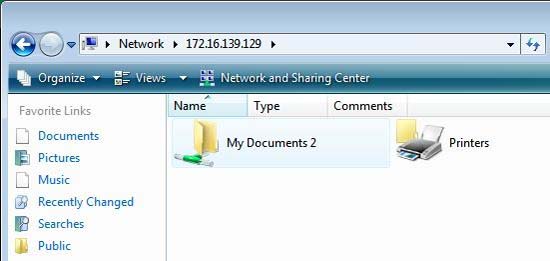
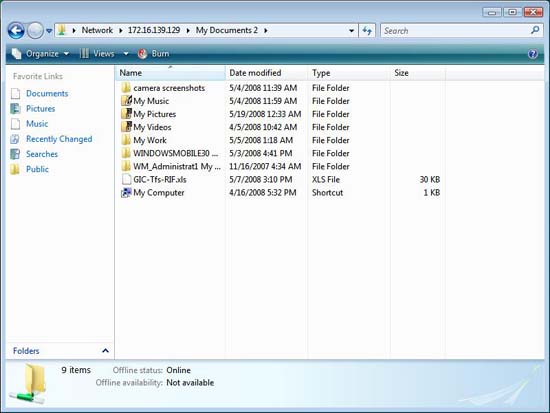
Any folder or shared printers on the XP computer will be displayed.
-
Double click on a shared folder to access the content inside it.
-
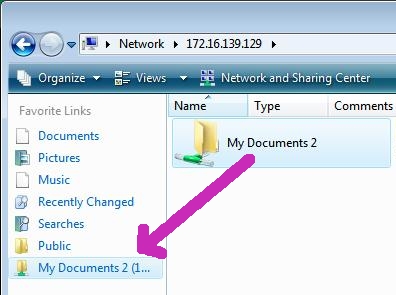
You can create a shortcut to the shared XP folder by dragging it into the sidebar.
-
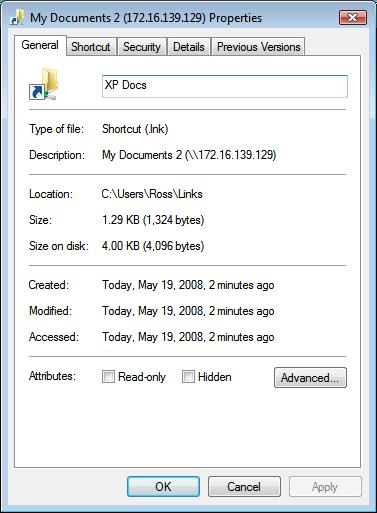
Right-click the new entry in the sidebar and select Properties . From the General tab , you can rename the folder. Alternatively, you can select Rename from the right-click menu.
-
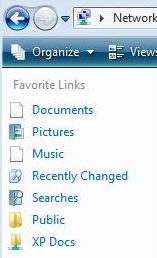
Now the sidebar shortcut will display a more appropriate name.
-
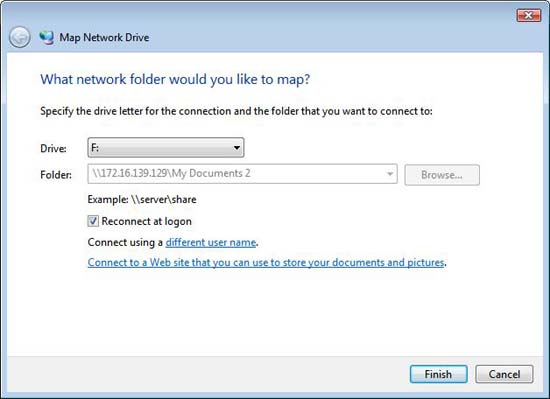
If you prefer to show the shared folder as a drive, right-click the folder and select Map Network Drive .

-
Select the character you like this drive to appear (in the picture below we chose F:) . If you want the shared folder to be set up as a drive every time your Vista computer starts, select the Reconnect at login option . Click Finish when you're done.
-
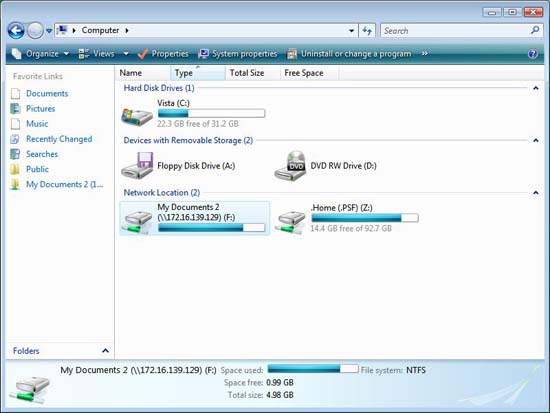
Your shared folder will appear as its own drive.
-
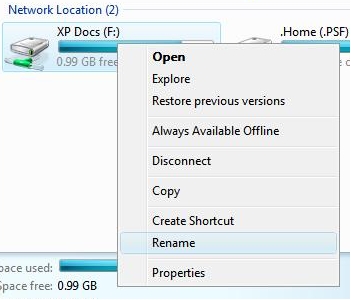
To rename the drive, right-click and select Rename .
-
That's all you need to do, here you have completely fulfilled your mission.