How to share printers between Windows 7 computers without Homegroup?
Have you ever encountered a situation where you need to use a printer that is connected to another Windows 7 computer and this computer is not in the same Homegroup as the computer you are using, but only on the same network . In this article, I will show you how to share a printer between two Windows 7 computers in such a network.
Table of Contents
Have you ever encountered a situation where you need to use a printer that is connected to another Windows 7 computer and this computer is not in the same Homegroup as the computer you are using, but only on the same network . In this article, I will show you how to share a printer between two Windows 7 computers in such a network.
Note : In this example, we connect a Windows 7 Ultimate 64-bit computer to an HP PSC 1500 printer on a Windows 7 Home Premium 32-bit computer. They are all on the same network, but not in the same Homegroup. Keeping in mind all the different printers, finding and installing the right driver is also different.
1. Share files and printers with Windows 7 Homegroup
Set up Homegroup
There are many ways to access the Homegroup feature on Windows 7, go to Control Panel then click Choose homegroup and sharing options or enter Homegroup in the Search box on the Start Menu.

Next click on Create a Homegroup.
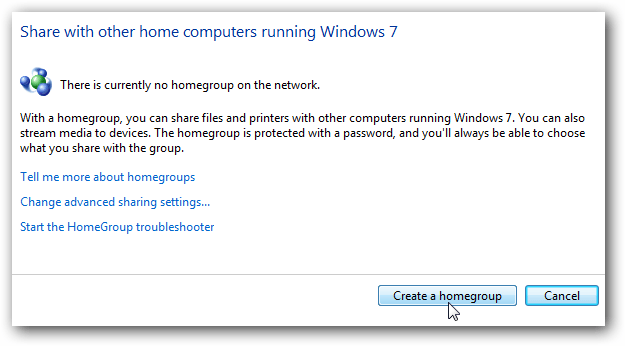
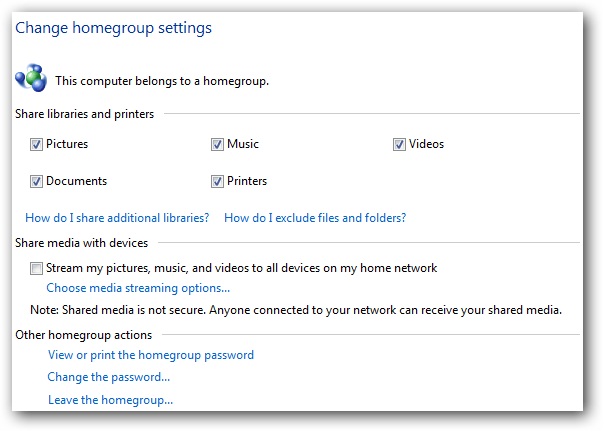
On the Create a Homegroup interface choose the format of the files you want to share with another device.

After creating the Group, you will receive a password for other computers to access.

Next go back to the Homegroup interface.
Connect Homegroup
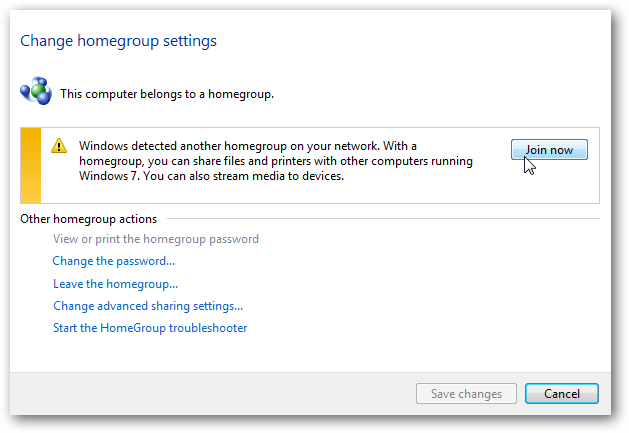
Other Windows 7 computers can access the Homegroup feature and click Join now to join the Group you just created.
Enter the HomeGroup password.
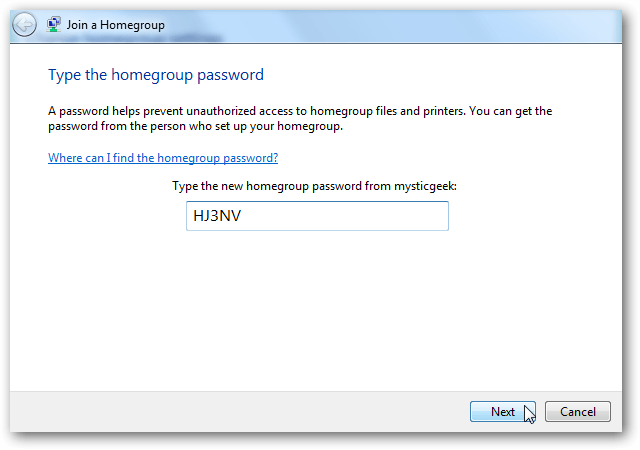
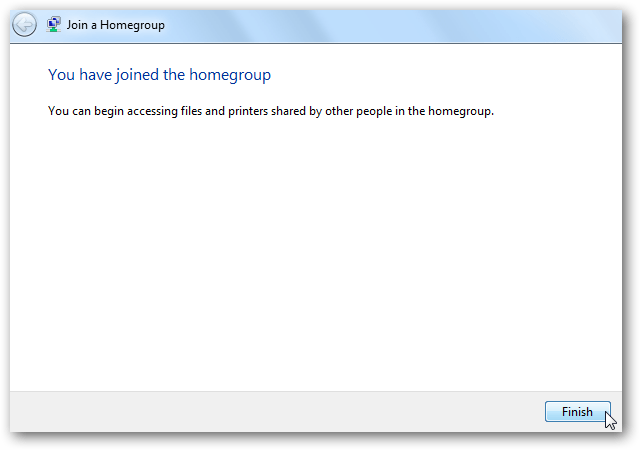
Once the password is accepted, the connection process will be successful.
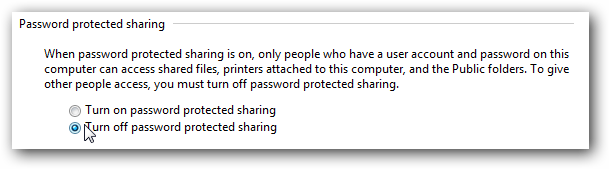
If you don't want to always use your password, go to Network and Sharing Center, under Advanced options, select Turn off password protected sharing.
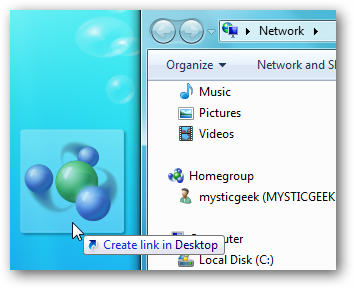
Also if you want you can create a Shortcut Homegroup to easily access and share files, folders . Go to Network then right-click the Homegroup icon and drag to the Desktop screen.
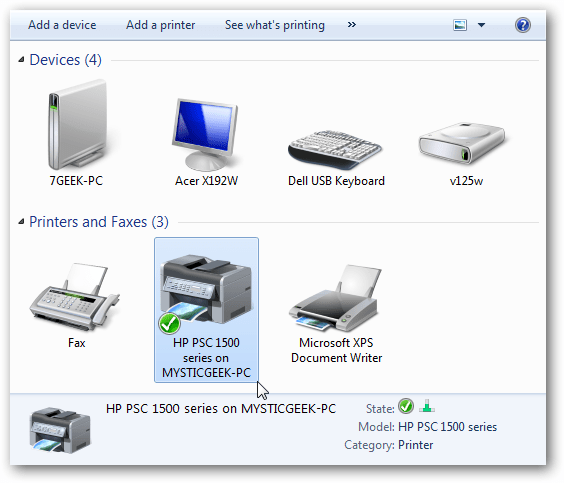
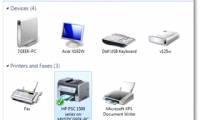
To share a printer, when creating the Group, select Printers. When accessing Devices and Printers on the Start Menu you will see the printer icon and have the setting as the default option if desired.
2. Share printer between Windows 7 computers without Homegroup?
Share the printer
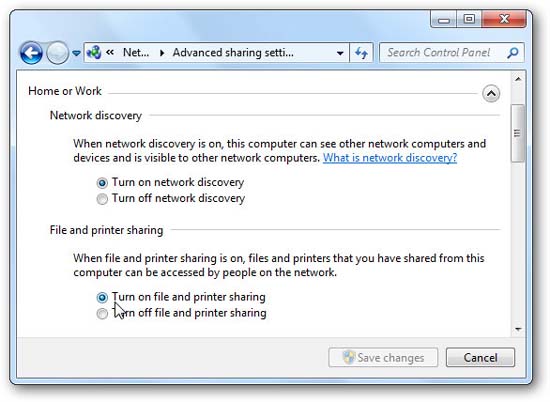
On the computer with the printer you want to share directly, open Advanced Sharing Settings and make sure the File and Printer Sharing option is enabled.
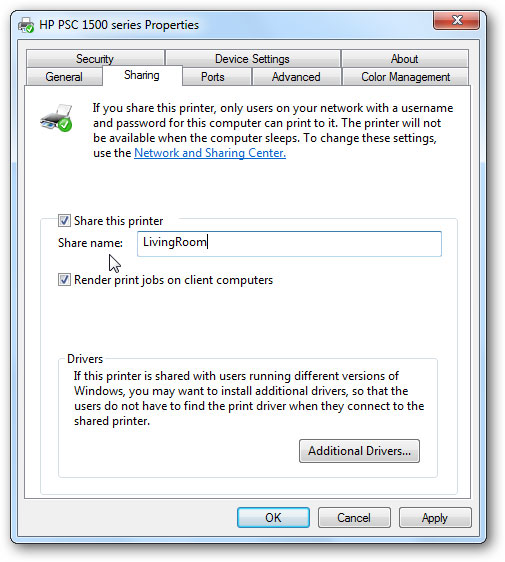
Next, open Devices and Printers from the Start menu, right-click the printer you want to share, select Printer Properties .

In the Properties window, click the Sharing tab. Check the Share this printer check box and give it a name . You can name any, but it's best to put a short name and don't put a space in the name.
Connect the printer
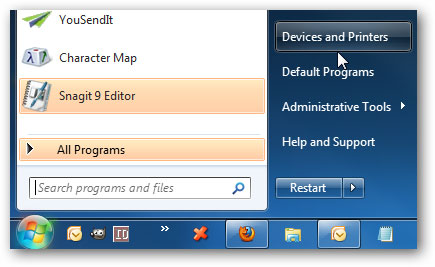
Now on the Windows 7 computer you want to connect to, click Start and select Devices and Printers .
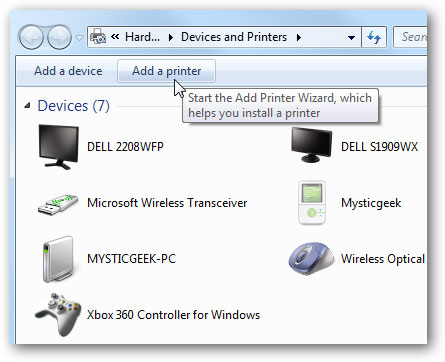
In the Devices and Printers window, click Add a printer .
Next select Add a network, wireless or Bluetooth printer .

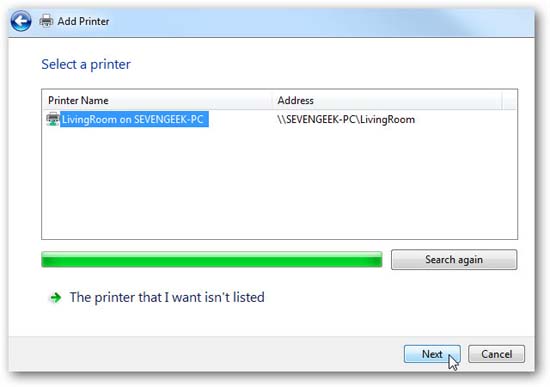
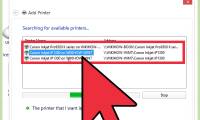
Wait a minute for Windows to find the printer, then click Next .
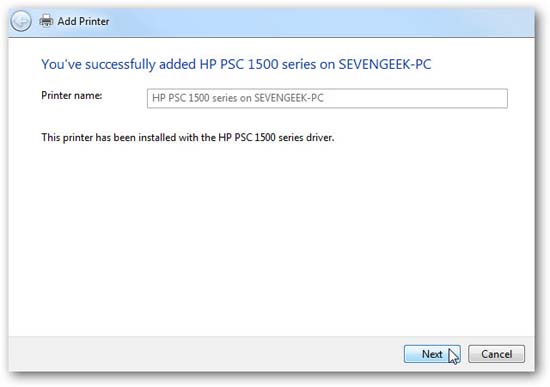
The printer has been added successfully, click Next .
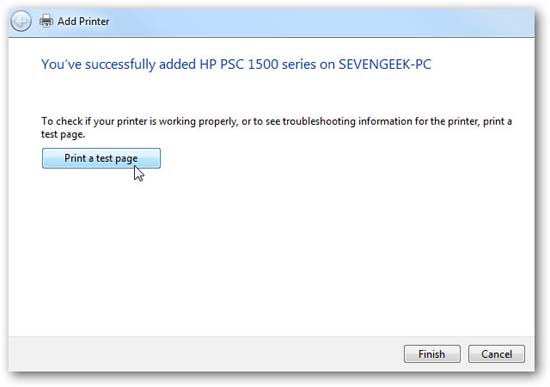
Now you can print a test page to make sure everything works fine or click Finish .
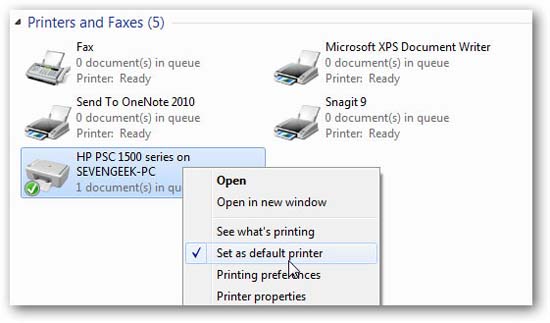
If you want to set this as the default printer, go back to Devices and Printers , right-click on the printer and select Set as default printer .
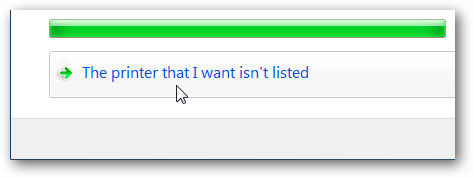
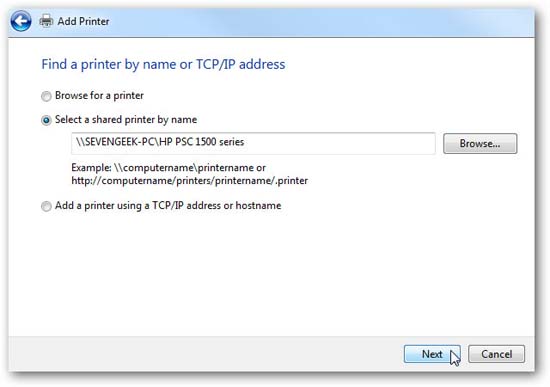
Then browse directly to the printer on another computer or type in the link if you know it.
Conclude
Refer to some of the following articles:
- Instructions to adjust screen brightness of Windows 7 computer
- Start Windows 7, 8, 10 in Safe Mode without F8 key
- How to delete a Windows Service on Windows 7, 8, 10, Vista and Windows XP
Was this article helpful?
Your feedback helps us improve.
Related Articles
 Use Windows 7 Homegroup to share files and printers3 minutes read
 Share files and printers Windows 7 and Windows XP9 minutes read
 Instructions for setting up and managing HomeGroup on Windows 109 minutes read
 How to Connect Windows 8 to Windows 78 minutes read
 Hide and turn off the HomeGroup feature on Windows 73 minutes read
 Access data in HomeGroup from Vista and XP10 minutes read
Reader Comments 0
Sign in with email or Google to join the discussion.