Word 2013 Complete Guide (Part 8): Using Indents and Tabs
- Word 2013 Complete Guide (Part 5): Formatting text
- Word 2013 Complete Guide (Part 6): Aligning page layout
- Word 2013 Complete Guide (Part 7): Text printing operations
The previous sections we have learned about text format, page layout and text printing operations, today TipsMake.com will continue to share with you about Indents and Tabs - indentation and about The way of writing in Word 2013. Please consult!
Indentation is a type of presentation commonly used in texts with content divided into sections. In text editors, there is often an Indent tool used to do this. In addition, Indent can help change the left and right margins of one or more segments to highlight the text.
Whether you want to move a line or an entire paragraph, you can use the Tab selector tool and horizontal ruler to set tabs and indents .
See the video below to get an overview of how to use Indents and Tabs in Word 2013 :
A. Indent - Indecisive
Normal document documents always require the first line of each paragraph to indent. Therefore, aesthetically, this feature will help the text become clear, separate between the paragraphs. Moreover, not only the first line but also other lines can indent, it is called a hanging indent - indentation.

Indent by Tab key:
The fastest way to indent is to use the Tab key . This method only uses the first line alignment back to ½ inch.
1. Place the insertion point on the first line of the paragraph you want to indent.

2. Press the Tab key. On the horizontal bar, you will see the first indentation mark move right ½ inch.
3. The first line of that paragraph will be indented.

- If you don't see a ruler, select the View tab on the toolbar; then tick the Ruler box .

B. Indentation sign
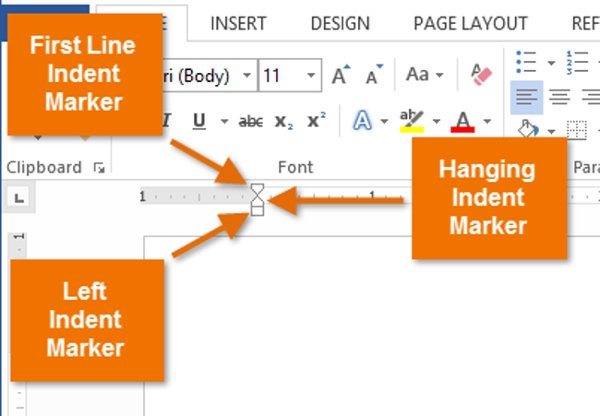
In some cases, you may want to adjust the indent more. Word provides indent markers that allow you to indent any text you want. Indentation marks are located to the left of the horizontal ruler and they provide some indentation options as follows:
- First-line indent marker: The button changes the first line margin of the paragraph ( indentation ).
- Hanging indent marker: The button changes the margins of the rest of the text ( from the second line to the end of the paragraph ).
- Left indent marker: The button changes the left margin of the whole paragraph. Select the text you want to change the left margin, click and hold the left mouse button on Left Indent then drag this button to move the text, when you reach the desired position, stop and release the mouse button.
I. Use indentation
1. Place the insertion point anywhere in the paragraph you want to indent, choose one or more paragraphs.
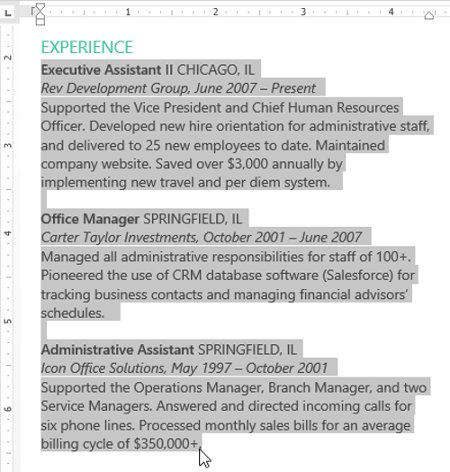
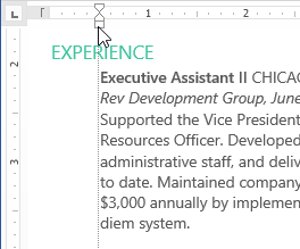
2. Click, hold, and drag the desired indentation. In the example below, we click, hold and drag the left indent. A preview of the indent will appear in the document.
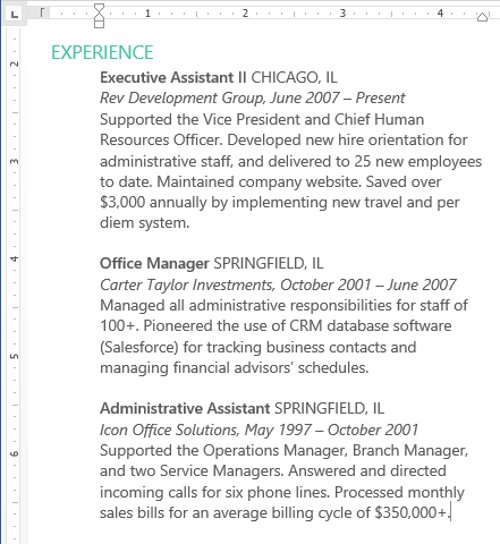
3. Release the mouse. The paragraphs will be indented.
II. Use Indent commands
If you want to indent multiple lines in a text or all lines of a paragraph, you can use Indent commands .
1. Select the text you want to indent.
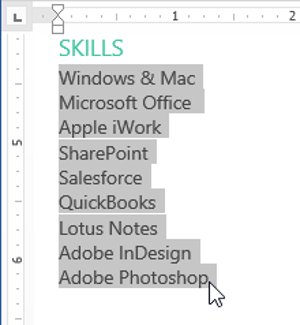
2. On the Home tab, click the desired indent command:
- Increase Indent: Indent the left of the text to the right ( indented ). Select the text and click the Increase Indent button to indent the left part of the text. Each time you press this button, the text will indent an extra distance of ½ inch by default.
- Decrease Indent : Indent the left of the text to the left ( indent ). Select the text and press the Decrease Indent button to indent the left part of the text. Each time you press this button, the text will indent an extra distance of ½ inch by default.

3. Text will be indented.
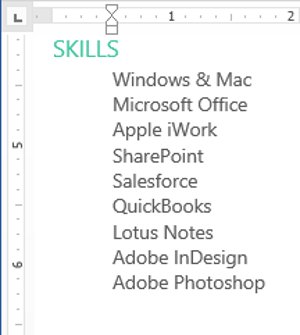
- To customize the margin size, select the Page Layout tab and enter the desired values into the boxes under Intent .

C. Tab
Using the Tab key allows you to adjust indent more flexibly. By default, each time you press the Tab key, the insertion point moves right ½ inch.
Adding tab stops on the Ruler bar allows you to change the size of the tab and even, Word allows you to apply multiple stops of tabs on the same line. For example, on a resume, you can align the left for the headline and right alignment for the end of the line by adding a Right Tab.
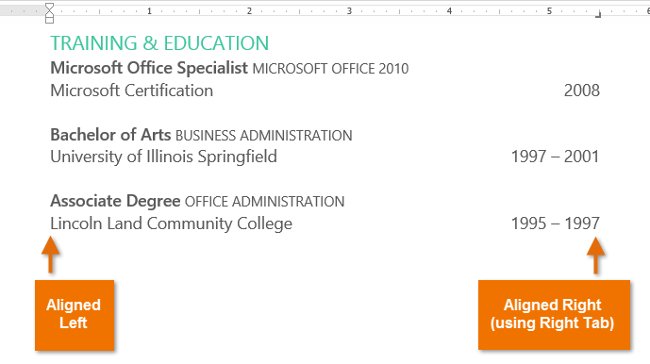
- Pressing the Tab key can add a tab or create indent lines, depending on the insert location. In general, if the insertion point is at the beginning of an existing paragraph, it will create indentation indentation; otherwise, it will create a tab.
I. Tab selector
The selector tab is located on the vertical bar on the left. Move the mouse pointer over the tab selector to see if the name of the tab stops working.
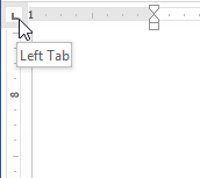
Types of tab stops:
- Left Tab
 : Left alignment at stop Tab. Set the starting position of the paragraph from which to run right when you input.
 - Center Tab
 : Align text evenly to both sides of tab stops. Position the center of the text. The text will be in the middle of the input tab location.
 - Right Tab
 : Right alignment at stop Tab. Set the starting position of the paragraph from which it will run left when you type.
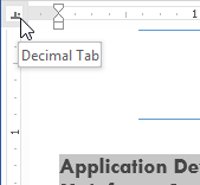
 - Decimal Tab
 : Align decimal numbers using decimal points. The decimal tab is the decimal separator that will be on the same position.
 - Bar Tab
 : Draw a vertical line in the text. Bar Tab is a special tab, not positioned for text, only creates a vertical line at the tab position and runs through the text.
 - First Line Indent
 : Insert indentation on the ruler and indent the first paragraph.
 - Hanging Indent
 : Insert hanging indent and indent all lines other than the first line
II. Add tab stops:
1. Select a paragraph or segments that you want to add stops. If you do not select any paragraph, tab stops apply to the current paragraph and the new paragraphs below.
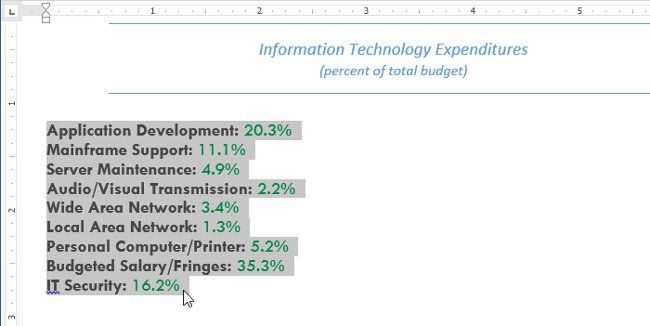
2. Click on the selector tab until you see the desired stop. In the example below, we select Decimal Tab .
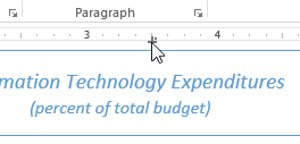
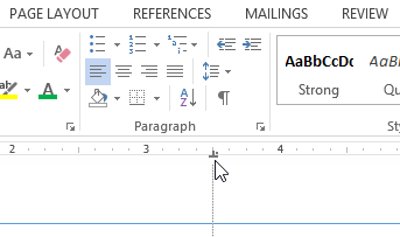
3. Click the position on the horizontal ruler where you want the text to appear ( click the bottom edge of the ruler ). You can add multiple stop tabs if you want.
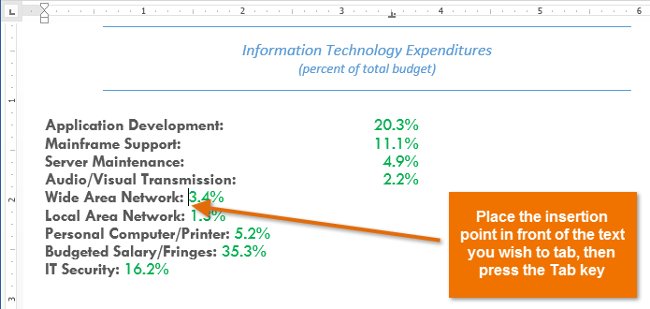
4. Place the insertion point in front of the paragraph to adjust, then press Tab . The text will move to the next stop position. For example, we move the percentage of years to the next stop.
III. Delete stop tabs
When not using stops anymore, you should delete them. To delete a stop tab, click and drag it from the Ruler .
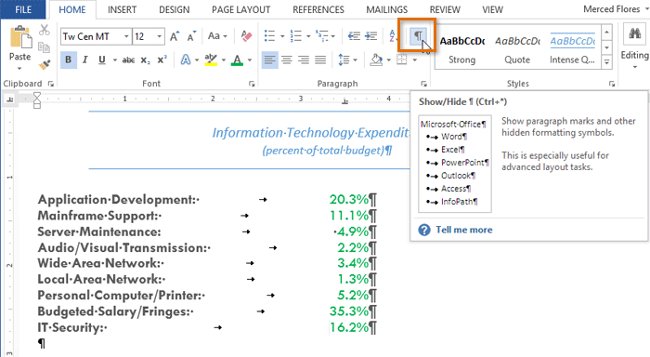
Word can display hidden formatting icons such as spacebar keys spacebar (  ), paragraph (
  ) and Tab key (
  ) to help you see the format in your document. To display the hidden formatting icon, select the Home tab, then click the Show / Hide command.
See also: Word 2013: Instructions for using Microsoft and OneDrive accounts
Having fun!
You should read it
- ★ Word 2013 Complete Guide (Part 11): How to create hyperlink links
- ★ Word 2013 Complete Tutorial (Part 9): Use Line and Paragraph Spacing
- ★ Word 2013 Complete Guide (Part 10): Bullets, Numbering, Multilevel list in Microsoft Word
- ★ Align text, adjust font in Word 2013
- ★ Create a new Word file, open the file in Word 2013


