Ways to rotate images in Word
Images inserted into Word have additional image retouching, such as selecting the image display position compared to the content, adding image borders, or reducing the image size in Word. With the image rotation option in Word, users have many different ways to rotate images in different angles. If the image inserted into Word is reversed, we can adjust the angle, rotate the image to the right at the interface of Word. The following article will guide you how to rotate images on Word in different ways.
- Complete Word 2016 Tutorial (Part 17): Edit photos in Word 2016 more professionally
- How to insert text into images in Word
- How to create letters that are inverted or inverted in Word
- How to rotate text in Excel
Method 1: Rotate directly on the image in Word
When we do this way, we will rotate the image to the right, left or rotate the image at different angles.
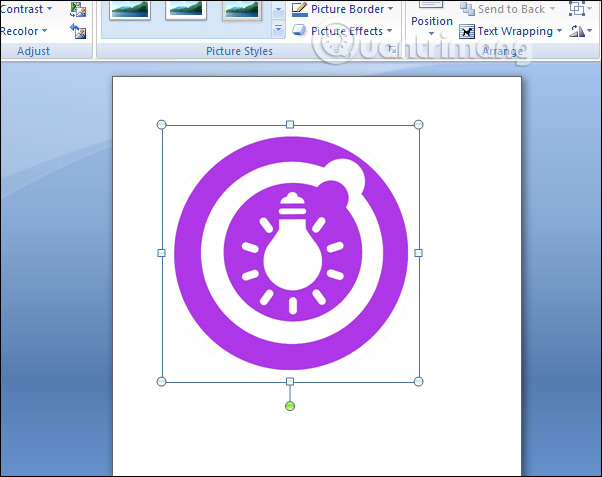
After inserting pictures into Word, users click on images . Then at the top edge of the image shows a small vertical bar with a blue round tip . When you hover over it will display a spinning arrow icon .

Now we just need to click and hold the mouse on the spinning arrow to rotate the image at different angles.
This type of rotation will not have an accurate rotation angle and the user must estimate by himself, or depending on how the photo needs to be rotated like that.

Method 2: Rotate photos vertically, horizontally, flip photos
To rotate the image more accurately, we should choose this method. Then the image is rotated more accurately, changing the image direction from top to bottom, left and right.
Click on the image to put the interface into Format mode . Then click on the Rotate section below.

The drop-down menu is a list of options to rotate the image.
- Rotate Right 90: Rotate the image from left to right by 90 degrees.
- Rotate Left 90: Rotate the image from right to left by 90 degrees.
- Flip Vertical: Flip image vertically.
- Flip Horizontal: Flip the image horizontally, which means the image on the right will turn left.
- More Rotation Options .: Add a photo rotation option.

Now you just need to select rotate the image to the right or left 90 degrees, flip the image horizontally or vertically. The image is then rotated in the correct angle, more beautiful than rotating the image in way 1.

Method 3: Rotate the image according to the direct import
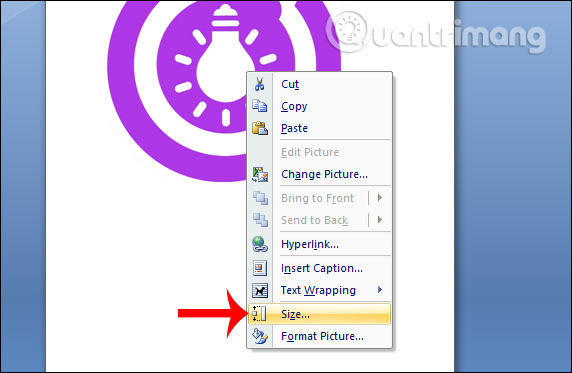
Right-click on the image and then click Size in the displayed list.

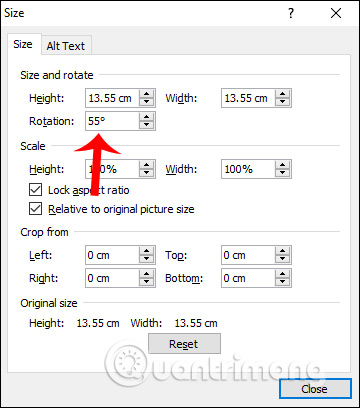
A new interface appears, we look at the item Rotation and enter the angle you want to apply to the image.

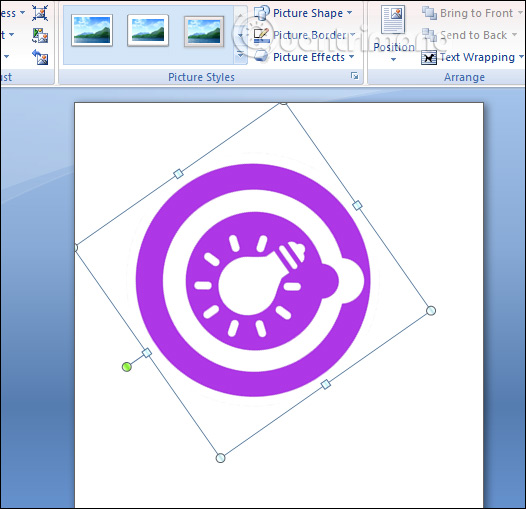
Immediately the image is rotated at the angle we filled in, for example, with the angle 55 degrees below.

So you have many ways to rotate images in many different angles, flip the image in the direction. If you need to adjust the image to the angle you want, you should use the 3rd way, just enter the angle directly and rotate the image according to your intention.
I wish you successful implementation!