How to stitch photos in Word
Collecting photos in Word is very simple, and you can stitch photos into frames in Word.
Table of Contents
Inserting images in Word is basic and very simple. Besides, you can also combine images in Word, merge 2 images into 1 frame in Word with a not too complicated method. Often you think to stitch photos, you need professional photo editing software like Photoshop, or simply use Microsoft Paint to stitch photos. However, if we do not need much editing, we can also stitch photos right in Word. The following article will show you how to stitch photos in Word.
1. Stitch photos in Word using Table
Step 1:
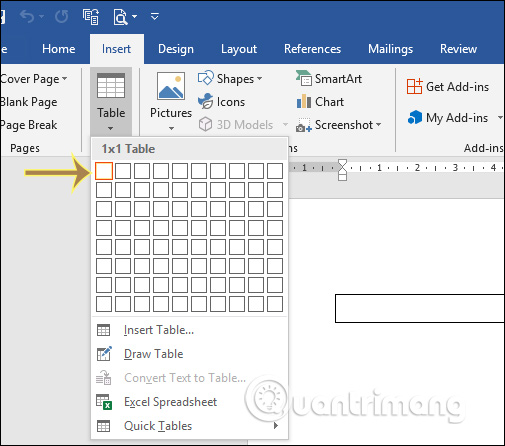
We click on the Table and select a square to insert only one square in the table into Word. After you have created a cell, click on the table and press Shift + Enter to create two adjacent lines in the table.
Step 2:
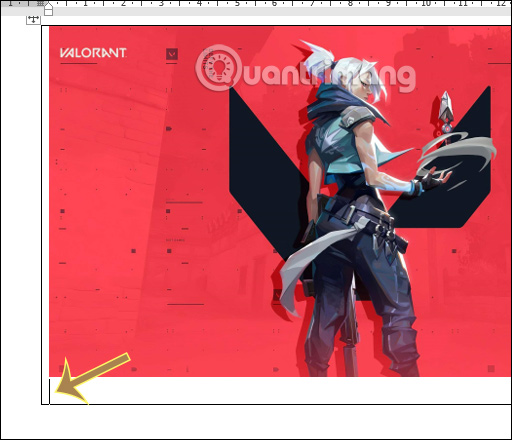
Next, click on the first row in the table , then click on the Insert button and select Pictures in the Illustrations group to insert images into the table. After inserting the first image, click on the second row of the table to insert the second image into the table.
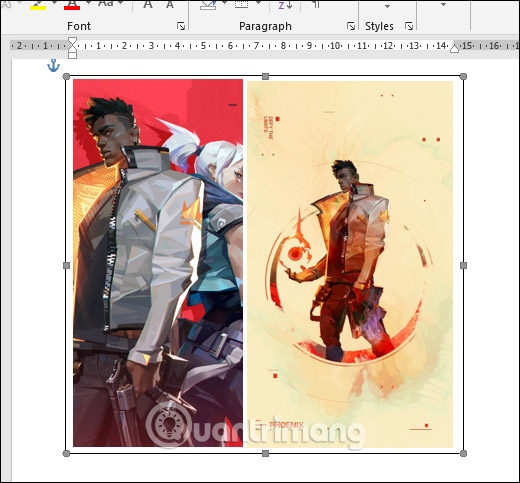
Result 2 images have been merged into 1 main frame is the current table.

Step 3:
Click on the plus icon in the top left corner of the board to highlight the entire frame . Then click Design, then click Border Styles to change the border for the table.
Or faster way is to click on Border and select All Borders is done.

Step 4:
If you want to use more photo borders then click the border icon to change the type of border used. Then also click All Borders to create the border.

The final result is that you are collage in the Word frame as shown.

2. Merge 2 images into 1 Word frame using Text Box
Step 1:
First we will insert the Text Box into Word. Click Shapes and then select the Text Box to insert in Word.
Click inside the Text Box, then click Insert on the toolbar and select Pictures to insert the picture. The image inserted into the frame automatically resizes to the frame.

Step 2:
Then also insert animal image 2 into the Text Box . Results 2 images have been stitched into the frame. You can then adjust the image size if desired.
Step 3:
To change the border , click the border of the Text Box border. Next, click on the Format tab and select the styles in the Styles section . The new border is then applied to the image as well.
Also can be further changed by selecting Shape Fill, Shape Outline or Shape Effects.

Was this article helpful?
Your feedback helps us improve.
Related Articles
 How to stitch photos, cut photos with Paint6 minutes read
 How to stitch photos on the phone very beautiful6 minutes read
 Lilo & Stitch Review: Unnecessary Remake or Successful Live-Action?5 minutes read
 Extremely beautiful 100+ PNG frames to stitch photos3 minutes read
 100+ Beautiful frames to stitch photos3 minutes read
 Learn about Stitch: Google's new AI tool that lets you create user interface designs by describing them.5 minutes read
Reader Comments 0
Sign in with email or Google to join the discussion.